How do you build an online vape store with WooCommerce?

If you’re looking to switch your vape store from Shopify, or you’re planning to build a new store from scratch, WooCommerce lets you create a fully functioning vape store with all the features you need. This tutorial covers everything specific to selling vape products online, from choosing hosting and a theme through to age verification, payment gateways, and plugins to help you sell more.

After completing this tutorial:
- Users will be able to:
- Browse and buy e-liquids, mods, and accessories
- Confirm their age before completing a purchase
- As the store owner, you’ll be able to:
- Take payment through a vape-friendly gateway
- Manage stock and orders from the WordPress back end
- Offer bundle pricing, mix and match options, and checkout upsells through specialized WooCommerce plugins
- As a bonus, we’ll also look at how to:
- Import your existing products if you’re switching from Shopify
The global e-cigarette and vape market was valued at $45.7 billion in 2025 and is projected to reach $462.1 billion by 2033, growing at a CAGR of 34.1% over that period, according to Grand View Research. It’s a fast-growing category, but also a heavily regulated one.
Note that this article is written to apply across territories rather than to any single jurisdiction, so please confirm any specific legal requirements before launching.
What is WordPress, and how does WooCommerce fit in?
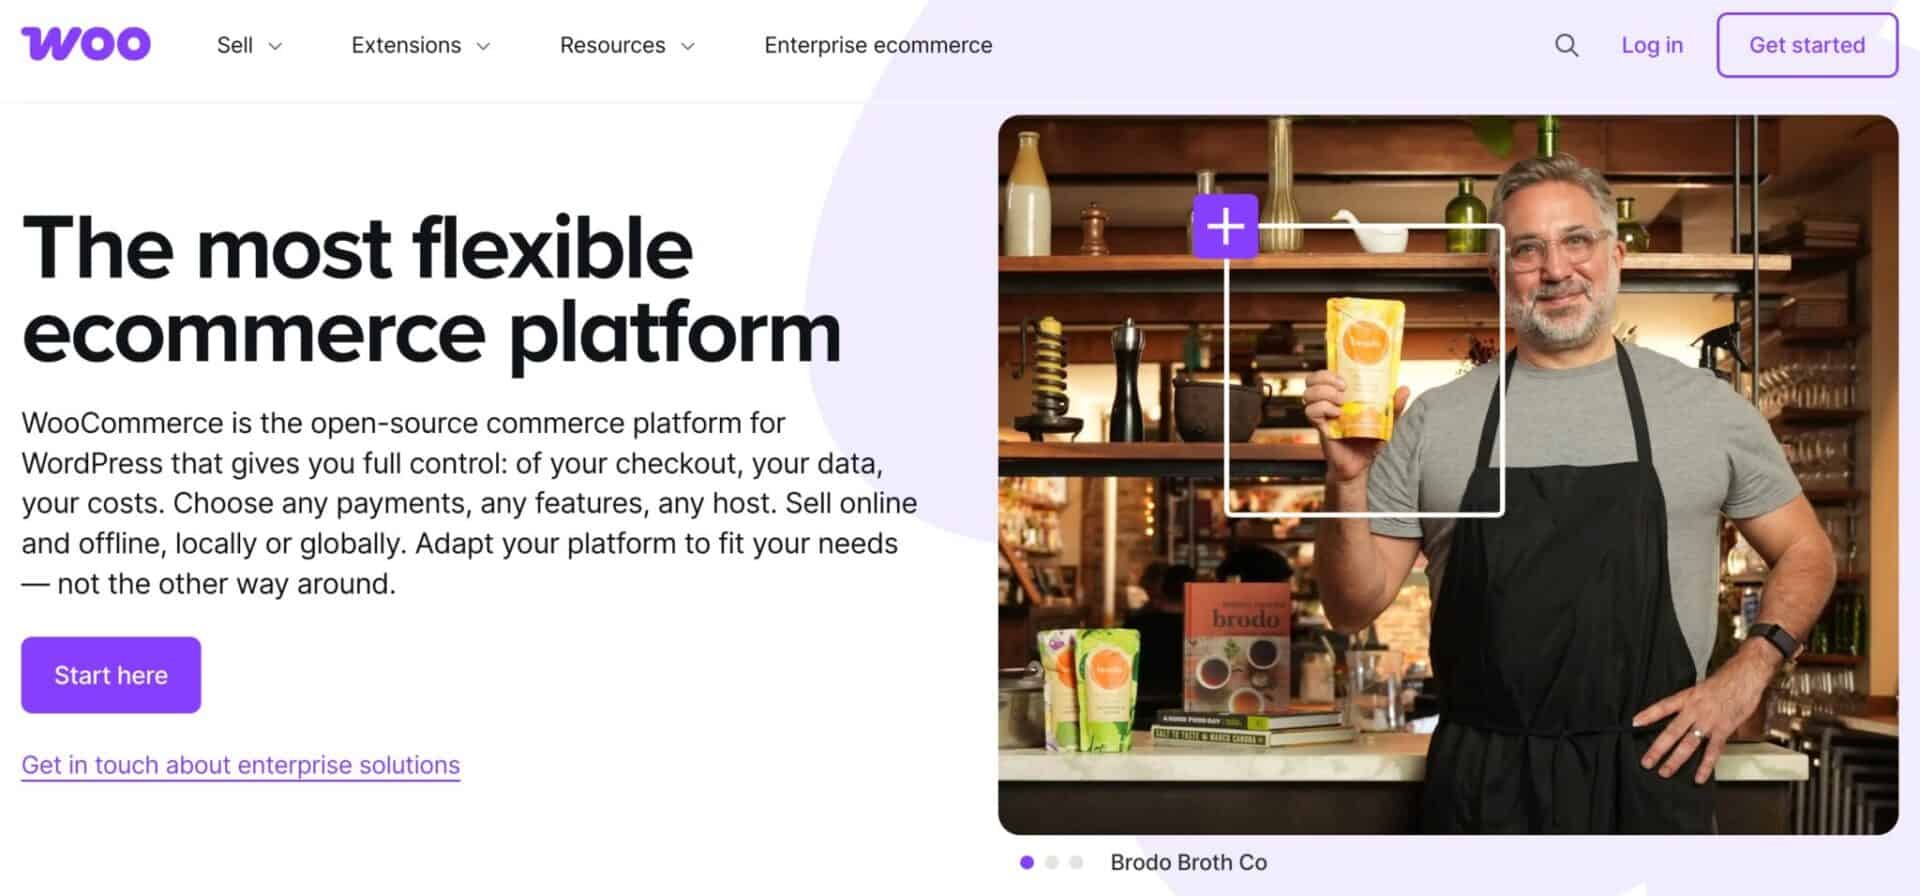
WordPress is the content management system that powers your site’s pages, posts, and design. WooCommerce is a free plugin that turns a WordPress site into a fully featured online store, adding products, a cart, checkout, and order management.
This combination suits a vape store particularly well. Unlike Shopify and other platforms, WordPress and WooCommerce give you full control over your hosting and your payment gateway, both of which matter more than usual when you’re selling a restricted product.
How does WooCommerce differ from Shopify?
WooCommerce is self-hosted and open-source, so you choose your own hosting, theme, and plugins. Shopify is a hosted, closed platform where Shopify controls the infrastructure and restricts you to its own app ecosystem.
With WooCommerce, your store content lives in your own WordPress database, on hosting you control, and you own that data outright. With Shopify, your store data lives on Shopify’s servers, so switching platforms later means exporting everything and rebuilding, rather than simply moving files you already own.
For a vape store, the biggest practical difference is payment gateway flexibility. WooCommerce lets you connect to niche and local gateways of your choosing, while Shopify Payments and most of Shopify’s native gateway options restrict nicotine products outright. This alone pushes many vape sellers toward WooCommerce.
WooCommerce vs Shopify feature comparison for vape stores
| WooCommerce | Shopify | |
|---|---|---|
| Payment gateways | Connects to niche and local gateways of your choosing | Shopify Payments and most native gateways restrict nicotine products |
| Data ownership | Store content lives in your own WordPress database, on hosting you control | Store data lives on Shopify’s servers |
| Cost structure | No platform subscription fee; costs come from hosting, theme, and plugins | Plans start at $39 a month, plus transaction fees and app costs |
| Age verification | Choose from any WordPress/WooCommerce age verification plugin | Limited to Shopify App Store options compatible with Shopify’s checkout |
| Hosting terms of service | You choose a host whose terms permit age-restricted products | Tied to Shopify’s own platform-wide terms of service |
| Migrating away later | Export your own data at any time, since you control the database | Requires exporting through Shopify’s tools before rebuilding elsewhere |
How much do WooCommerce and Shopify cost?
WooCommerce itself is free, so your ongoing costs come from hosting, your theme, and any plugins you add, rather than a platform subscription or extra transaction fee stacked on top of gateway fees.
Shopify’s cheapest full storefront plan starts at $39 a month, with third-party transaction fees added on top if you don’t use Shopify Payments, plus whatever you spend on apps.
WooCommerce has no equivalent subscription fee, so your monthly costs depend entirely on the hosting, theme, and plugins you choose, which can work out cheaper or more expensive than Shopify depending on how you build your store. WooCommerce’s own pricing page puts typical hosting from $25 a month and extensions at $29 to $299 a year, giving you a rough sense of what to budget for.
Comparison of fees between WooCommerce and Shopify
| WooCommerce | Shopify | |
|---|---|---|
| Platform fee | None | From $39 a month (cheapest full storefront plan) |
| Hosting | From $25 a month, depending on host and traffic | Included in the platform fee |
| Transaction fees | Set by your chosen payment gateway; no extra platform fee on top | None with Shopify Payments; added fee if using a third-party gateway |
| Theme | Free to premium, typically a one-time cost | Free to premium, typically a one-time cost |
| Extensions/apps | $29 to $299 a year per extension, only pay for what you need | Many apps charge monthly, so costs can add up with each one installed |
| Typical entry cost | Can start lower than Shopify if using budget hosting and free plugins | $39 a month minimum before any apps or transaction fees |
Step #1: Choose hosting for your store
Many WordPress hosts now offer one-click setup that installs WordPress and WooCommerce automatically as part of sign-up, which is worth prioritizing if you want the fastest path to a working site.
Kinsta is a well-supported, powerful managed WordPress host with one-click WooCommerce setup. They often have special offers like first-month free and they are our recommended option. However, plenty of other capable hosts exist too, so weigh this against your budget and technical comfort level.
Check your host’s terms of service before signing up. Some general-purpose hosts prohibit age-restricted or nicotine products in their acceptable use policies, buried well below the marketing copy, so it’s worth confirming this upfront rather than discovering it after launch.
Once you’ve chosen a host, you’ll have somewhere to install WordPress, ready for the next step.
Step #2: Install WordPress and WooCommerce
If your host handled this automatically as part of a one-click setup in Step #1, you can skip ahead to Step #3. Otherwise, most hosts offer a one-click installer from their control panel, or you can install WordPress manually if your host doesn’t.
Once WordPress is installed:
- Go to Plugins > Add New in your WordPress dashboard
- Search for ‘WooCommerce’ and click ‘Install Now’, then ‘Activate’
- Run the setup wizard: enter your store details, currency, and basic shipping settings
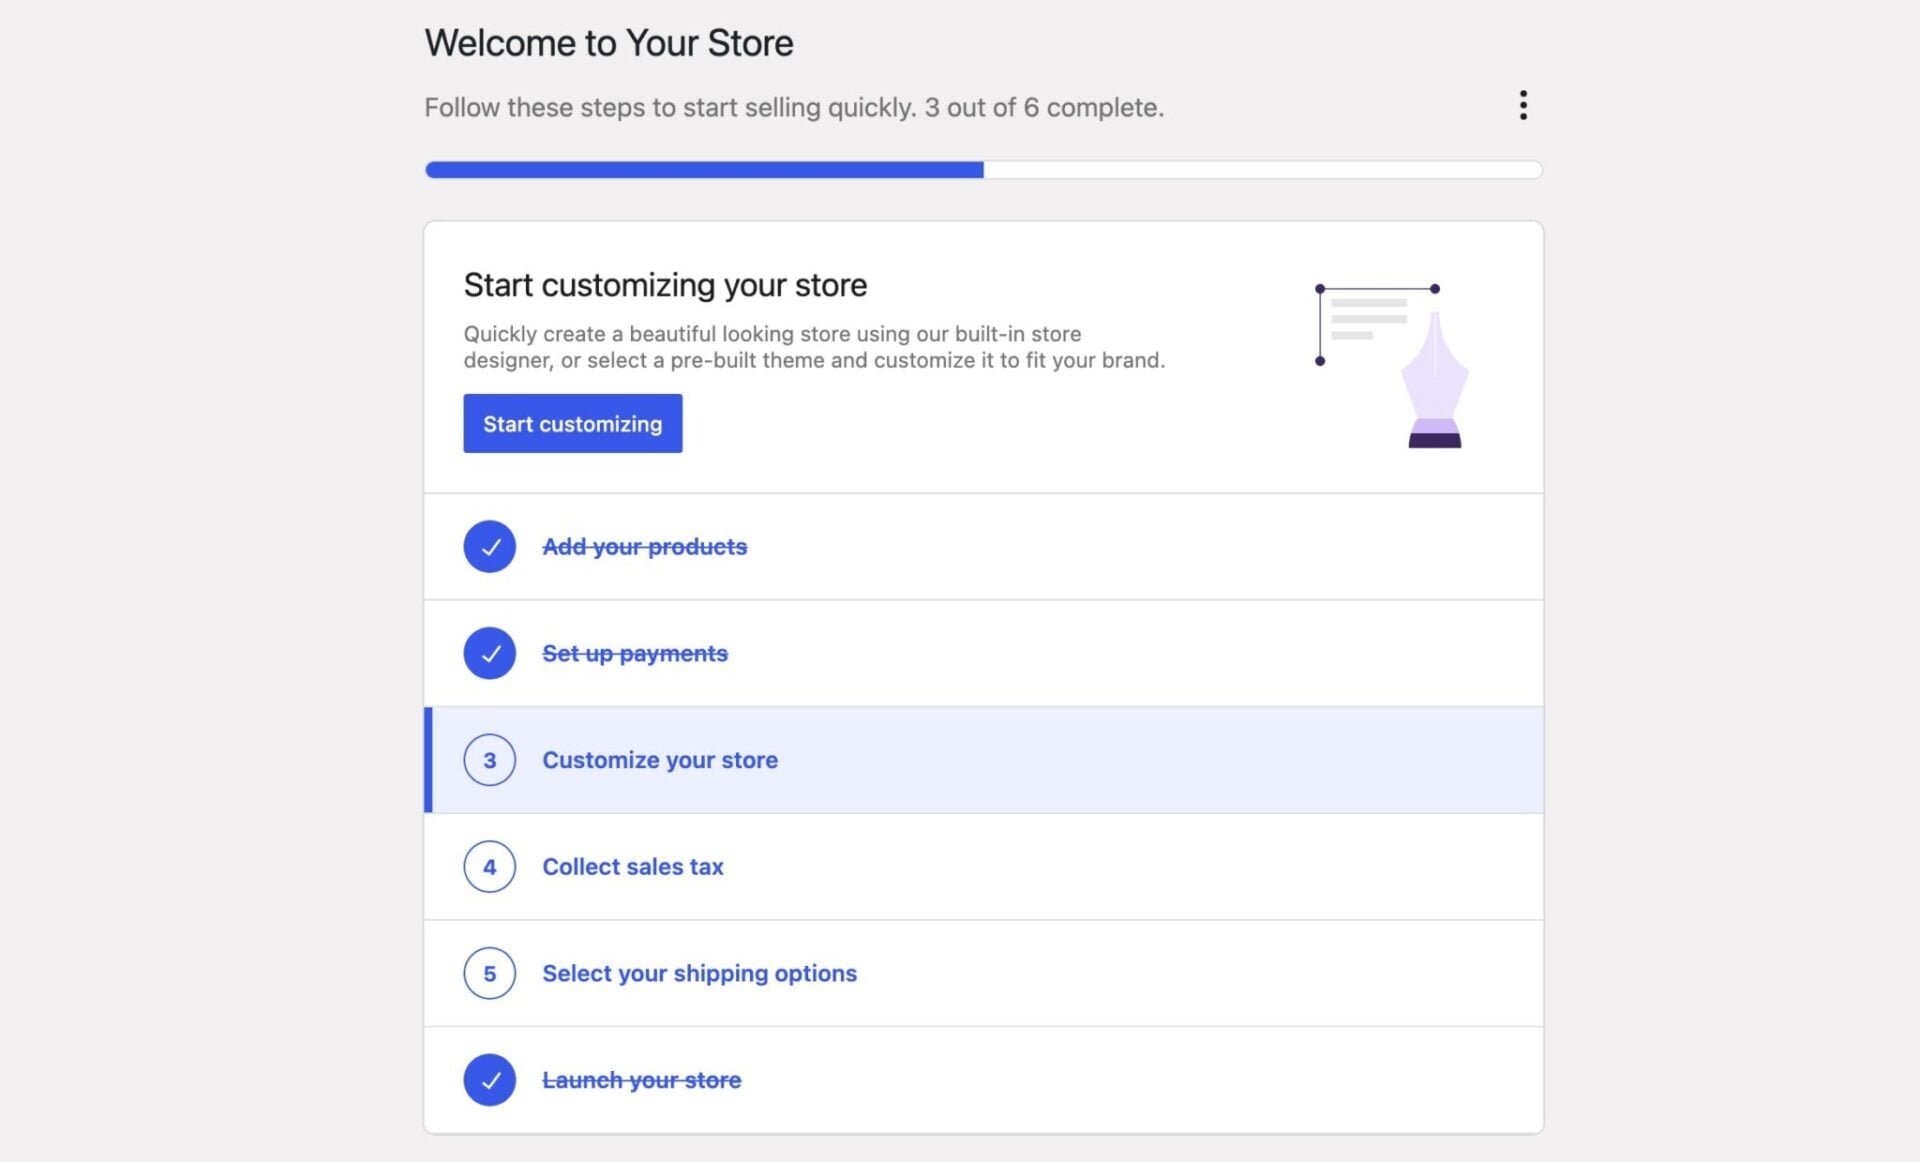
You now have a working store shell, ready to be configured with a theme and your first products.
Step #3: Choose a theme
General-purpose WooCommerce themes work well for a vape store and give you long-term flexibility. Flatsome and Shoptimizer are both strong options here – they’re both actively maintained, fully WooCommerce-compatible, and backed by large support communities.
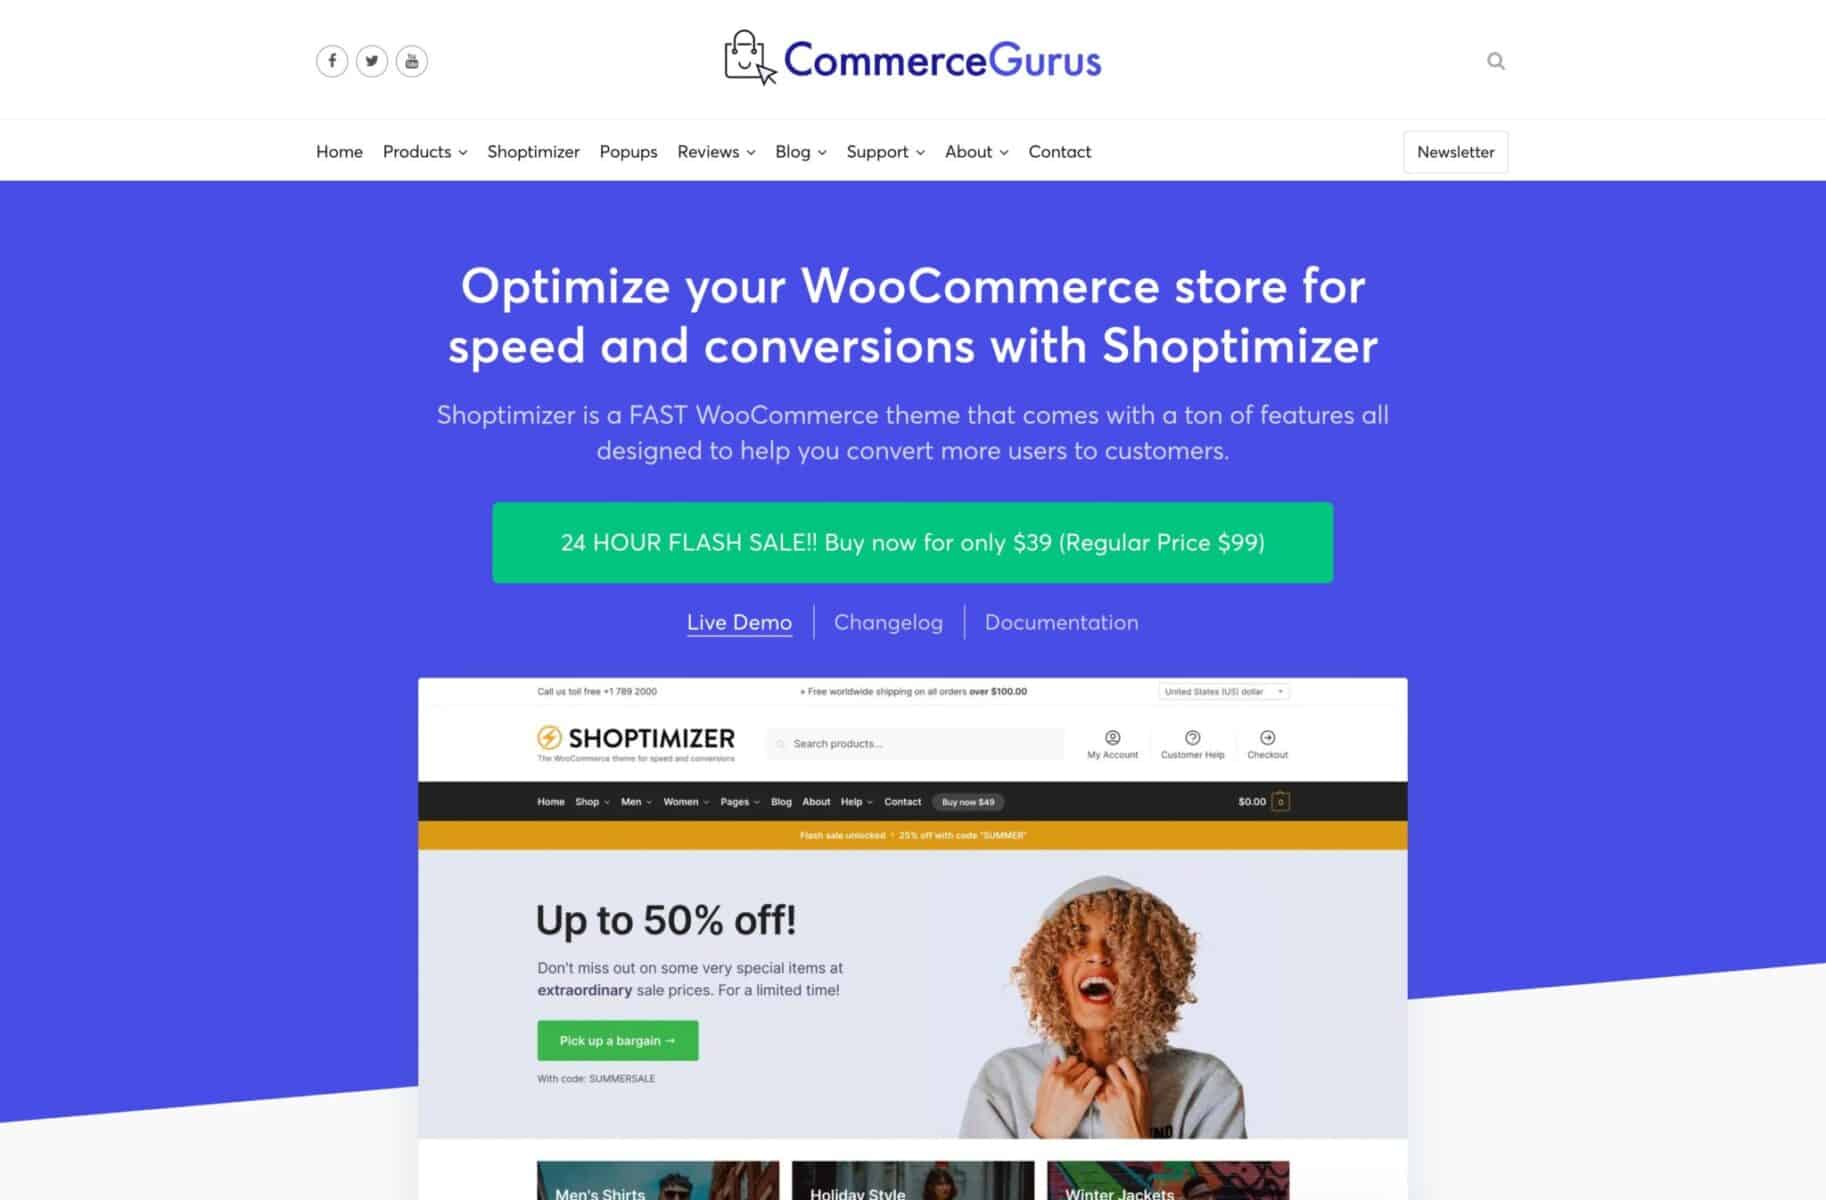
Vape-specific themes are a faster alternative if you want pre-built, niche styling out of the box. Themes like Vapeoza come with vape-oriented layouts and dark, product-focused designs, though they typically come from smaller developer teams with a shorter track record than a mainstream theme. You’ll find plenty of vape-specific options on ThemeForest, if you’d like to compare a wider range before choosing.
If you want a theme that’ll be actively maintained for years and has a proven support history, it’s probably better to pick a non-specific, popular theme. If you want to launch quickly with styling that already suits the niche, a vape-specific theme can save you time.
Once your theme is installed and activated, your storefront is ready for products.
Step #4: Set up age verification
Age verification requirements vary by country and sometimes by region within a country, covering things like the minimum age itself, whether ID checks are required, and how long records need to be kept. Confirm these requirements for your own territory before choosing a verification method, since some jurisdictions require stricter verification than others by law.
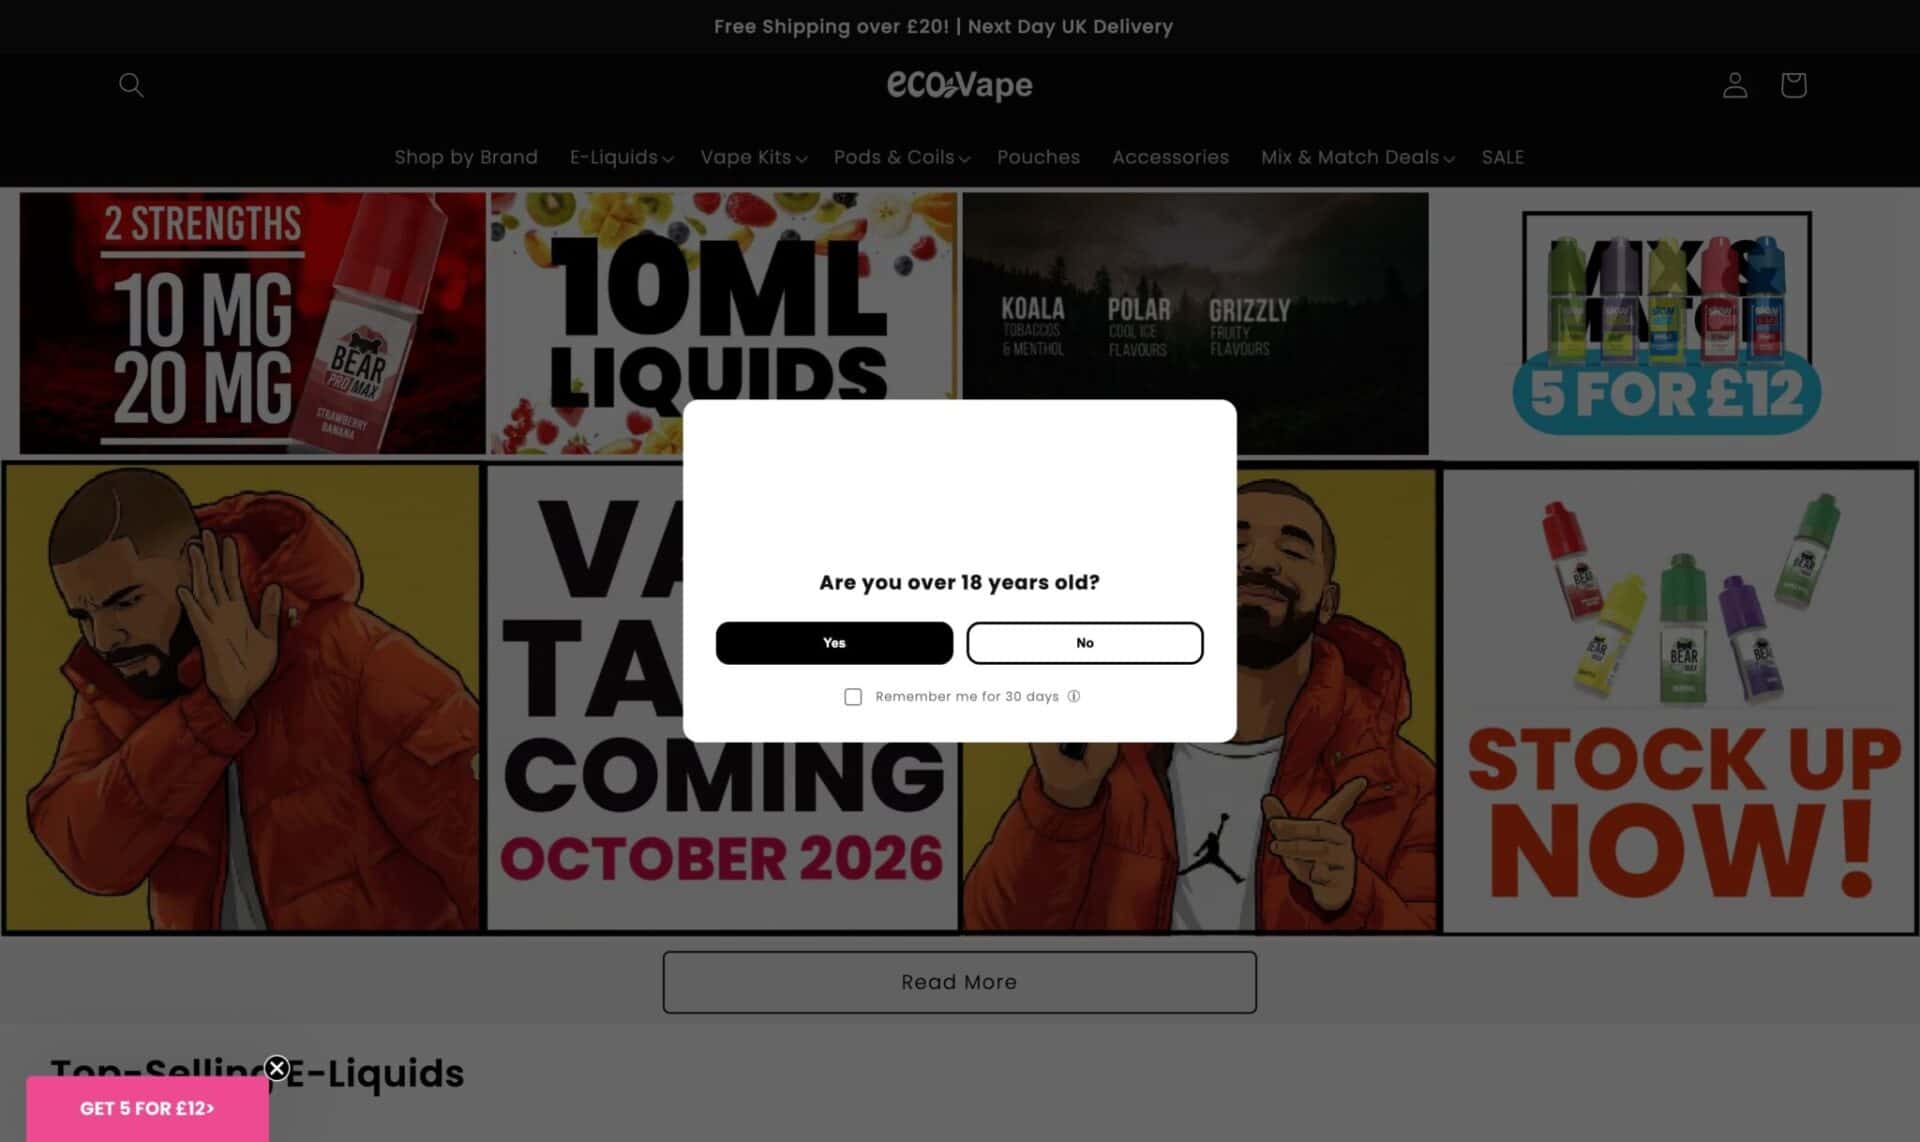
There are two broad tiers of solution:
- Cookie-based age-gate popups – the visitor self-declares their age or date of birth, and a cookie remembers their answer. This is quick to set up and creates a documented gate, but it doesn’t verify identity. Age Gate is a free, well-regarded example, with over 40,000 active installs and a 4.6 out of 5 rating
- ID or database verification services – integrated directly into WooCommerce checkout, these confirm age against a government ID or a database record. All three have dedicated WordPress/WooCommerce plugins: AgeChecked (free plugin, pay per check), AgeChecker.Net, and Token of Trust, usually priced per verification rather than as a flat monthly fee
If your territory legally requires identity-backed verification rather than a simple declaration, you’ll need the second tier. Either way, this step means your store now blocks underage visitors before they can complete a purchase.
Step #5: Set up a payment gateway
A payment gateway is the service that connects your checkout to the banking system, securely processing a customer’s card or bank details and passing the payment through to your merchant account. WooCommerce doesn’t process payments itself; it hands the transaction off to whichever gateway you’ve connected, so choosing the right one determines what payment methods your store can actually accept.
Mainstream gateways like Stripe, PayPal Standard, Square, and WooPayments typically decline vape merchant applications outright, or shut existing accounts down once they detect nicotine products.
Two good starting points:
- Your national or regional vape trade association – many maintain lists of vetted payment partners. In the UK, for example, the Independent British Vape Trade Association lists payment gateway partners available to its members, including Worldpay (which has its own WooCommerce plugin) and WorldNet (also with its own WooCommerce plugin)
- WooCommerce’s own payment gateway directory, which you can filter by country to find gateways available in your market
Authorize.Net and NMI are two of the more commonly used high-risk-friendly gateways for WooCommerce vape stores specifically, usually paired with a separate high-risk merchant account rather than a single bundled service.
It’s probably best to apply for a gateway as soon as possible, since high-risk merchant approval can take longer than a standard sign-up. Once approved and connected, your store can reliably take payment for restricted products.
Step #6 (optional): Import your products from Shopify
If you’re starting from scratch, skip ahead to Step #7. If you’re switching from an existing Shopify store, you can bring your product catalog across manually:
- Step #1: Export your product catalog from Shopify by going to Products > Export
- Step #2: In WooCommerce, go to Products > Import, upload the CSV file, and map Shopify’s columns to WooCommerce’s fields
- Step #3: Run the import, then spot-check a sample of products for correct variations, pricing, and images
This manual method covers products only. Customers, orders, and coupons don’t transfer this way, so you’ll need a dedicated migration plugin if you need those too. Migration also doesn’t carry over your store’s design, so Step #3 (choosing a theme) still applies regardless of whether you migrate or start fresh.
If you need more than the manual method covers, WooCommerce’s own migration guide walks through the alternatives, including a dedicated migration extension and agency-supported migrations for larger catalogs.
With your catalog imported, you’re ready to configure it alongside any new products you add.
Step #7: Add your products
Use simple products for one-off items like a standalone vape pen, a battery, or a pack of coils. To add one:
- Go to Products > Add New in your WordPress dashboard
- Enter a product title and description
- Under ‘Product data’, leave the type set to ‘Simple product’
- Set the regular price, and a sale price if you’re running a promotion
- Add product images, categories, and tags
- Set stock quantity under the ‘Inventory’ tab, if you’re tracking stock
- Click ‘Publish’
Adding variable products
Use variable products for anything with options, such as flavor, nicotine strength, or bottle size, so customers can select the right combination from a single product page rather than you creating a separate product for every combination.
A variable product works from two parts: attributes (the option types, like ‘Flavor’ or ‘Nicotine strength’) and variations (the specific combinations of those attributes, each with its own price, stock level, and image). To set one up:
- Go to Products > Attributes, and add a new global attribute (for example, ‘Nicotine strength’)
- Click ‘Configure terms’ next to your new attribute, and add each value as a term (for example, ‘0mg’, ‘3mg’, ‘6mg’, ’12mg’)
- Repeat for any additional attributes, such as ‘Flavor’ or ‘Bottle size’
- Go to Products > Add New, and under ‘Product data’, change the type to ‘Variable product’
- In the ‘Attributes’ tab, select each global attribute from the dropdown, add it, choose the terms that apply to this product, and check ‘Used for variations’
- Go to the ‘Variations’ tab and select ‘Create variations from all attributes’ to generate every possible combination automatically
- Open each variation to set its own price, stock quantity, and image if it differs from the default
With your products live, your catalog is ready to sell.
Step #8: Set up shipping
WooCommerce handles shipping through ‘zones’ – geographic regions you define, each with its own set of shipping methods and rates. To set this up:
- Go to WooCommerce > Settings > Shipping
- Click ‘Add zone’, name it (for example, ‘United Kingdom’ or ‘United States’), and select the countries or regions it covers
- Add one or more shipping methods to the zone, such as ‘Flat rate’, ‘Free shipping’, or ‘Local pickup’
- Set the cost for each method, and repeat for any other zones you need (for example, a separate zone for international orders)
Shipping classes let you apply different rates to different types of product within the same zone, which is useful for a vape store since not everything in your catalog behaves the same way in transit. For example, you might set a higher shipping cost for glass tanks that need extra packaging, or handle bottled e-liquid differently from devices. To set one up, go to WooCommerce > Settings > Shipping > Classes, add a class, then assign it to the relevant products under each product’s ‘Shipping’ tab.
Note on shipping restrictions for vape products
Before you rely on any shipping method, check which carriers actually accept vape products in your country, since this varies significantly and can be more restrictive than other product categories. In the US, for example, USPS confirms electronic nicotine delivery systems (ENDS) are generally nonmailable to consumers, following a 2021 final rule from the Postal Service, and UPS, FedEx, and DHL all have similar bans on consumer vape shipments in their own terms of service. Confirm your chosen carrier’s current policy on nicotine and vaping products before you launch, rather than assuming a mainstream carrier will accept them.
Now let’s look at some plugins that can extend what your store can do.
How to extend your vape store with additional plugins
The basic WooCommerce installation covers the essentials, but a few plugins make a meaningful difference to a vape store by letting customers customize your products, rewarding bulk purchases, and increasing average order value at checkout.
WooCommerce Product Add-Ons Ultimate
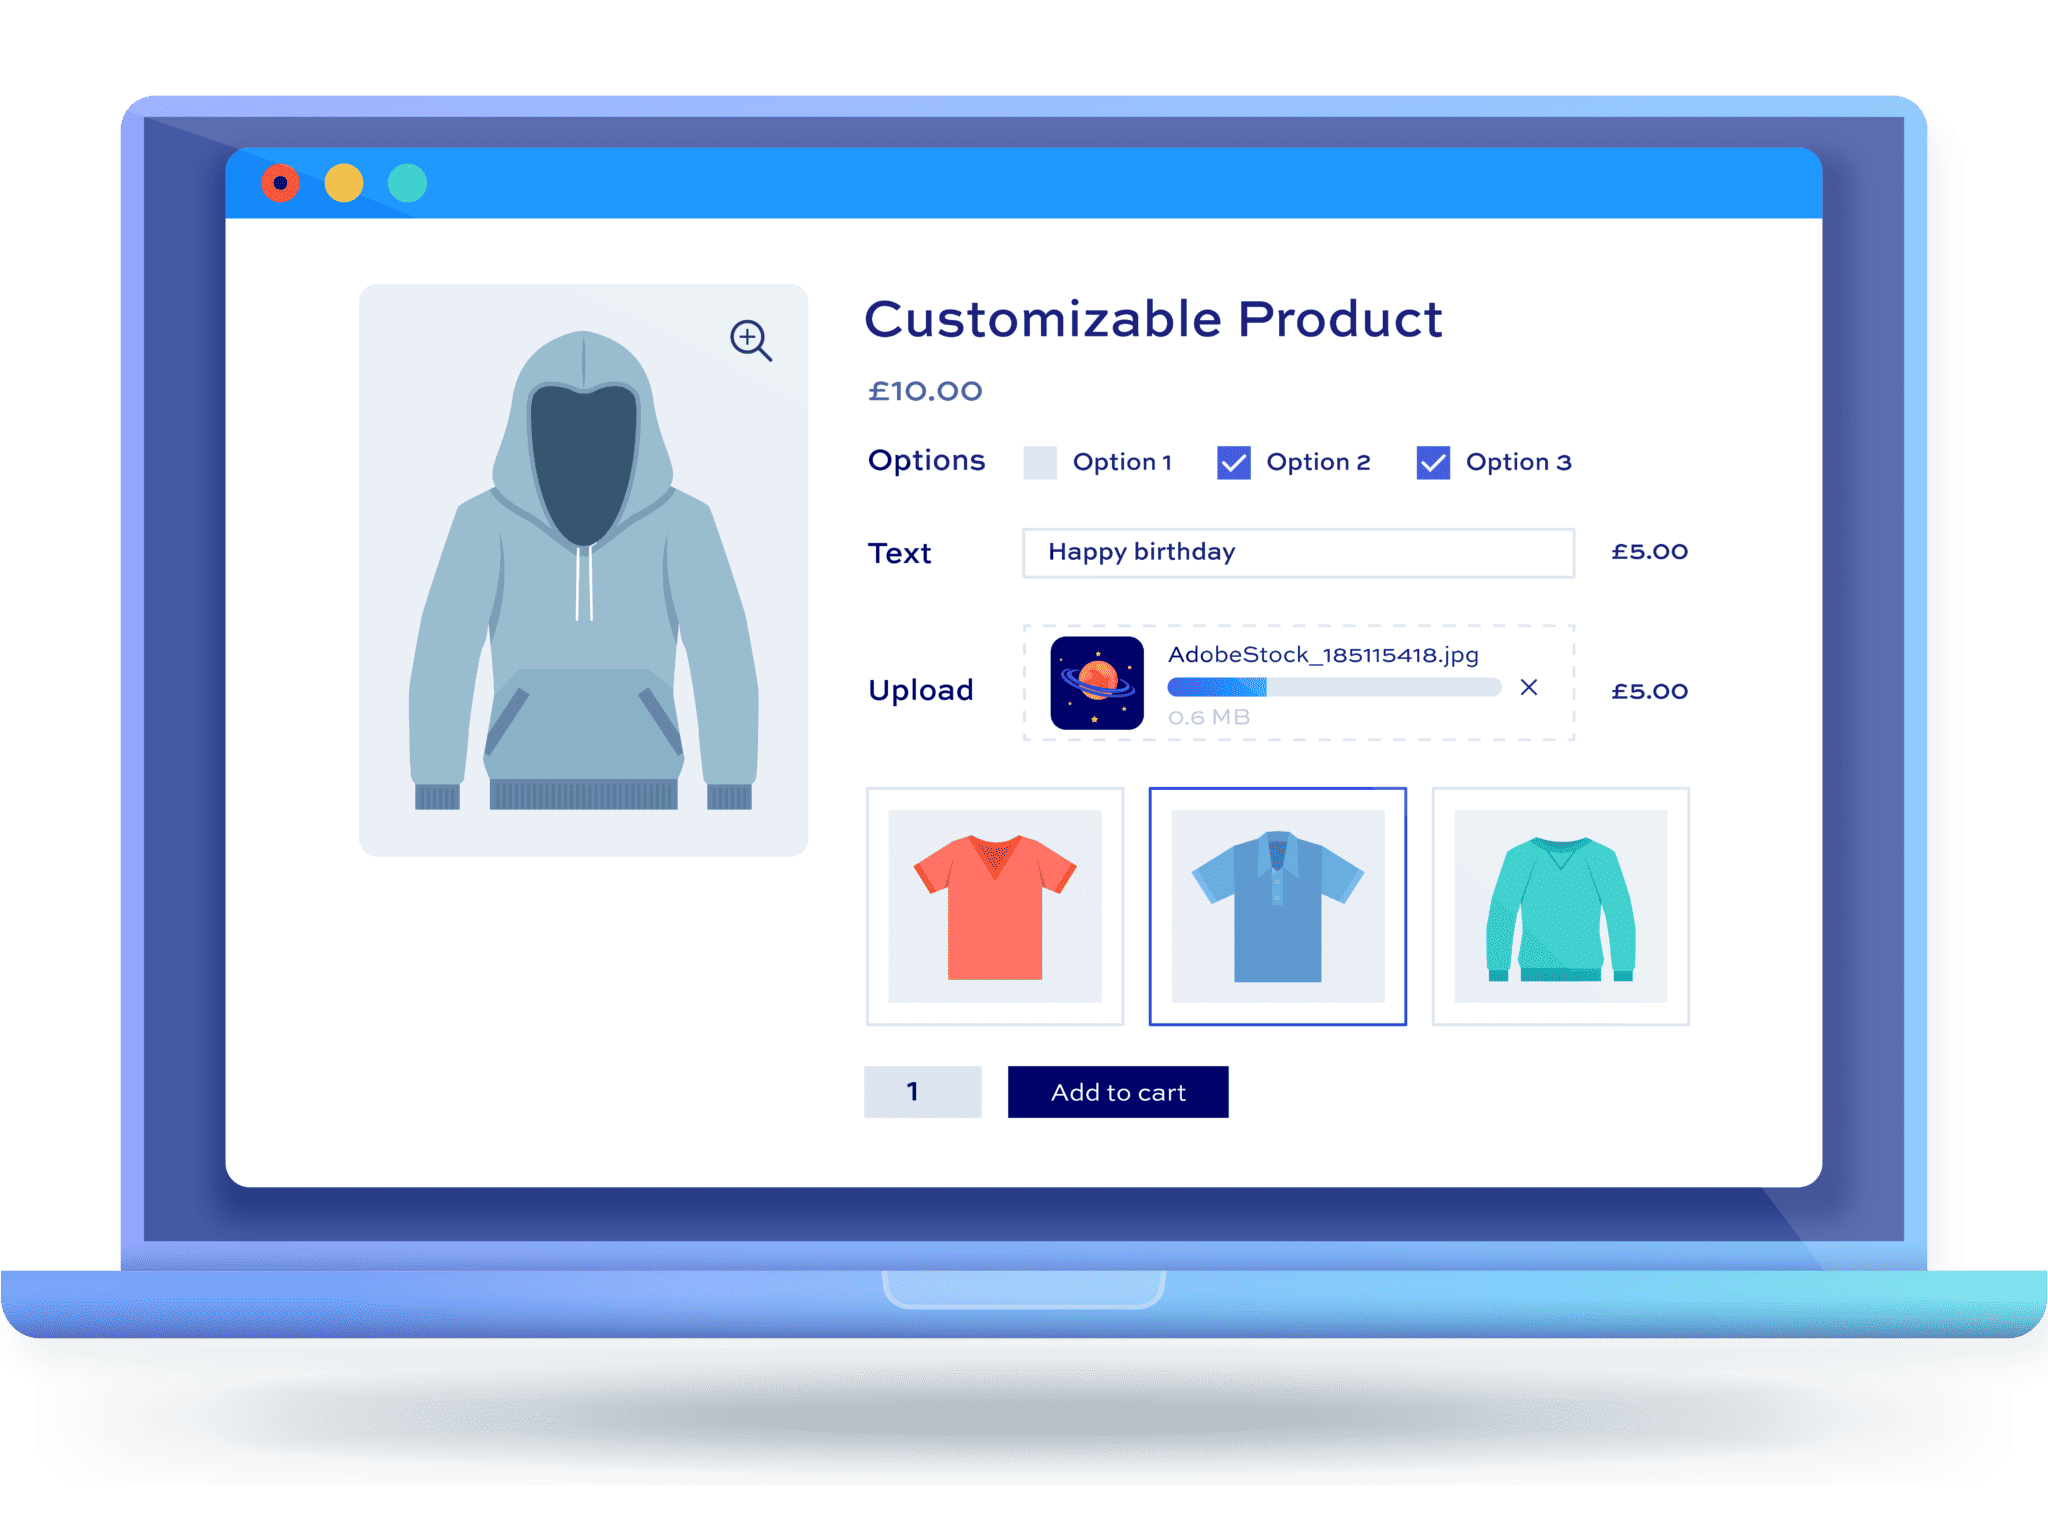
WooCommerce Product Add-Ons Ultimate lets customers customize their selections directly on the product page. It’s compatible with all themes and page builders. There are several ways it suits a vape store:
Mix and match vape products in WooCommerce
Customers can pick their own selection of flavors or strengths for a multi-bottle pack, rather than being locked into a fixed set. Vape Central Group lets customers build a custom bundle of 3, 6, or 10 flavors this way.
See our tutorial on WooCommerce mix and match products for how to set this up on your store.
Add a free gift
Automatically add a free item, like a battery or a pack of drip tips, when a customer meets a qualifying purchase. See our WooCommerce free gift guide tutorial for the different ways to set this up
Vape bundles and kits in WooCommerce
You can let customers build their own starter kit by choosing a device, coils, and e-liquid from a single product page. Prime Vapes UK does this by pairing each device with compatible e-liquid and coils, so customers don’t have to work out what fits together.
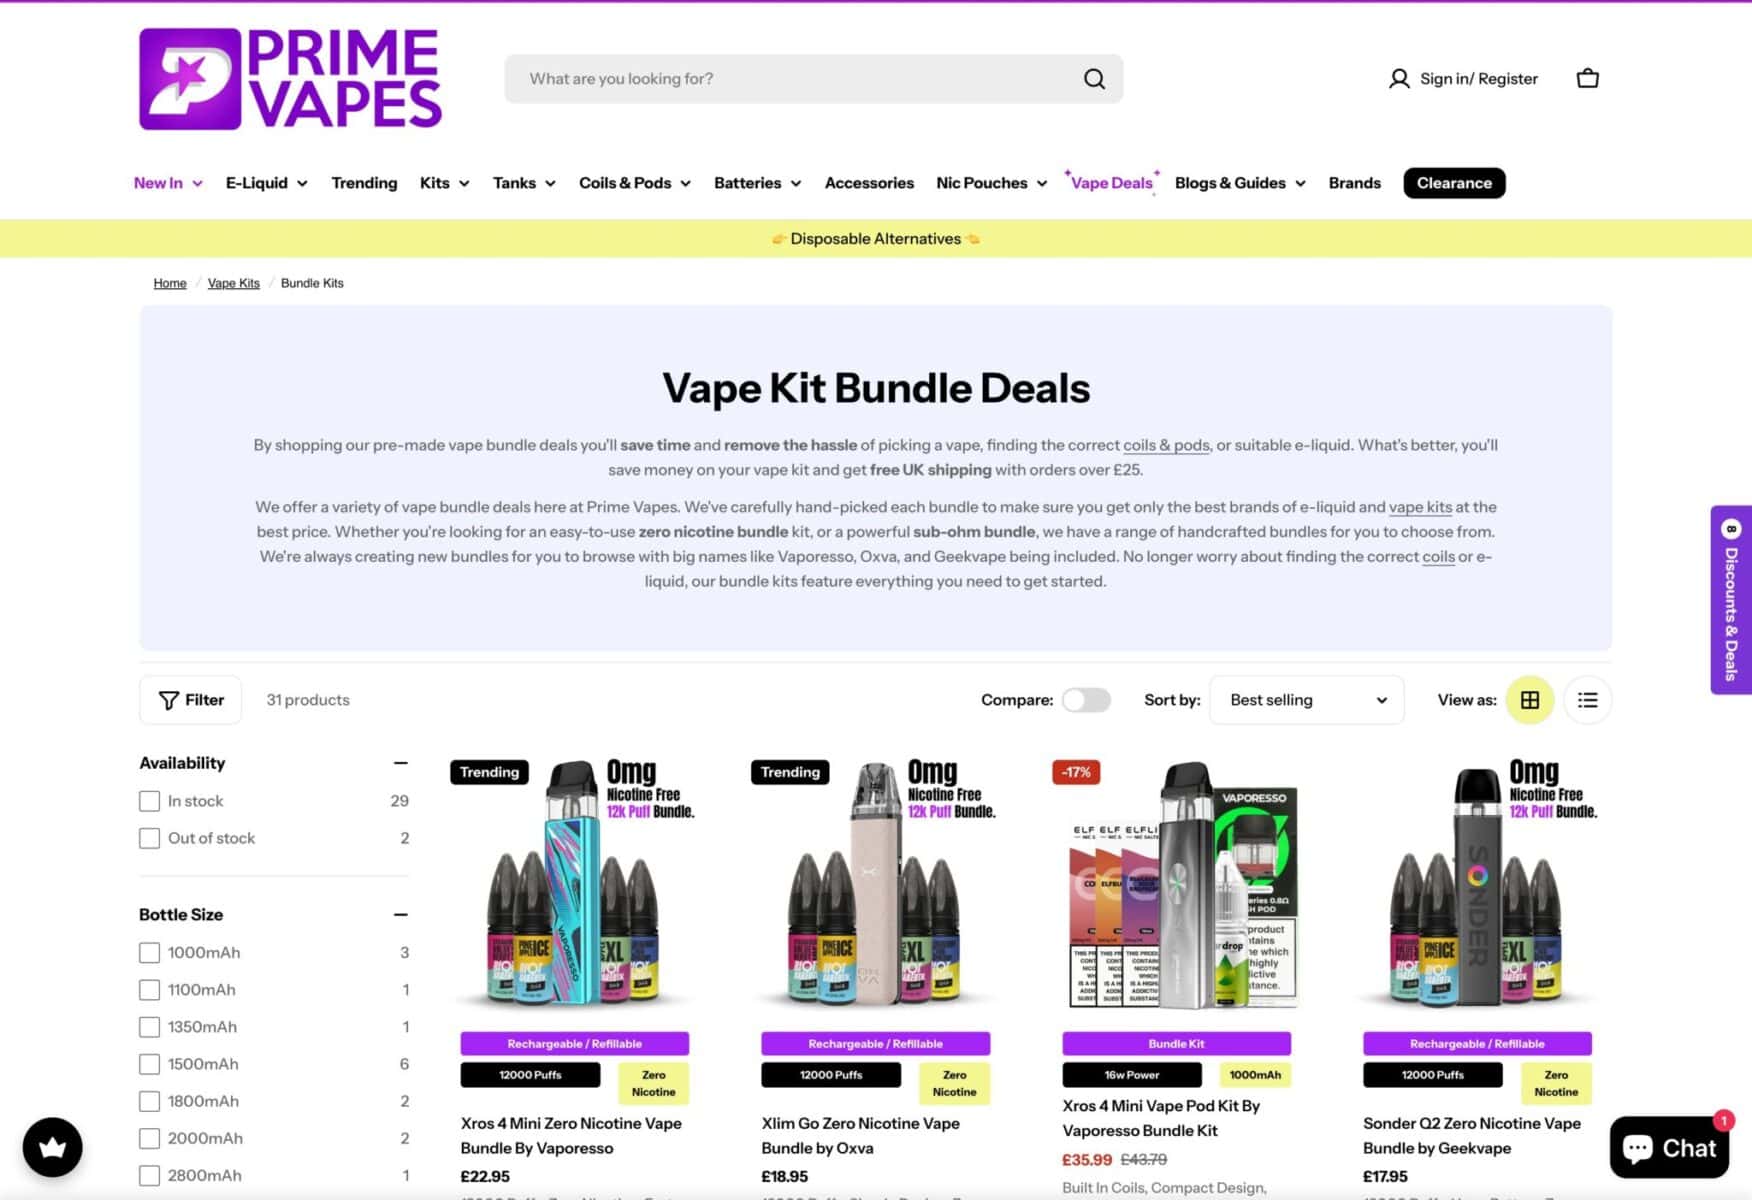
Alternatively, you could group a device, coils, and e-liquid into a single starter bundle at a combined price. South Beach Smoke bundles a device, cartridges, and charger into starter kits this way.
See the tutorial on WooCommerce product bundles guide for a full walkthrough.
WooCommerce Product Add-Ons Ultimate is a powerful plugin that will allow you to extend your vape store in a number of different ways
Dynamic Pricing and Discount Rules
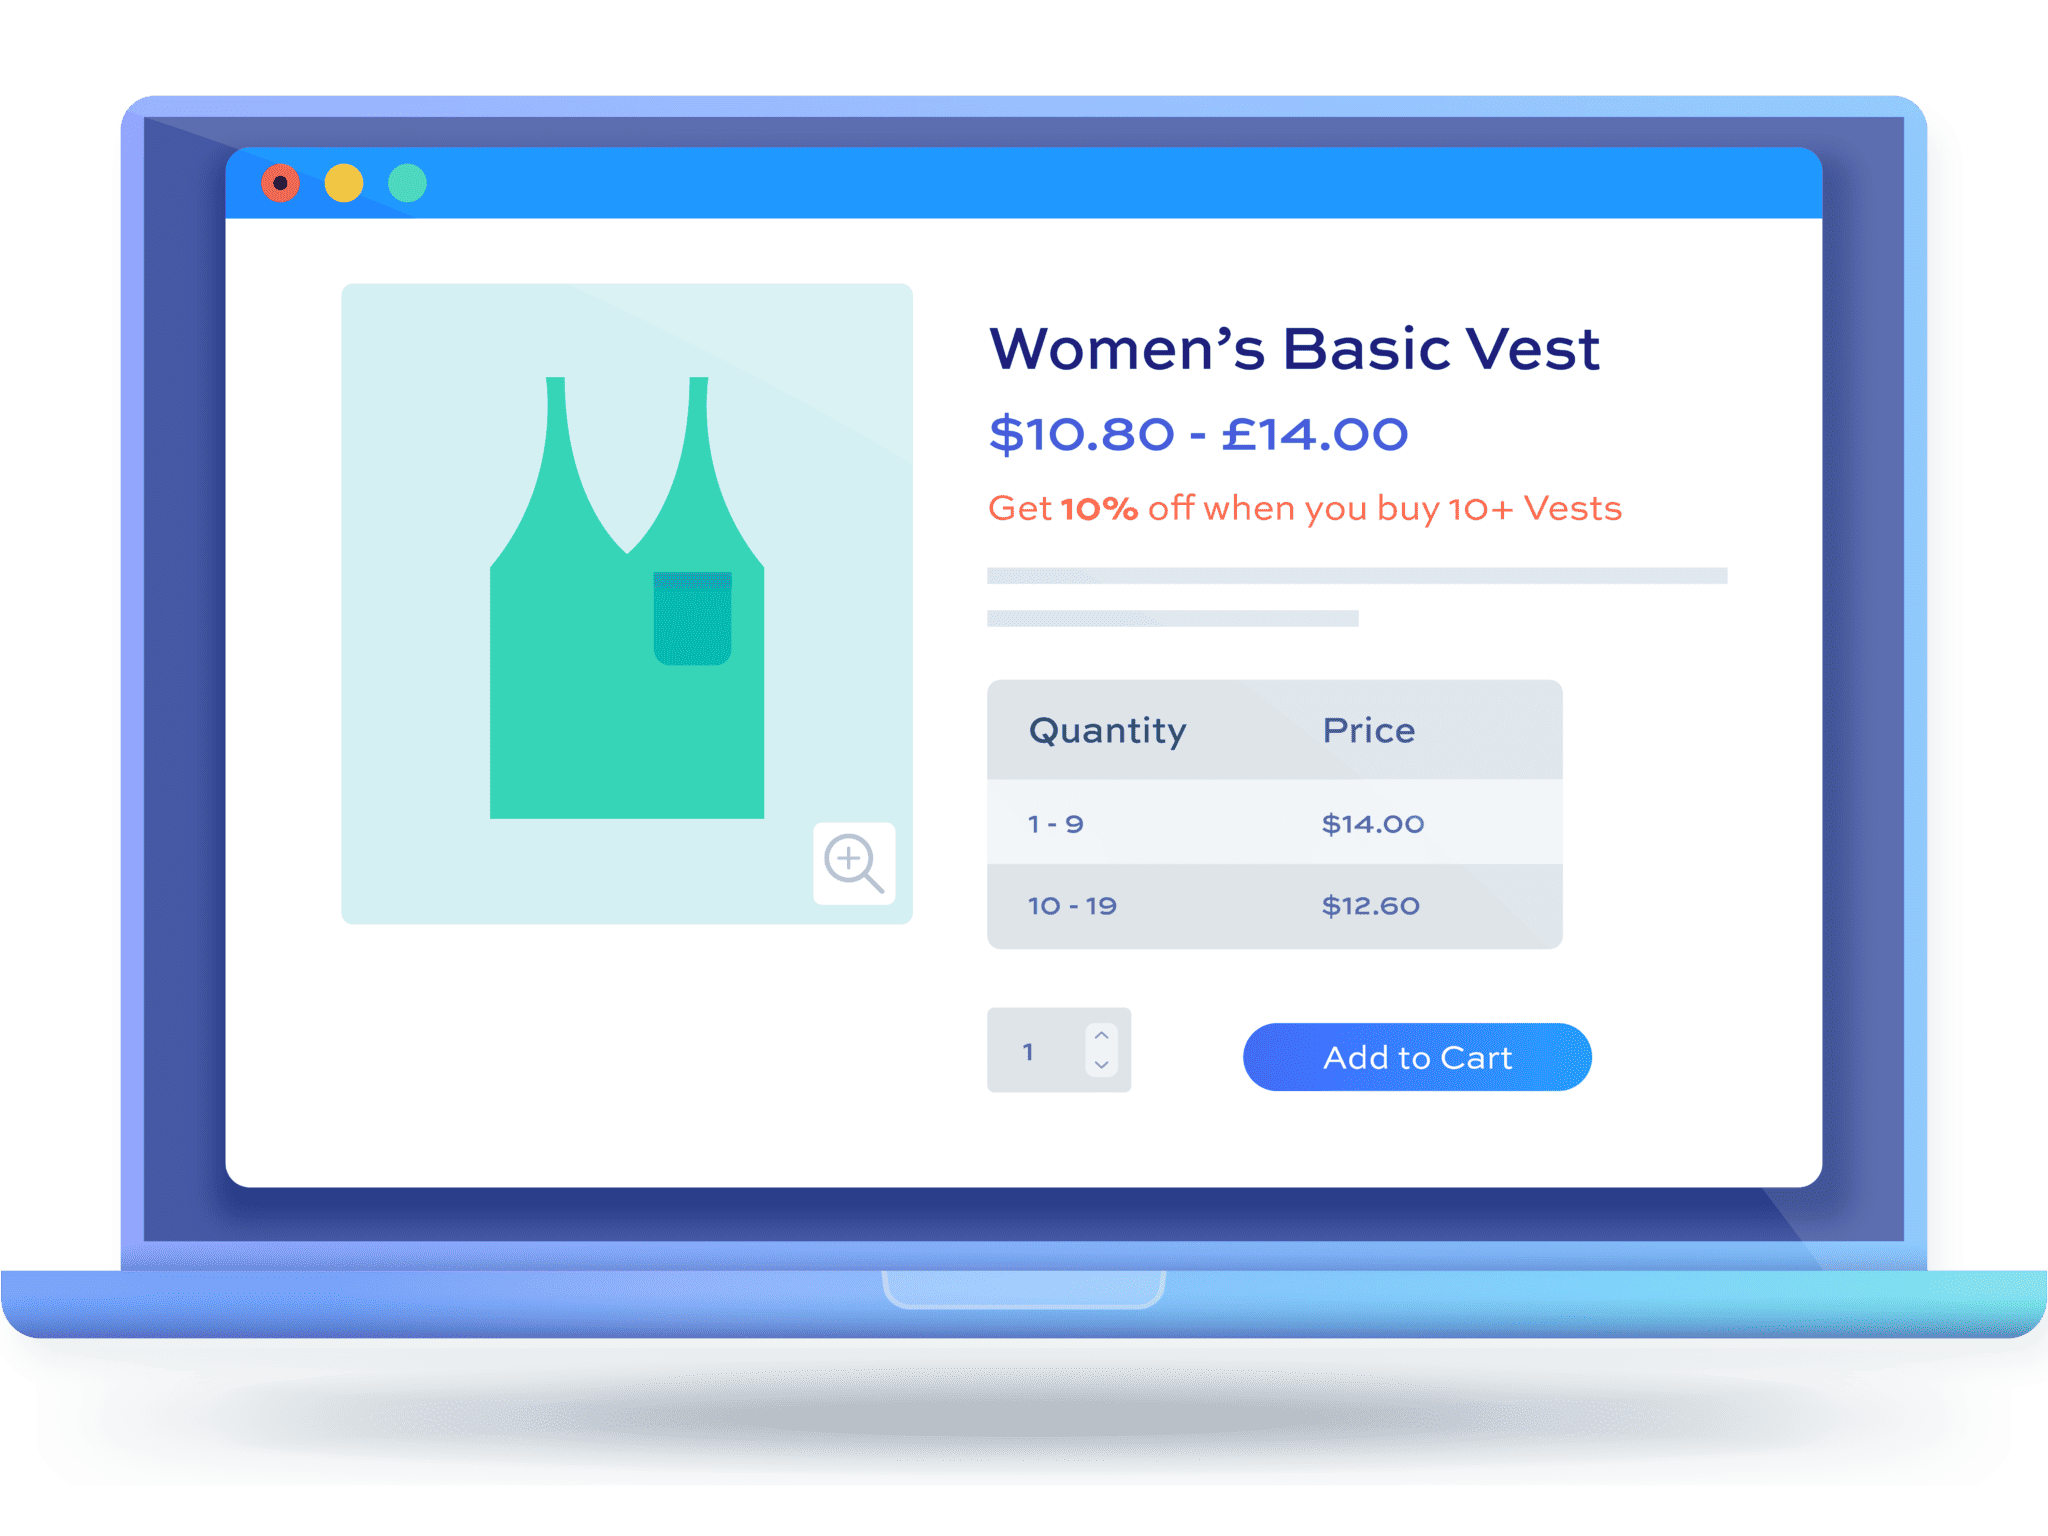
WooCommerce Dynamic Pricing and Discount Rules allows you to create pricing incentives like bulk discounts on e-liquid bottles or bundle pricing on starter kits, and it’s compatible with all WooCommerce payment gateways. This WooCommerce dynamic pricing guide covers a range of rule types, several of which apply well to a vape store’s typical buying patterns:
- Role- or customer-based pricing: different pricing for different customer groups, for example wholesale pricing for verified trade accounts. This suits vape stores that also supply smaller retailers or vape lounges alongside direct consumer sales
- Tiered pricing: the price per unit drops as quantity increases, for example 10% off three bottles of e-liquid and 20% off six. This rewards the bulk-buying behavior common among vape customers stocking up on a favorite flavor, and encourages a bigger basket than a flat, one-off discount would
- Spend thresholds: a discount or free item unlocks once a customer’s cart reaches a set value, for example free shipping over $40 or a free coil pack over $60. This nudges customers who are close to the threshold to add one more item, which suits a vape store’s mix of low-cost consumables (coils, drip tips) alongside higher-value devices
- Buy-one-get-one deals: a second item is free or discounted when a qualifying product is bought, for example buy two e-liquid bottles, get a third half price. This works well for moving stock across multiple flavors at once, rather than customers sticking to a single bottle
- Category-wide discounts: a percentage off everything in a chosen category, for example 15% off all disposable devices during a clearance. This is useful for a vape store clearing older stock ahead of a new device generation, without having to discount the whole catalog
WooCommerce Dynamic Pricing and Discount Rules is a powerful plugin to help customers spend more in your vape shop.
Order Bump
WooCommerce Order Bump adds upsells via a modal window, so a customer buying an e-liquid can be offered coils, batteries, or accessories without leaving the checkout flow. A few of its features are particularly useful for a vape store:
- Layout choice: pick between a standard product-style display or a simpler checkbox format. The checkbox format keeps the checkout page quick to scan, which matters if you’re also asking customers to complete age verification at the same stage
- Multiple display locations: show the offer on the product page, cart page, or checkout page. For a vape store, prompting on the product page works well for obvious pairings (offer coils the moment a customer adds a device), while a cart or checkout prompt suits smaller, low-friction add-ons like drip tips or a spare battery
- Multiple bump offers per product or category: set different offers for different triggers, so a device can prompt coils and a charging cable, while an e-liquid prompts a nicotine strength upgrade or a second flavor. This keeps offers relevant rather than showing the same generic upsell across the whole store
- Discounted bump pricing: offer the bumped item at a reduced price, for example 20% off a pack of coils when bought alongside a compatible device. A small discount on a genuinely useful add-on tends to convert better than a full-price upsell, especially for consumables customers will need again soon anyway
- Automatic or manual product selection: choose exactly which product appears in each bump, or let it pull from your existing cross-sell and upsell settings. Manual selection is worth the extra setup time for compatibility-sensitive items like coils and pods, where showing the wrong part for a given device would frustrate rather than convert a customer
WooCommerce Order Bump is an excellent way to increase the average order value in your vape store.
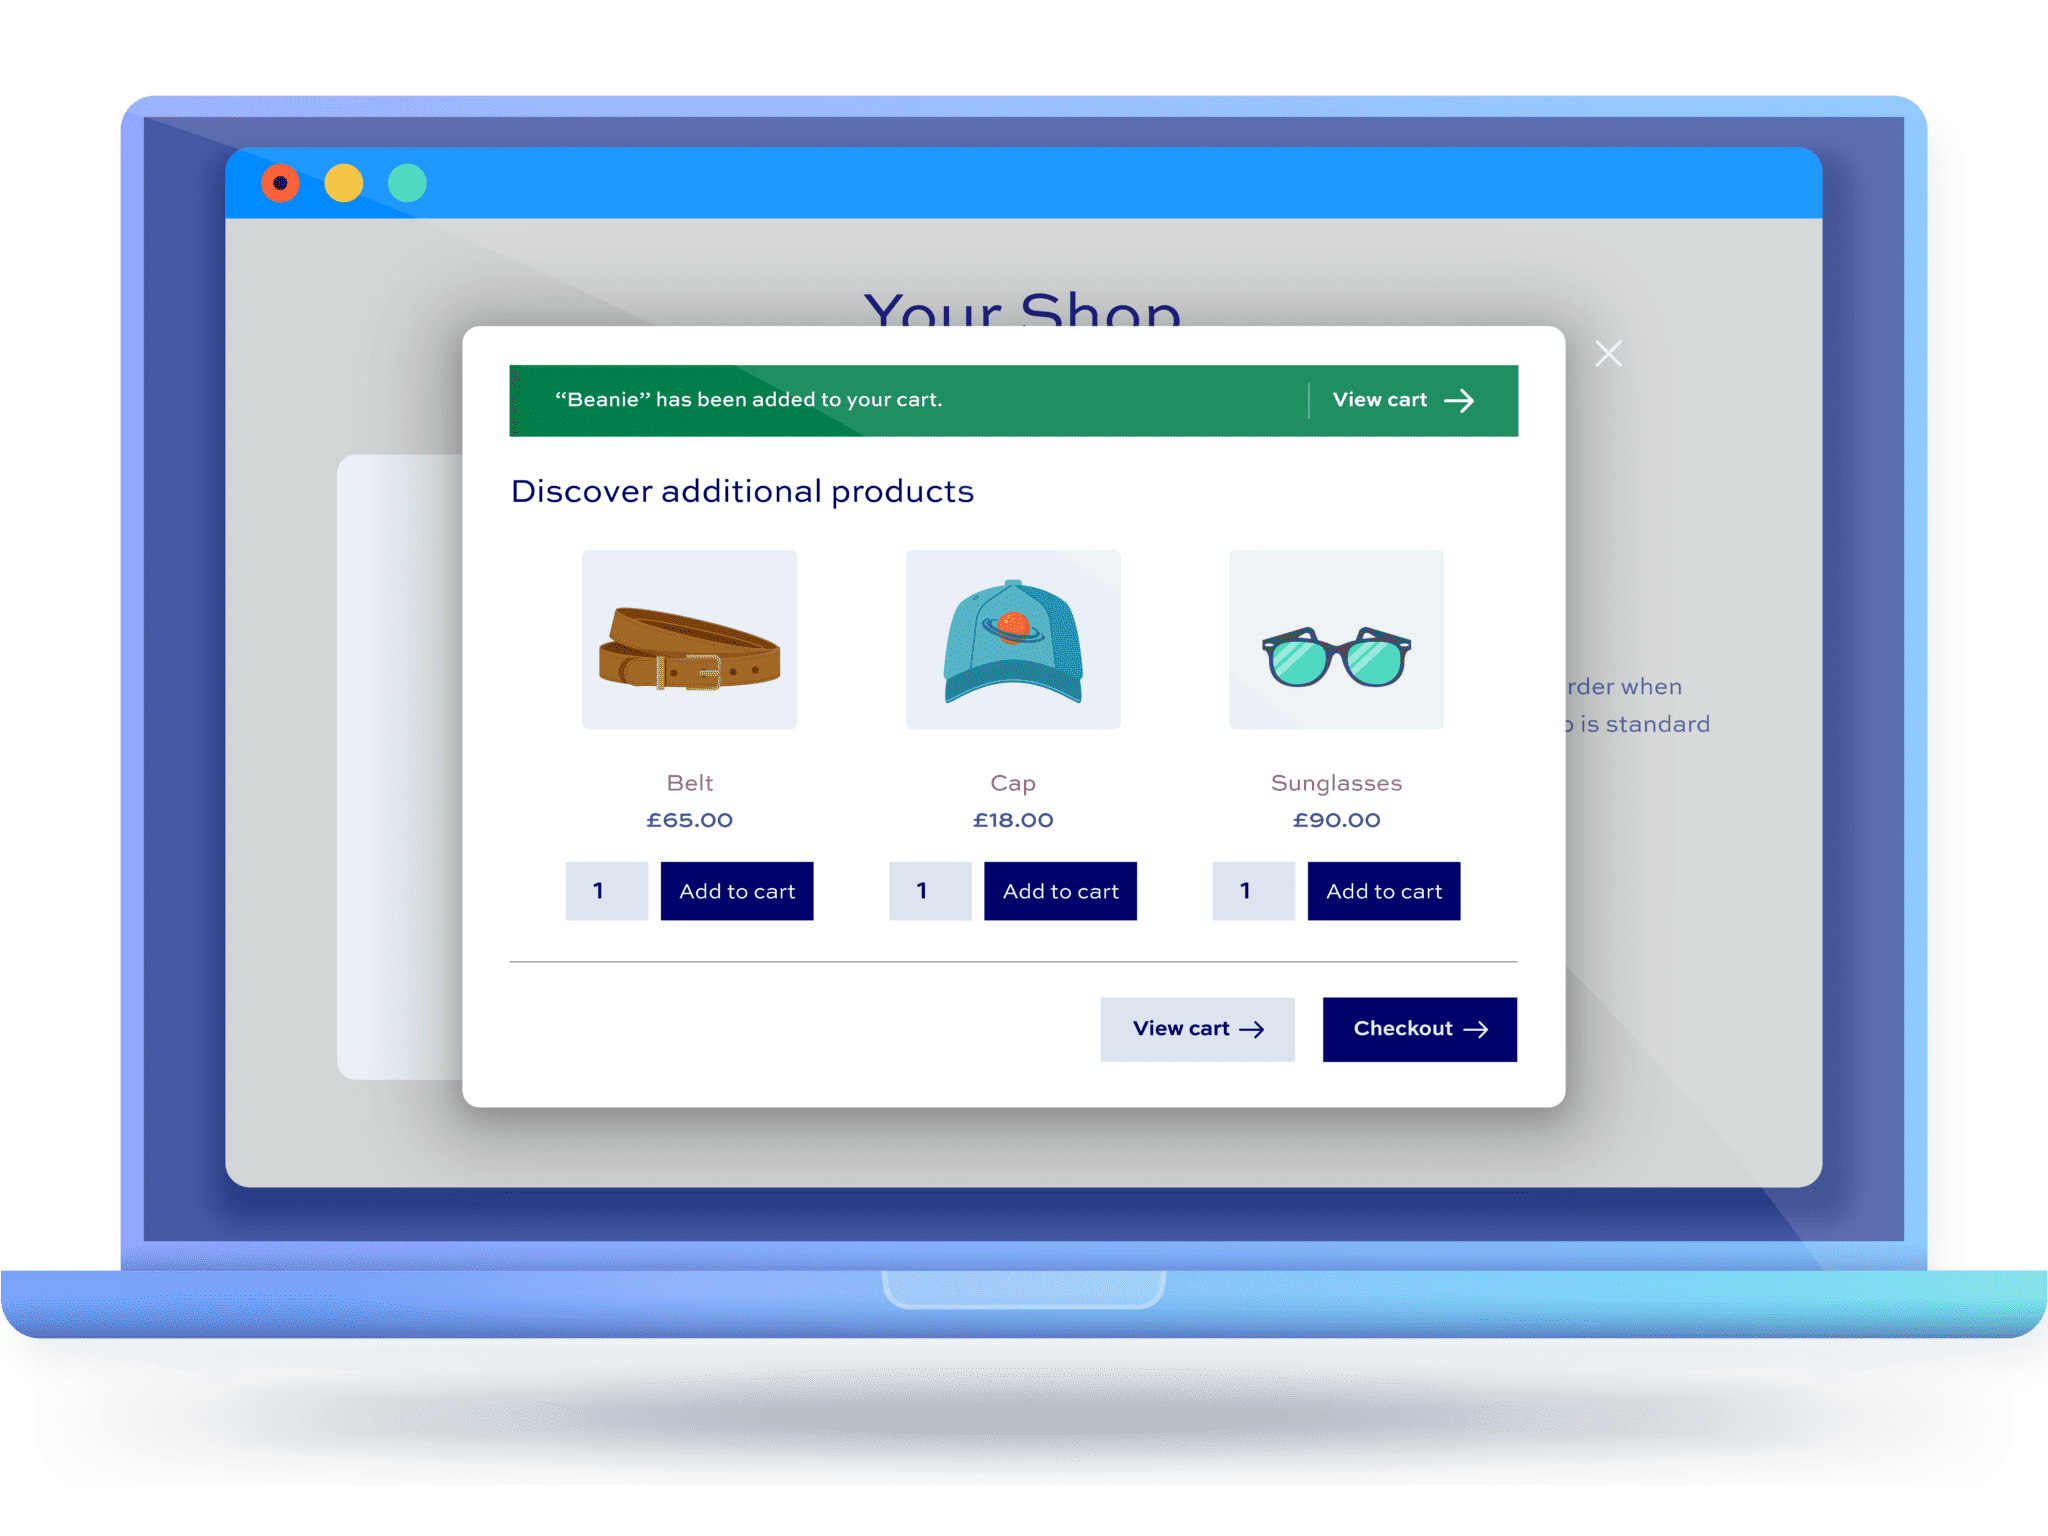
Increase sales and maximize revenue with the WooCommerce Order Bump plugin
WooCommerce Variation Swatches
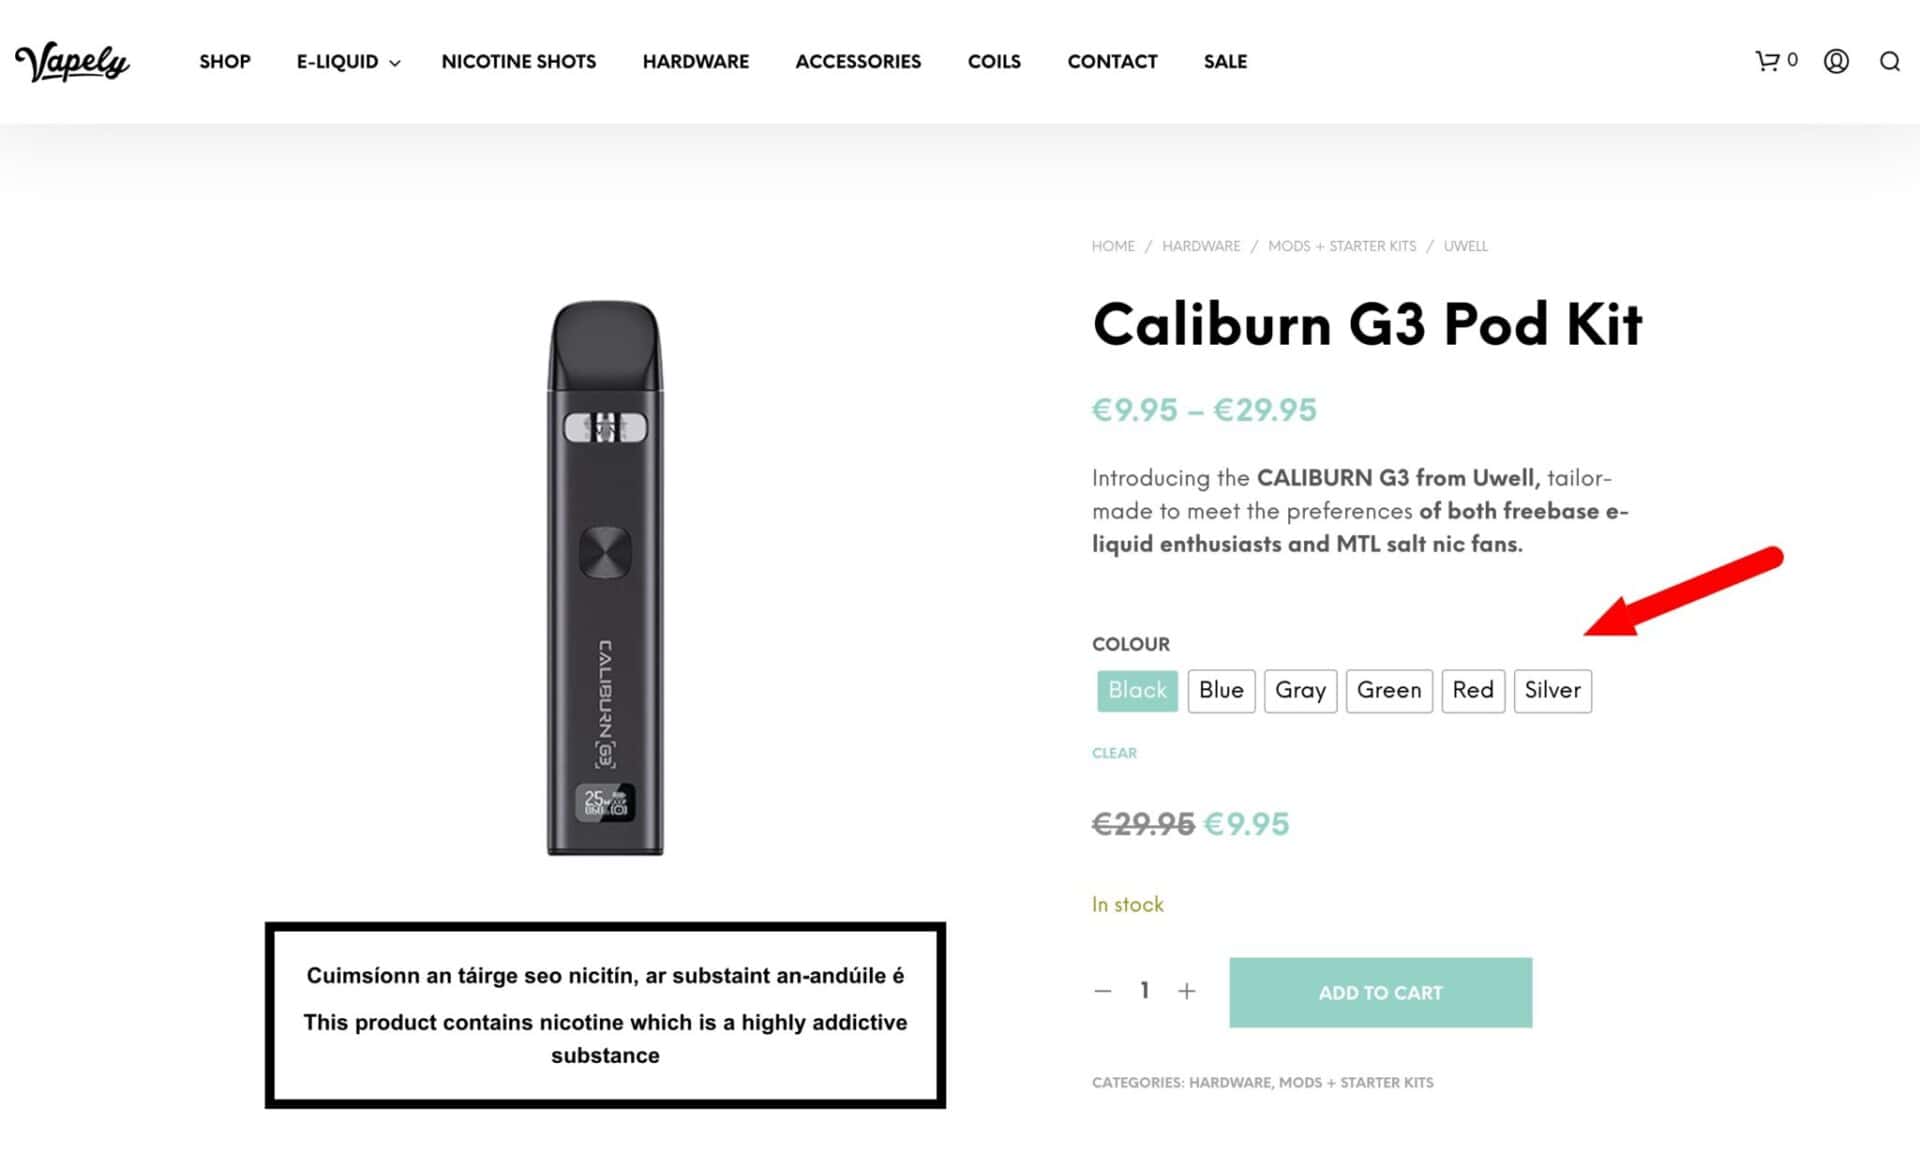
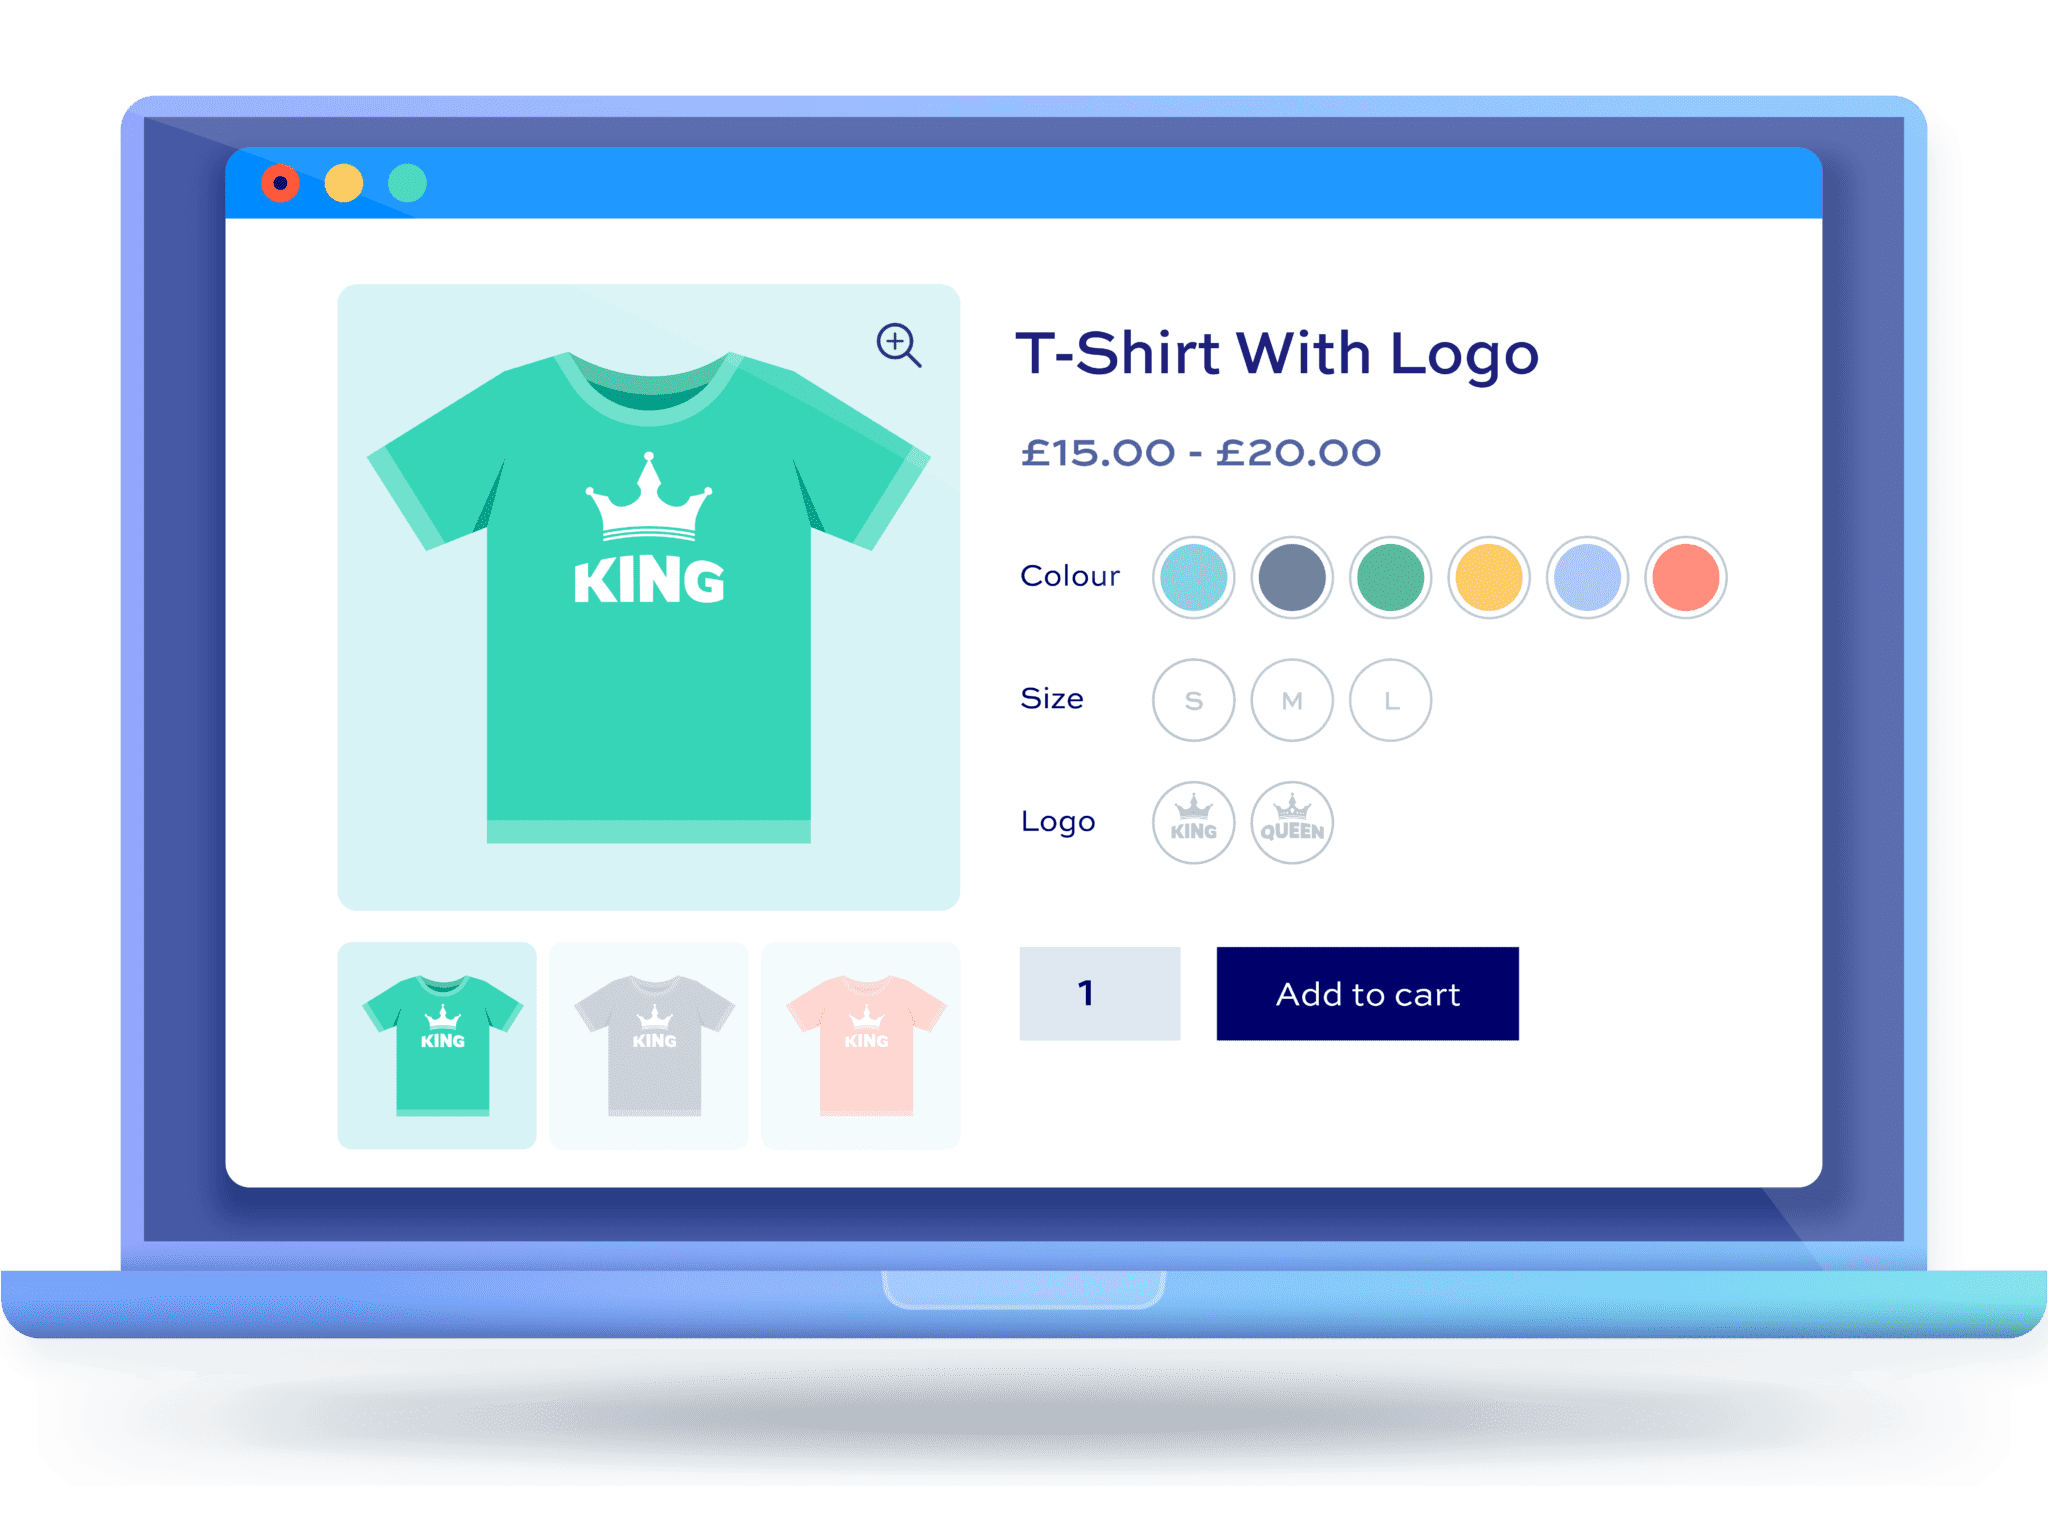
If your product pages use variable products for things like nicotine strength or flavor, WooCommerce Variation Swatches is worth considering too. It replaces the default dropdown selectors with color, image, or text swatches, which can make it quicker for customers to pick the right combination, and it’s compatible with all themes and page builders.
Vapely uses swatches this way on its Caliburn G3 Pod Kit product page, letting customers pick a device color at a glance rather than working through a dropdown list.
Managing your store
Once your vape store is live, you’ll want to manage it from the WordPress back end.
How orders are received
When a customer completes checkout, WooCommerce creates a new order automatically and moves it through a series of statuses as it’s processed. Here’s how that works, step by step:
- Step #1: The customer places their order and pays through your chosen gateway
- Step #2: WooCommerce creates the order and sets its status based on the payment result. A successful card payment typically sets the order to ‘Processing’, while a manual payment method (like bank transfer) sets it to ‘On hold’ until you confirm payment has arrived
- Step #3: You receive an email notification at your store’s admin address, and the customer receives their own confirmation email
- Step #4: The order appears in WooCommerce > Orders in your WordPress dashboard, where you can see its status, items, customer details, and payment method at a glance
- Step #5: Open the order to view full details, including the shipping address, any notes left by the customer, and (if you’re using a verification service) the age verification result
- Step #6: Once you’ve fulfilled the order, update its status to ‘Completed’. This can be done manually, or automatically if you’re using a shipping plugin that updates status on dispatch
WooCommerce orders move through several possible statuses:
- Pending payment – order received, but payment hasn’t been confirmed yet
- Processing – payment has been received, and the order is ready to be fulfilled
- On hold – awaiting manual payment confirmation, such as a bank transfer
- Completed – the order has been fulfilled and, where relevant, shipped
- Cancelled – the order was cancelled, by you or the customer
- Refunded – the order was refunded, in part or in full
- Failed – the payment attempt failed or was declined
You can filter and search orders by status from the Orders screen, which is useful for quickly finding, for example, every order still awaiting fulfillment.
Other day-to-day management tasks
- Track age verification status – if you’re using a verification service, check each order’s pass or fail status before shipping
- Manage stock – set low-stock thresholds for fast-moving consumables like e-liquid, so you don’t oversell popular flavors
Resources for vape stores
Here’s a list of external resources, services, and products mentioned in this guide, grouped by category, for quick reference.
Plugins
| Resource | Description |
|---|---|
| WooCommerce Product Add-Ons Ultimate | Lets customers customize product selections on the product page |
| WooCommerce Dynamic Pricing and Discount Rules | Creates bulk discounts and other pricing incentives |
| WooCommerce Order Bump | Adds checkout-page upsells |
| WooCommerce Variation Swatches | Replaces variation dropdowns with color, image, or text swatches |
Hosting
| Resource | Description |
|---|---|
| Kinsta | Managed WordPress host with one-click WooCommerce setup |
Themes
| Resource | Description |
|---|---|
| Flatsome | Best-selling general-purpose WooCommerce theme |
| Shoptimizer | Best-selling general-purpose WooCommerce theme |
| Vapeoza | Vape-specific WooCommerce theme with pre-built vape store layouts |
| ThemeForest vape theme category | Marketplace listing of vape-specific WooCommerce themes |
Age verification
| Resource | Description |
|---|---|
| Age Gate | Free cookie-based age-gate popup plugin |
| AgeChecked | Free WooCommerce plugin, pay-per-check ID verification service |
| AgeChecker.Net | ID and database verification plugin for WooCommerce checkout |
| Token of Trust | ID and identity verification (KYC) plugin for WooCommerce checkout |
Payment gateways
| Resource | Description |
|---|---|
| Worldpay | Payment gateway with its own official WooCommerce plugin |
| WorldNet | Payment gateway with its own official WooCommerce plugin |
| WooCommerce payment gateway directory | Filterable directory of payment gateways available by country |
| Authorize.Net | High-risk-friendly payment gateway, official WooCommerce plugin |
| NMI | High-risk-friendly payment gateway, third-party WooCommerce plugin |
Creating a vape store in WooCommerce – recap
That’s how to create a vape store using WooCommerce, whether you’re starting from scratch or switching over from Shopify. We looked at choosing hosting and a theme, setting up age verification and a vape-friendly payment gateway, and extending your store with plugins for customization, pricing, and upsells.
All the plugins mentioned in this guide are compatible with every WordPress theme and page builder. If you have any questions, our world-class support team is on hand to help, and every plugin is backed by a 14-day money-back guarantee, so you can try them risk-free.