How to display WooCommerce variations as radio buttons
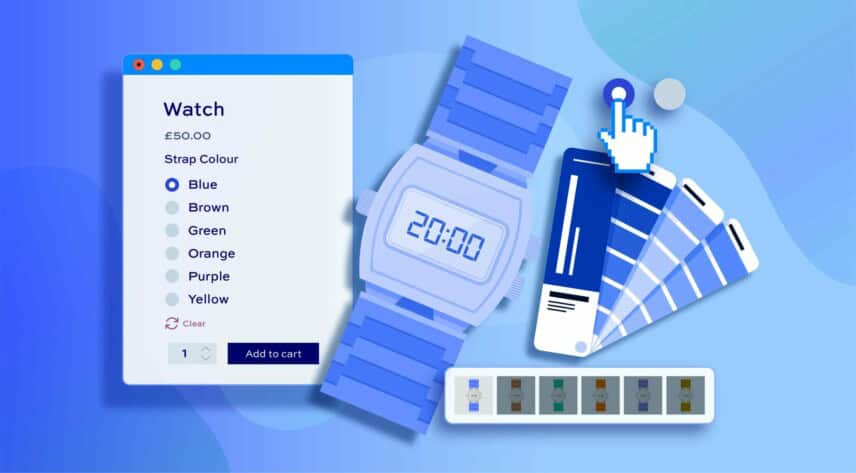
To use radio buttons for variations in WooCommerce, you’ll need a plugin. By default, WooCommerce only displays variations as dropdown lists but with the Variation Swatches plugin you can display your variations as radio buttons in only a few seconds.
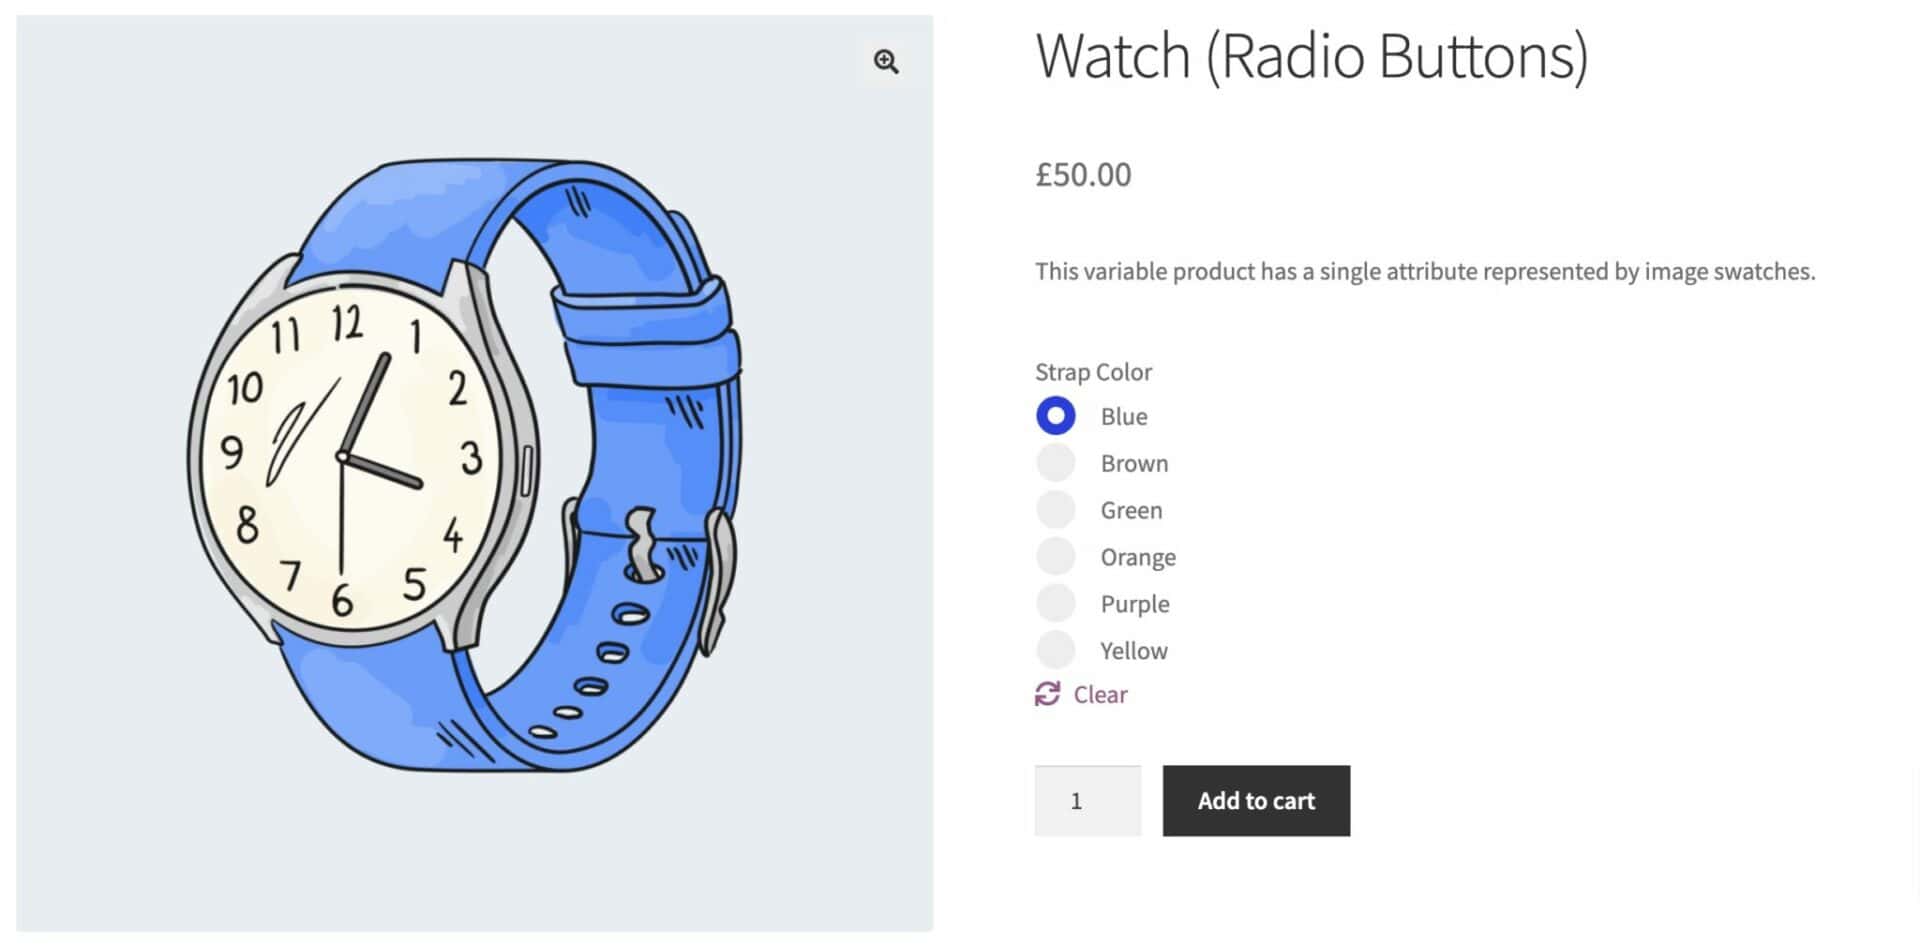
In this article, we’ll show you the quickest and best way to replace your variation dropdown lists with radio buttons using the WooCommerce Variation Swatches plugin.
Note that this method allows you to use your existing WooCommerce variations. This is better than certain alternatives which recommend that you use add-on fields instead of variations:
- You don’t need to create any new fields
- It allows you to use essential features related to variations – for instance, allocating SKUs and managing stock
- You don’t need to convert variable products to simple products
Why use radio buttons instead of dropdown lists?
By default, WooCommerce uses dropdown lists (otherwise called select fields) to display its variations.
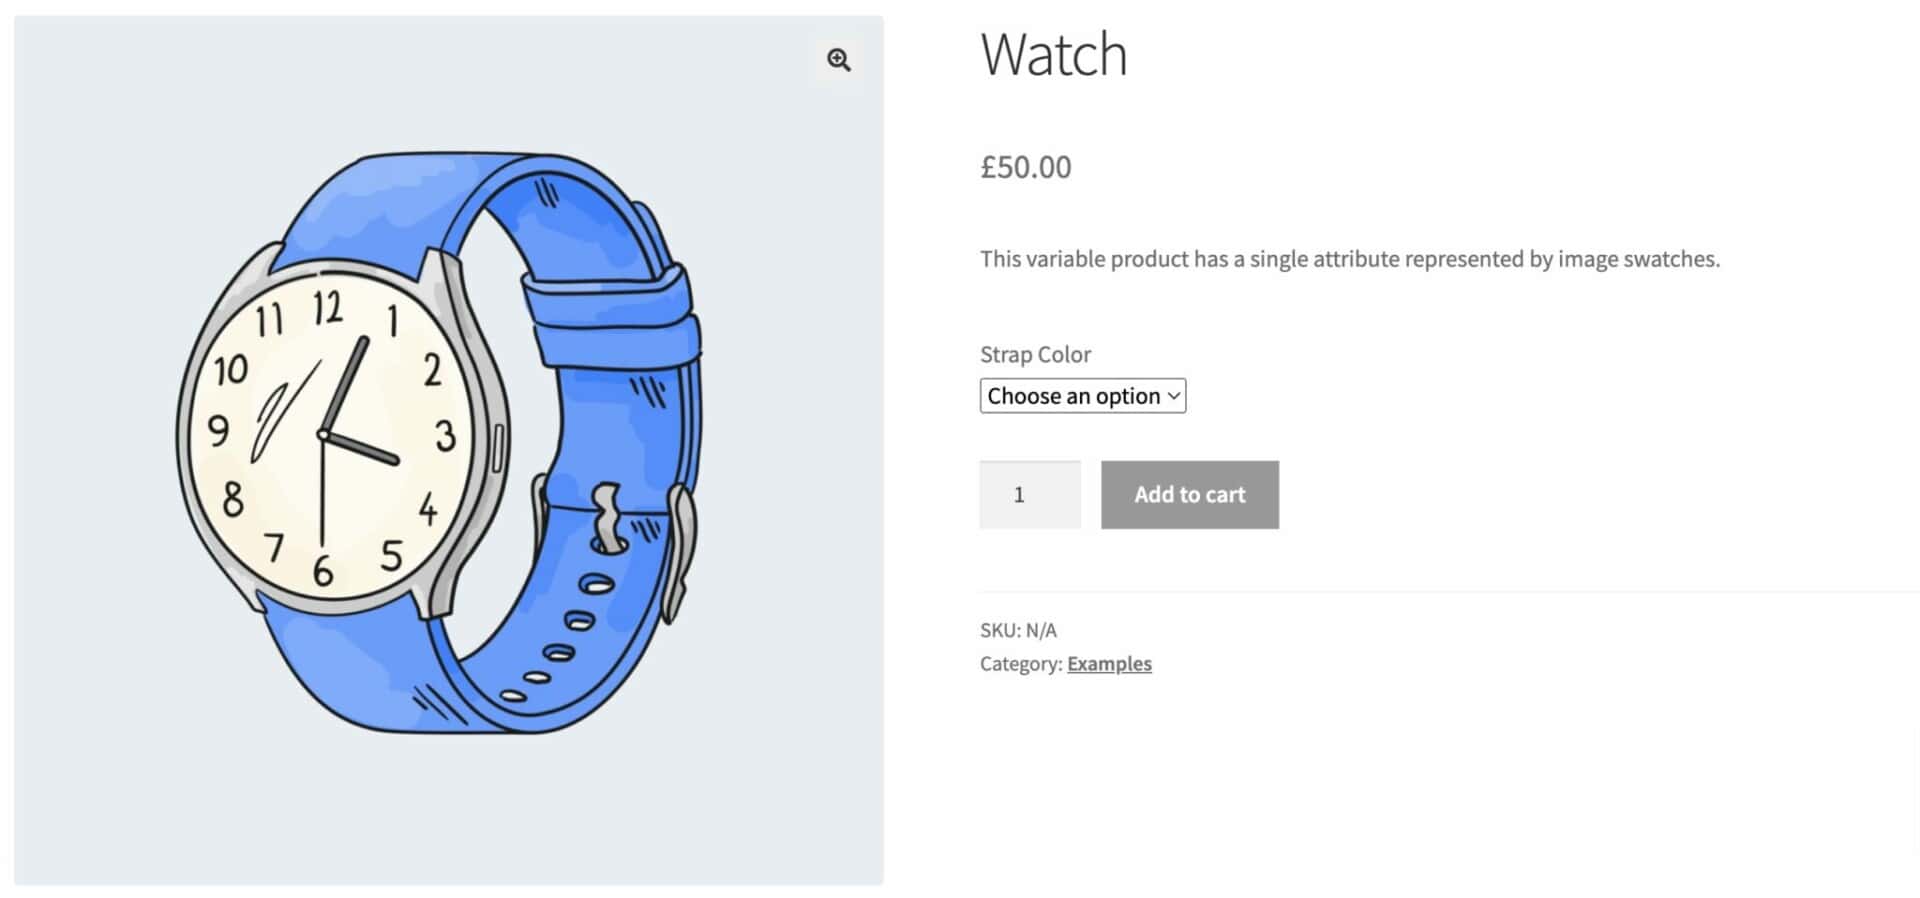
Radio buttons and select fields are similar in some respects: for example, they’re both input fields that allow the user to make a single choice from a list of options.
However, there are advantages to using radio buttons instead, including:
- Radio buttons are more efficient: the user doesn’t need to click on a select field to expand it and view the options. All the options are already visible and the user just needs to click on their preferred option
- More intuitive and user-friendly: users can see what selection they’ve made, leading to fewer mistakes in ordering
- Increased sales: because radio buttons are quicker for the user, they could ultimately lead to more sales for you
How to display variations as radio buttons in WooCommerce
Here’s how to display your variations as radio buttons in just a few clicks. After you’ve installed the WooCommerce Variation Swatches plugin:
- Go to its main settings page at WooCommerce > Settings > Variation Swatches
- In the ‘Default style’ setting, choose ‘Radio buttons’
- Click ‘Save changes’
That’s it. Now all the variable products in your store will display their variations using radio buttons.
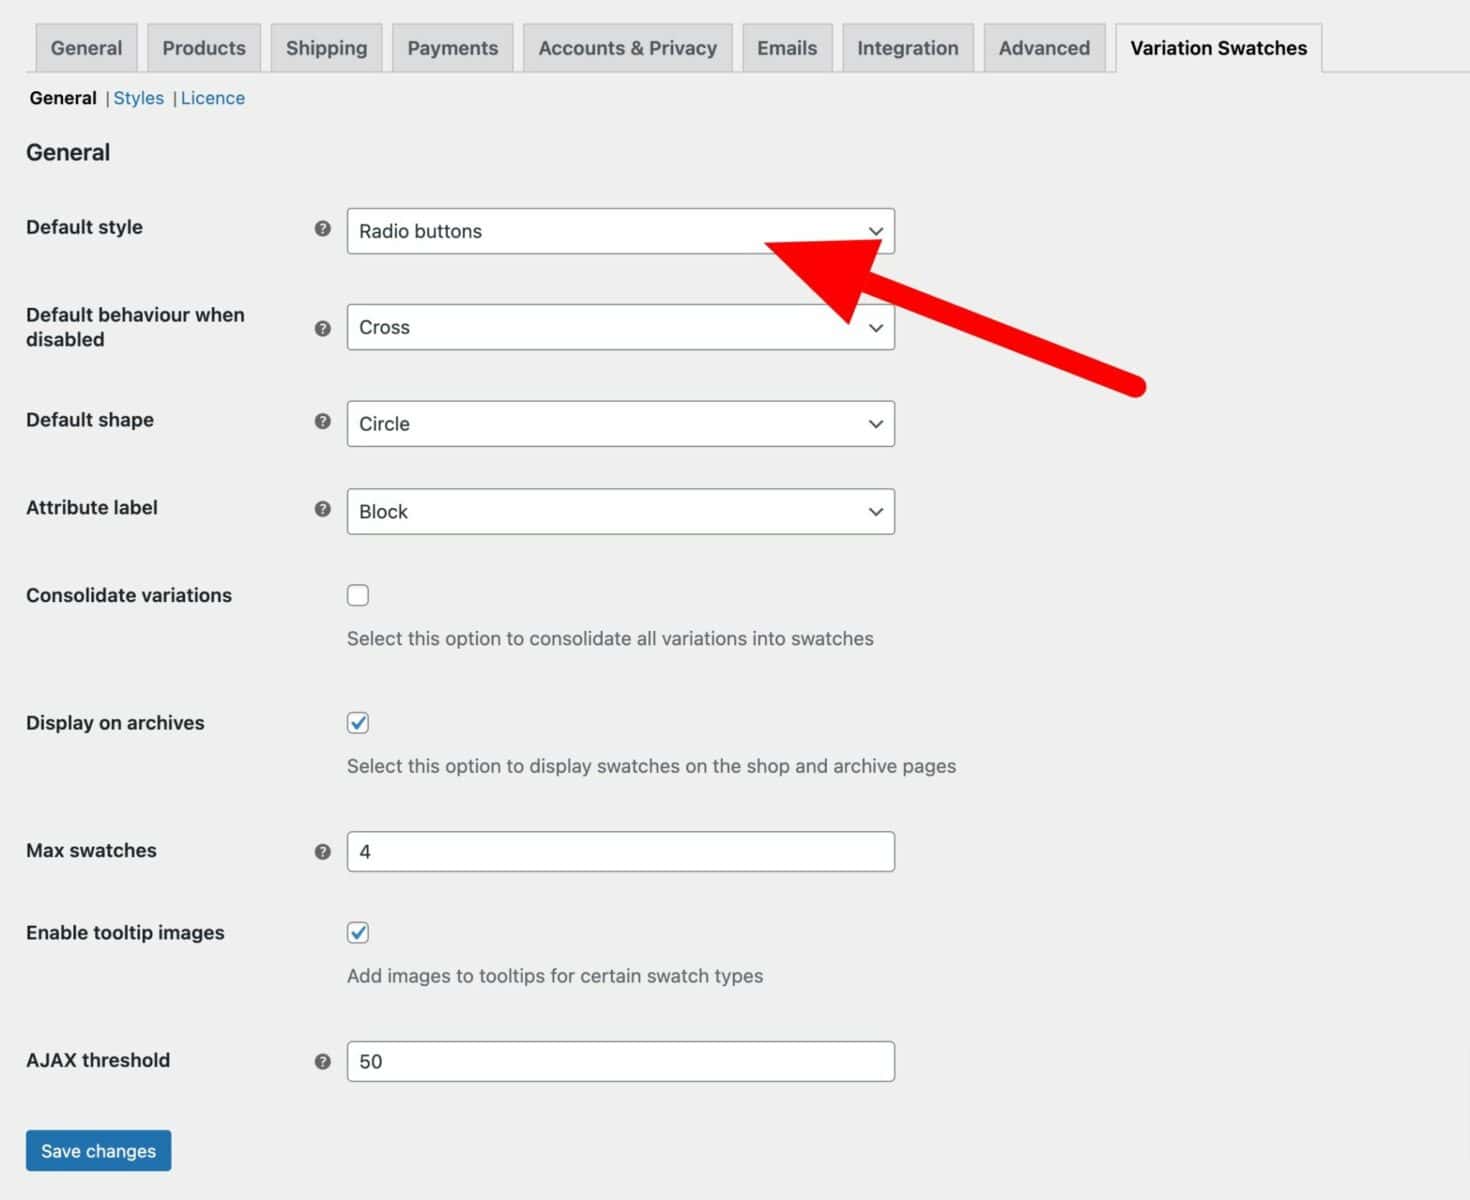
That’s how to instantly convert all your variation dropdown lists to radio buttons.
Now let’s look at some more granular options.
Displaying specific attributes variations as radio buttons
Radio buttons might not work for all scenarios. For example, if some of your variable products have a lot of options then displaying them as radio buttons might take up too much room on the page.
So, if you like, you can opt to display variations as radio buttons just for specific attributes. To do this:
- Edit the attribute that you’d like to display radio buttons for by going to Products > Attributes
- Click on the attribute you’d like to edit
- Set the ‘Style’ to ‘Radio buttons’
- Click ‘Update’
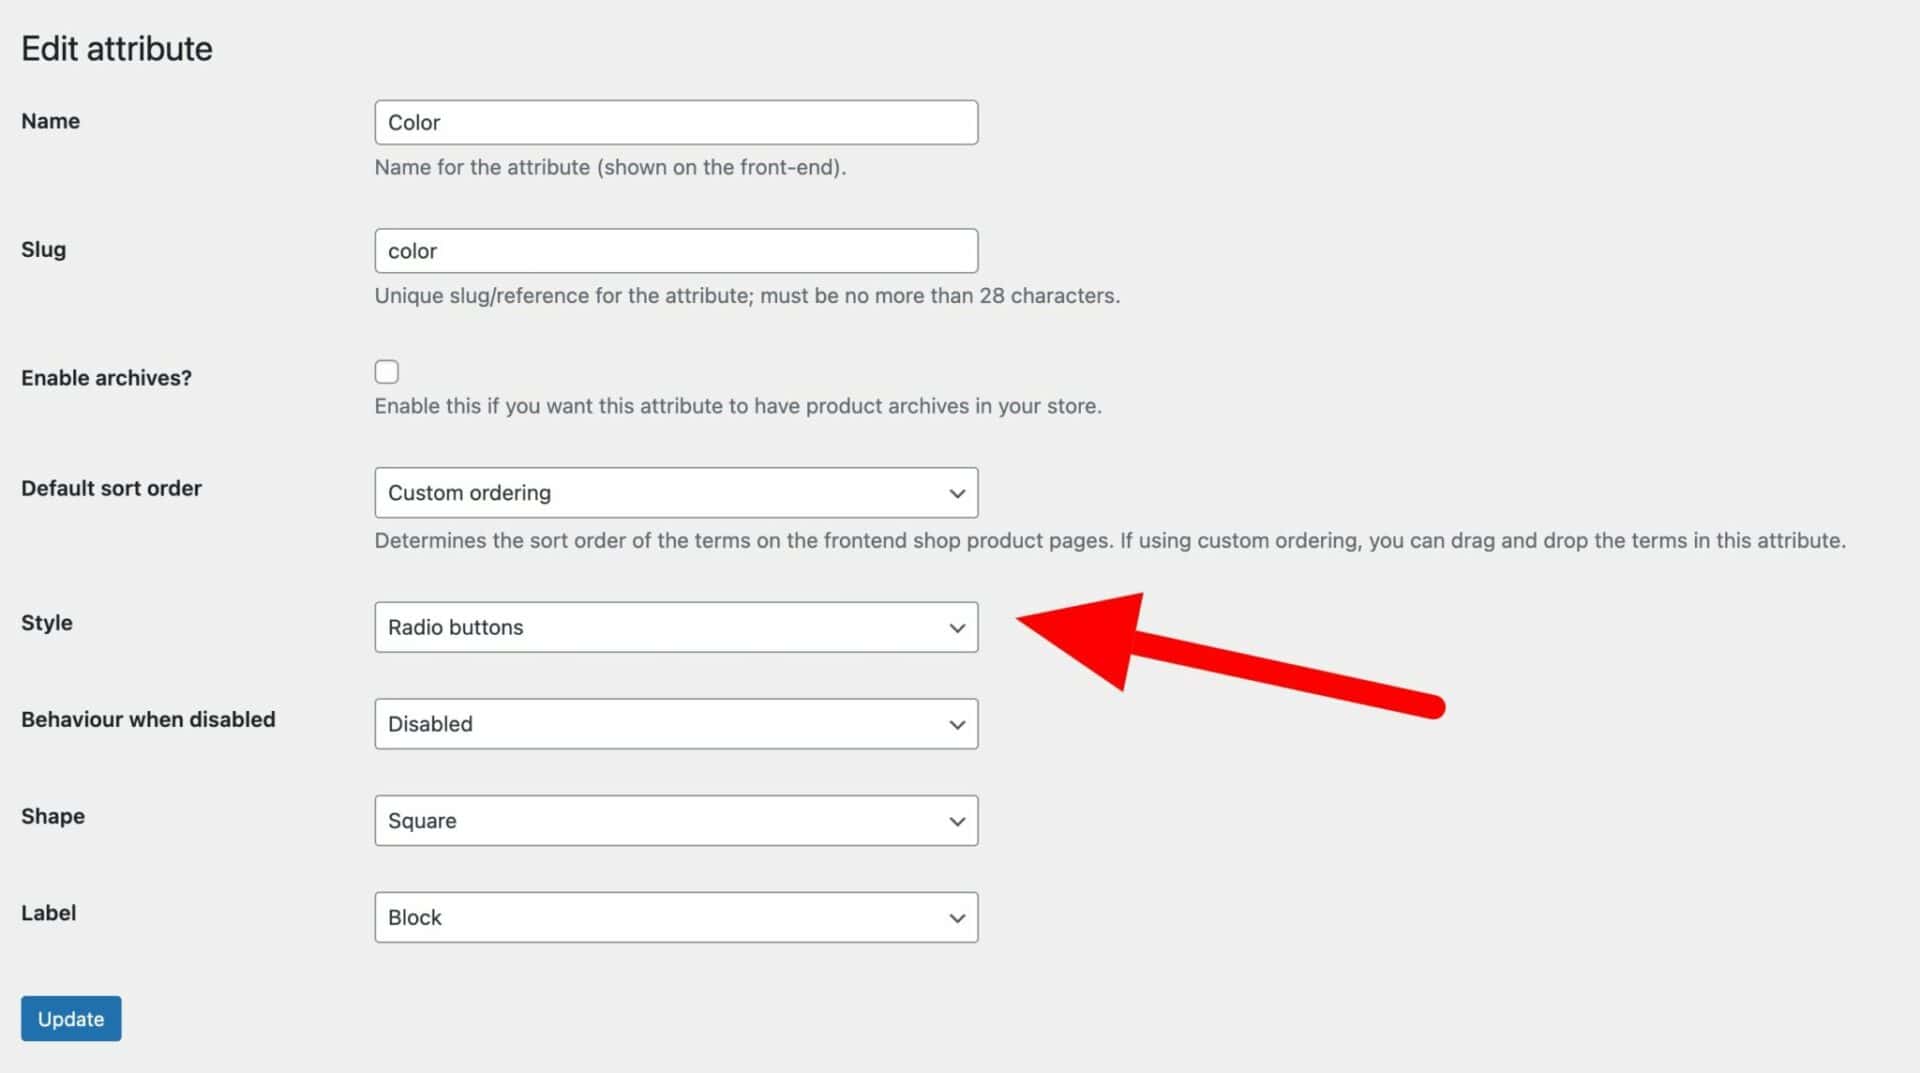
Now all the variable products that use this attribute will display their variations as radio buttons. Other products will continue to use the default select field.
Displaying radio buttons for variations for specific products
Maybe you want to be even more specific and only display the variations for certain products as radio buttons. To do so:
- Edit the product that you would like to show radio buttons for
- Click on the ‘Attributes’ tab in the ‘Product data’ section
- Select the attribute that you want to display radio buttons for
- Set the ‘Style’ option to ‘Radio buttons’
- Click ‘Save attribute’
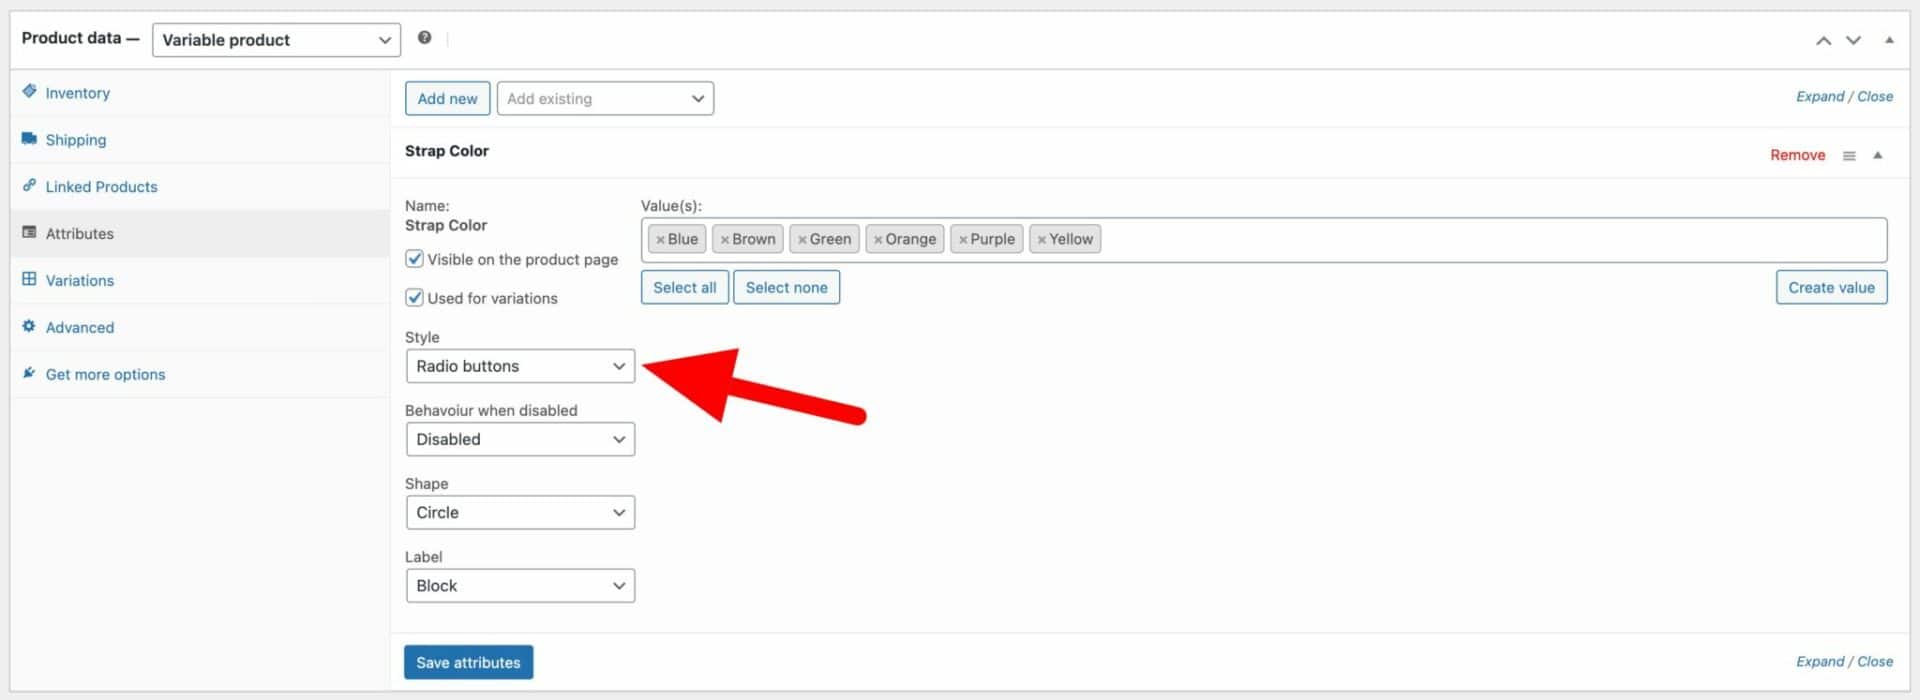
Now only the variations for this attribute on this specific product will be displayed as radio buttons.
Disabling variations that are unavailable
By default, WooCommerce won’t display variations that are out-of-stock or otherwise unavailable. But with the Variation Swatches plugin, you can still display these – but just have them as blurred or otherwise disabled.
To do this, just select an option in the ‘Default behaviour when disabled’ field. You can choose from:
- Disabled
- Blur
- Cross
- Fade
- Hide
There’s a longer article on out-of-stock variations here.
Alternatives to radio buttons
Radio buttons are a great alternative to dropdown lists for your variations. They’re quicker for the user to select options and, as we’ve seen above, they’re easy to set up.
However, you might want to consider taking your variation options a step further.
Displaying variations as image swatches
If your variations or attribute terms have individual images assigned, then you can use the Variation Swatches plugin to display images instead of the dropdown lists.
The example below shows each strap color as a separate image. The user can roll over each item and see a tooltip image.
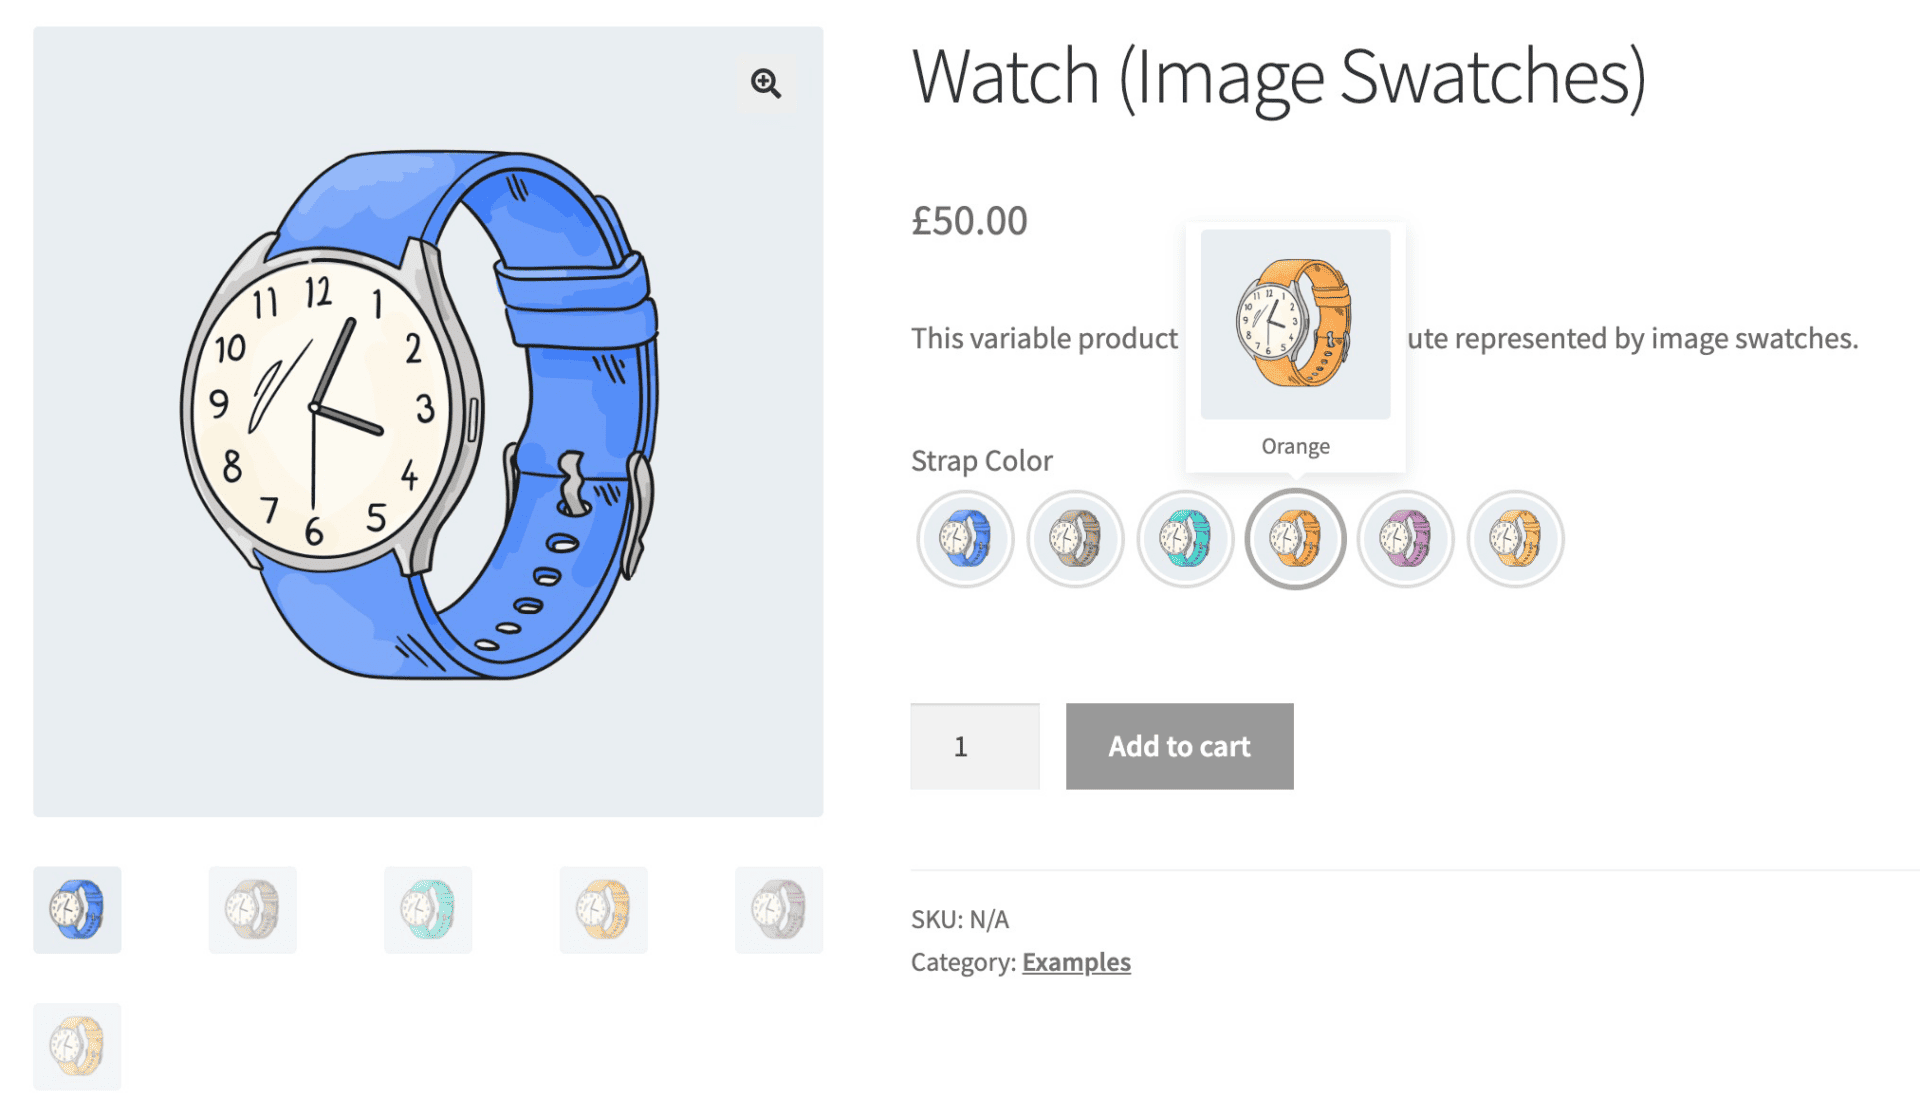
To display your variation as image swatches, choose the ‘Image swatches’ option in the ‘Default style’ setting.
Displaying variations as color swatches
Many stores use colors for their variations. The Variation Swatches plugin makes it easy to display color swatches instead of text-based dropdown lists.
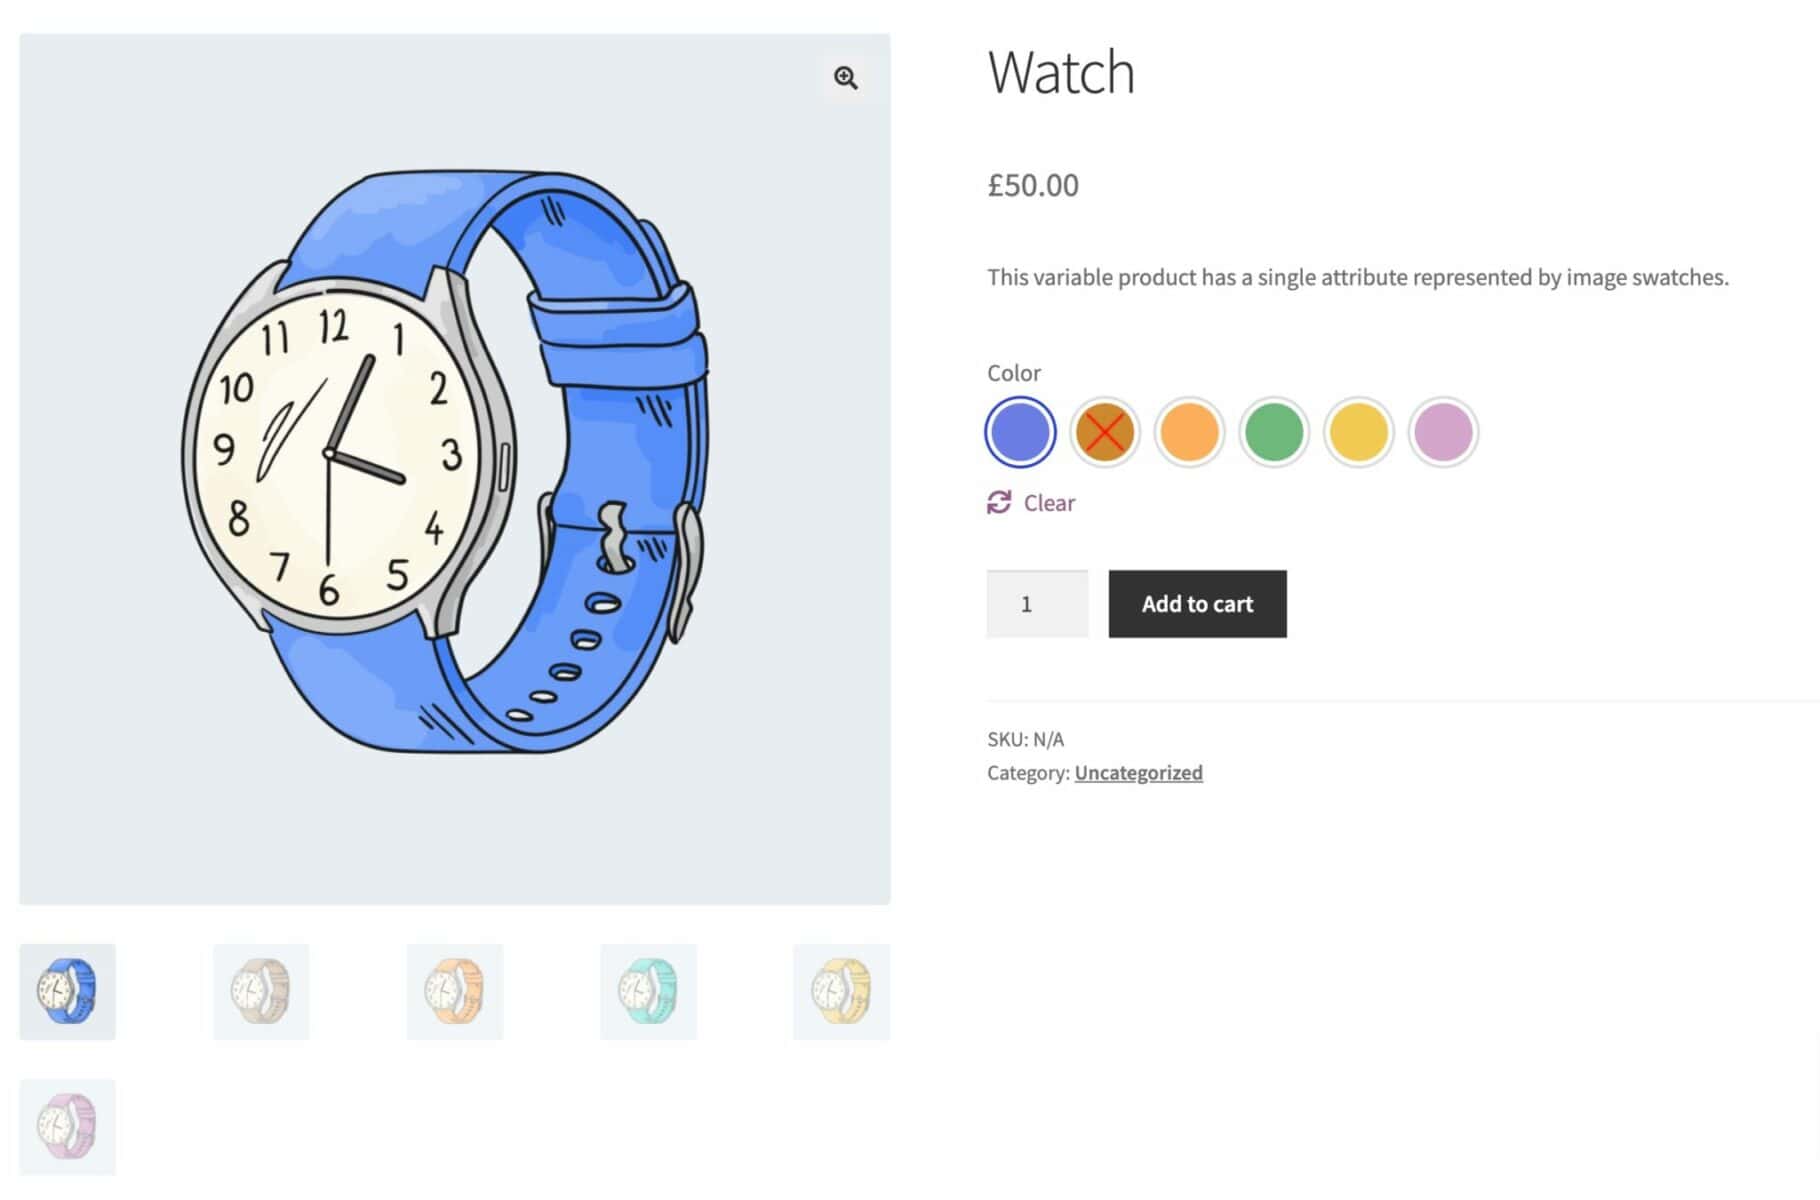
There’s a full tutorial on displaying variations as color swatches here.
Displaying variations as text swatches (buttons)
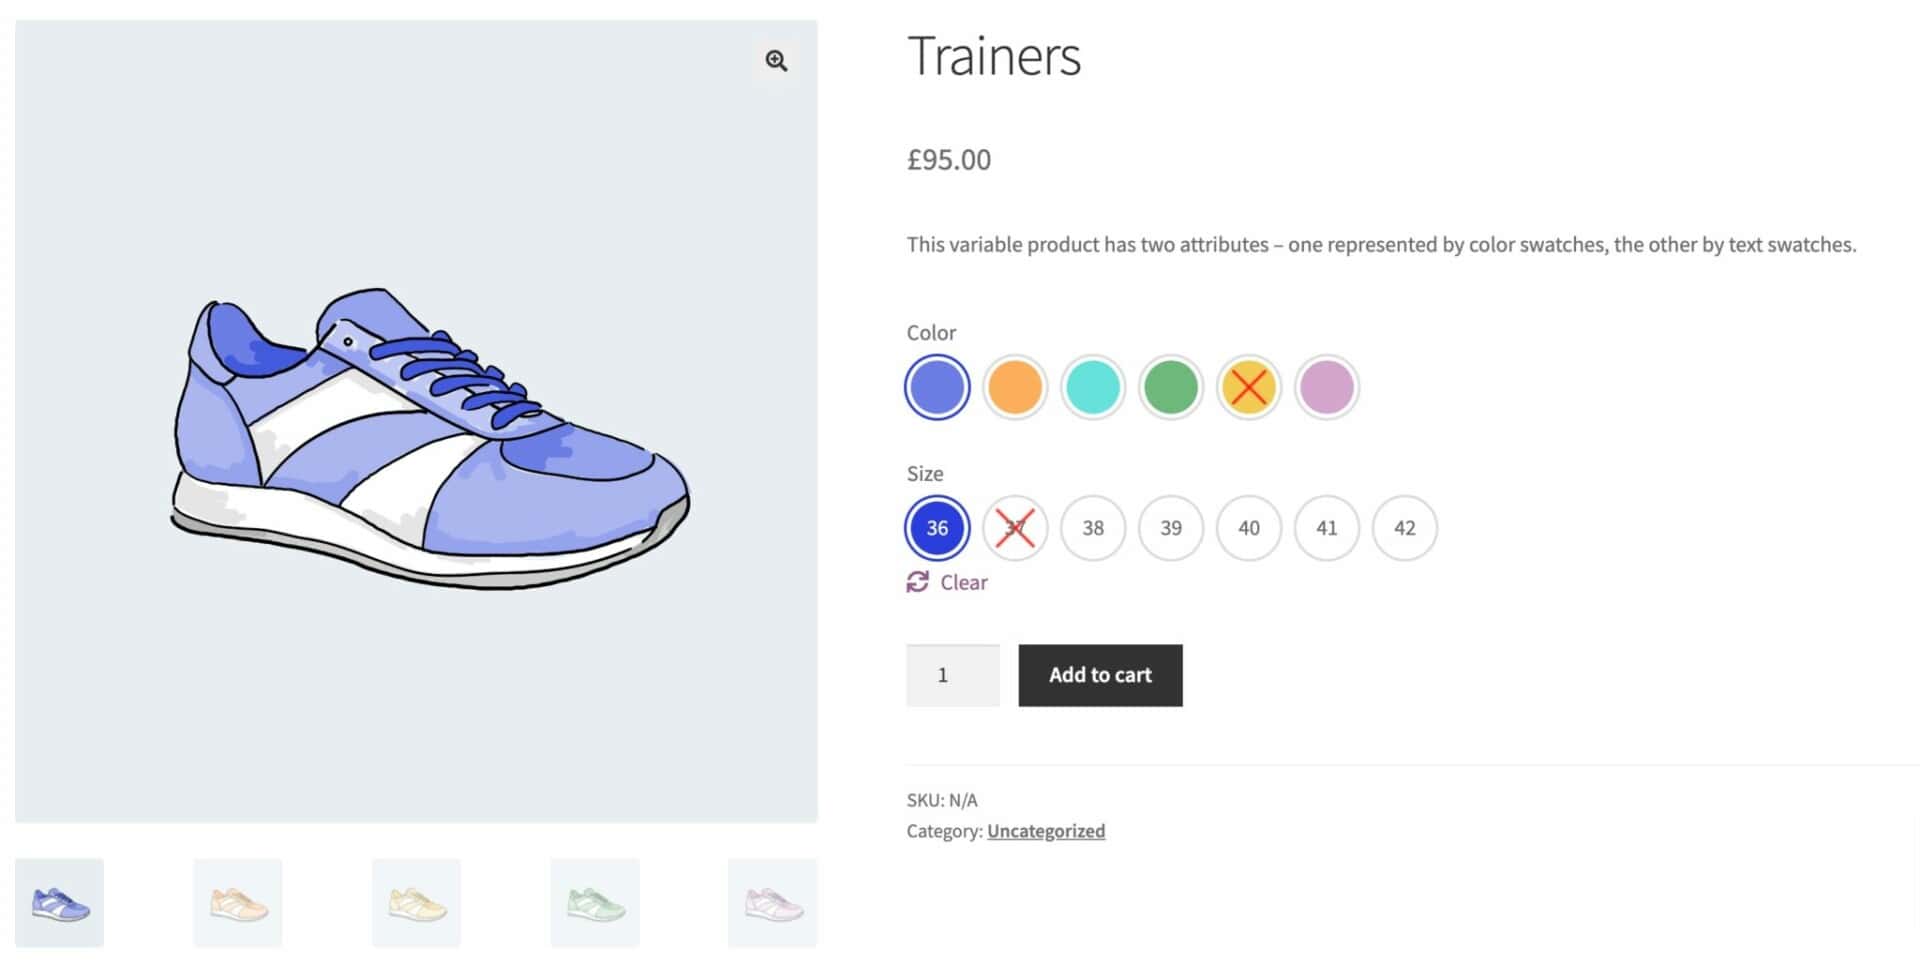
Another alternative to radio buttons is to use text swatches. These are simply text labels styled to look like buttons.
In the example below, one attribute is displayed as color swatches; the ‘Size’ attribute is displayed as text swatches.
Displaying radio buttons on the shop and archive pages
One of the great advantages of using the Variation Swatches plugin is that you can also easily display your variation radio buttons on the shop and archive pages.
To display radio buttons on the shop and archive pages, just go to WooCommerce > Settings > Variation Swatches and check the ‘Display on archives’ option.
There’s a detailed tutorial on displaying variations on the shop and archive pages here.
Displaying other types of form field on your product pages
The tutorial above shows you how you can convert your standard WooCommerce variation dropdowns into radio buttons.
There might be other form fields that you’d like to display on your product pages – not just for variations but for all product types.
For instance, you might want to add checkboxes to the product page. Or you might want to add text or textarea fields to products.
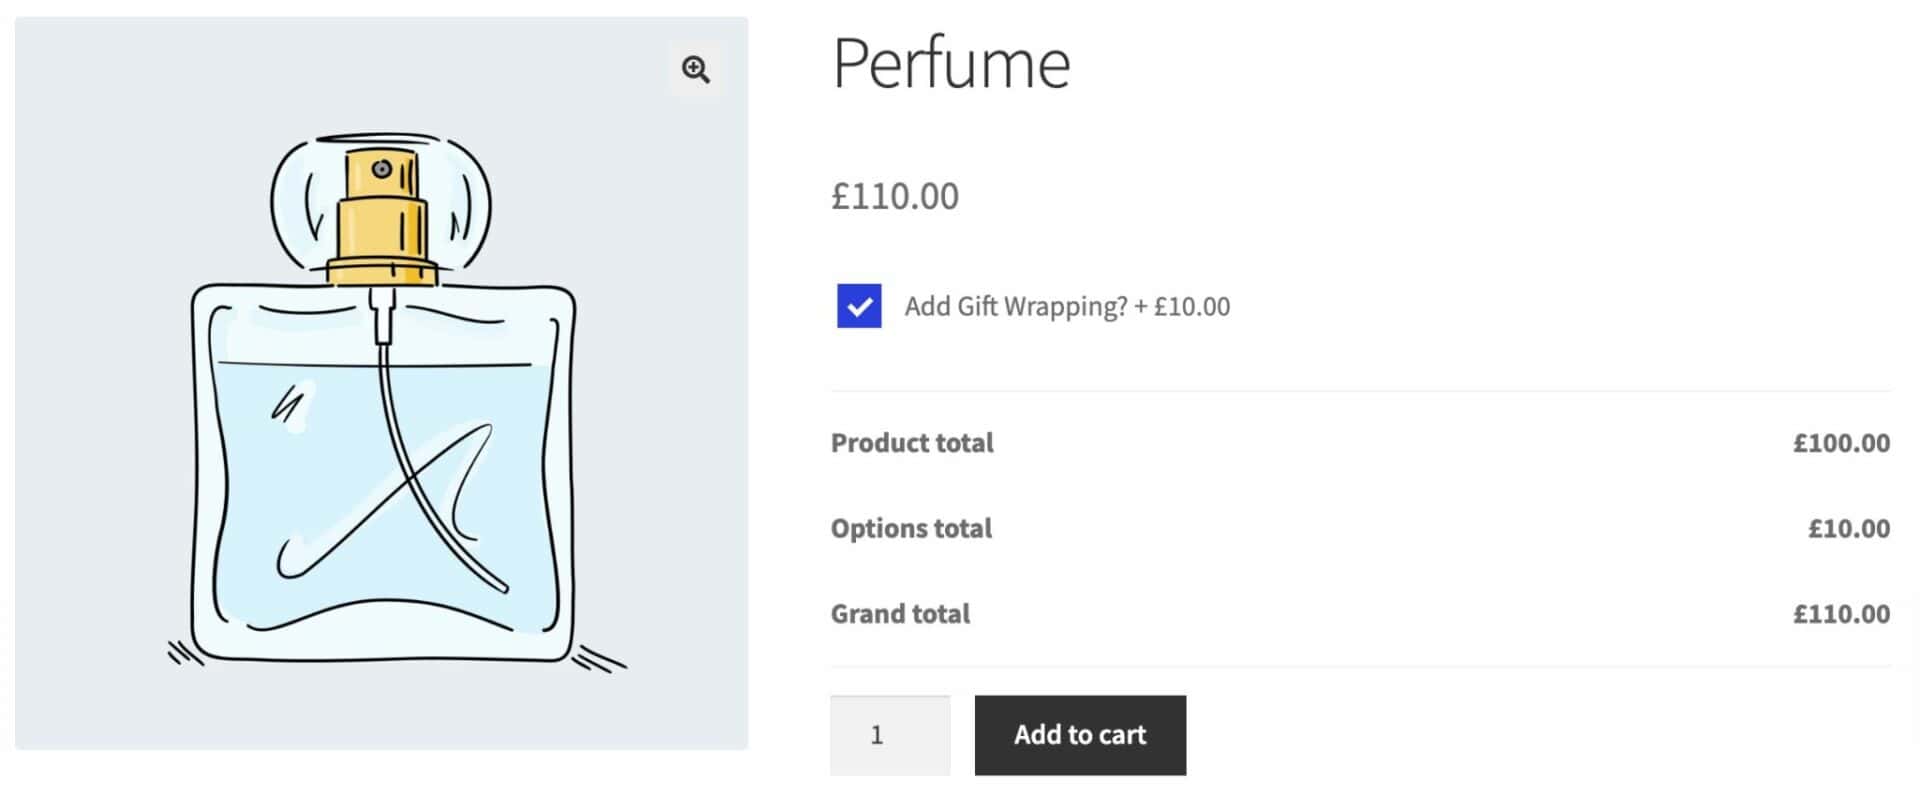
For this, you would need a different plugin. WooCommerce Add-Ons Ultimate allows you to add around 20 different field types to your products.
This plugin is fully compatible with WooCommerce Variation Swatches meaning you can easily display your variations as radio buttons – and add multiple other fields to your product for greater product personalization.
Displaying WooCommerce variations as radio buttons – the quickest way
The quickest and easiest way to convert your variation dropdown lists to radio buttons is to use the WooCommerce Variation Swatches plugin.
