Mastering the WooCommerce Thank You page: A comprehensive guide

In this article, we’ll take a look at creating a WooCommerce custom Thank You page – turning the default page into a powerful marketing tool.
We’ll cover what the Thank You page is and why you might want to customize it. Then we’ll look into some of the possible elements you would want to add to the page – and how they will benefit your business.
Finally, we’ll look at some short tutorials on how to add and configure different components on your Thank You page.
We’re going to look at:
- Some specific components of a WooCommerce custom Thank You page
- Why are those components effective
- How to add extra components to your Thank You page
- How to specify different Thank You pages depending on the products in the customer’s orders
If you want to jump ahead, use the menu below, available on the left.
If you’re looking to add individual Thank You pages for specific products, refer to our guide on creating a custom WooCommerce Thank You page per product.
How to customize your WooCommerce Thank You page
Before we dive into creating a custom Thank You page, let’s first understand how the default Thank You page in WooCommerce works.
How to create a WooCommerce Thank You page
WooCommerce automatically shows a confirmation page when products are purchased. They can be slightly configured by going to WooCommerce > Product Data > Advanced, where you can add a purchase note. For product variations, you can edit the same from the variation settings for each variation.
This is what the default WooCommerce confirmation or Thank You page looks like.
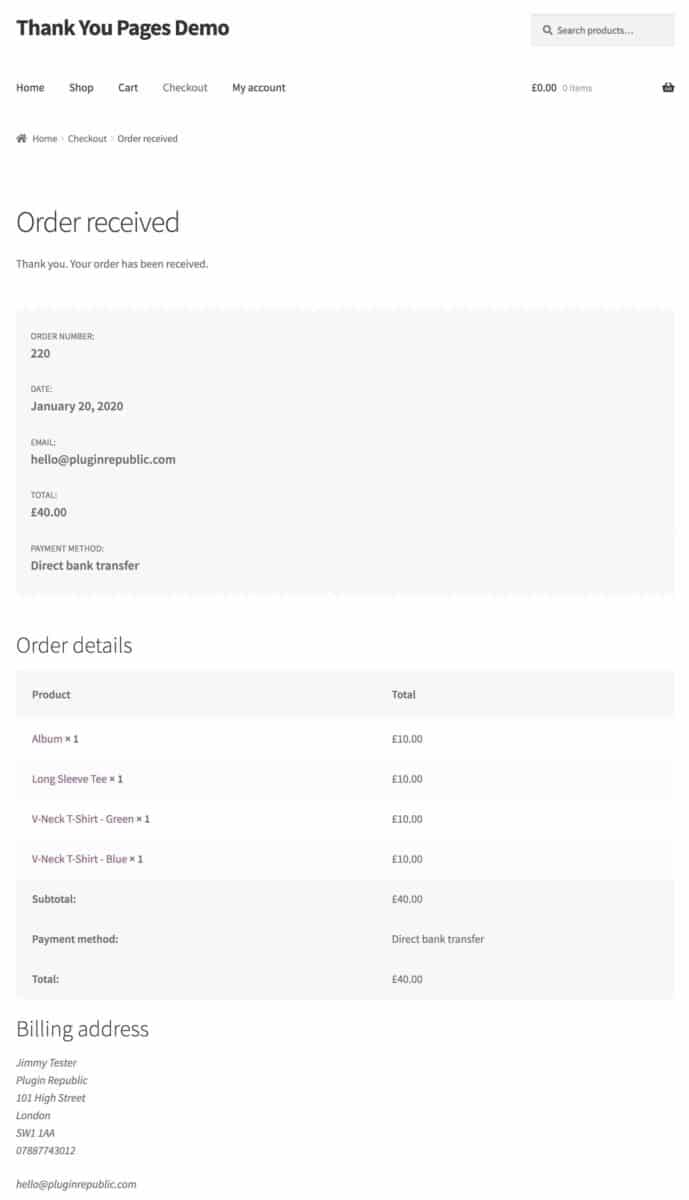
As you can see, it provides the customer with some basic information about the order they’ve just placed. This page may work for you if you want to acknowledge a customer’s purchase and show them a confirmation of their order being placed.
But that’s just it – this thank you page is not working very hard for you. It’s only telling the customer what they already know. In most cases, the customer is going to glance at this and then just get on with the rest of their life!
That’s why you need a custom Thank Youpage.
Why create a custom WooCommerce Thank You page?
Perhaps you’ve never really thought about the Thank You page in your WooCommerce store.
But, in fact, the Thank You page is a powerful promotional opportunity. For one thing, it’s the only page on the site that you can guarantee that all your customers will see.
You can improve on the default WooCommerce Thank You page and turn it into a marketing tool. Some typical uses for customized Thank You pages include Membership sites where you might need to provide your new members with some onboarding guidance, even possibly a video. The Thank You page is the ideal place!
The Thank You page as a marketing tool
Research shows that it’s five times more expensive to reach a new customer compared with an existing customer. And existing customers can spend up to five times more than new customers.
Why is this?
A customer who has just made a purchase in your store is in the ideal frame of mind. This is the point when the customer is on a high, they’re feeling positive about your store, so they’re receptive to your marketing messages.
Using the Thank You page as a marketing tool will:
- Increase sales
- Build trust
- Save yourself time
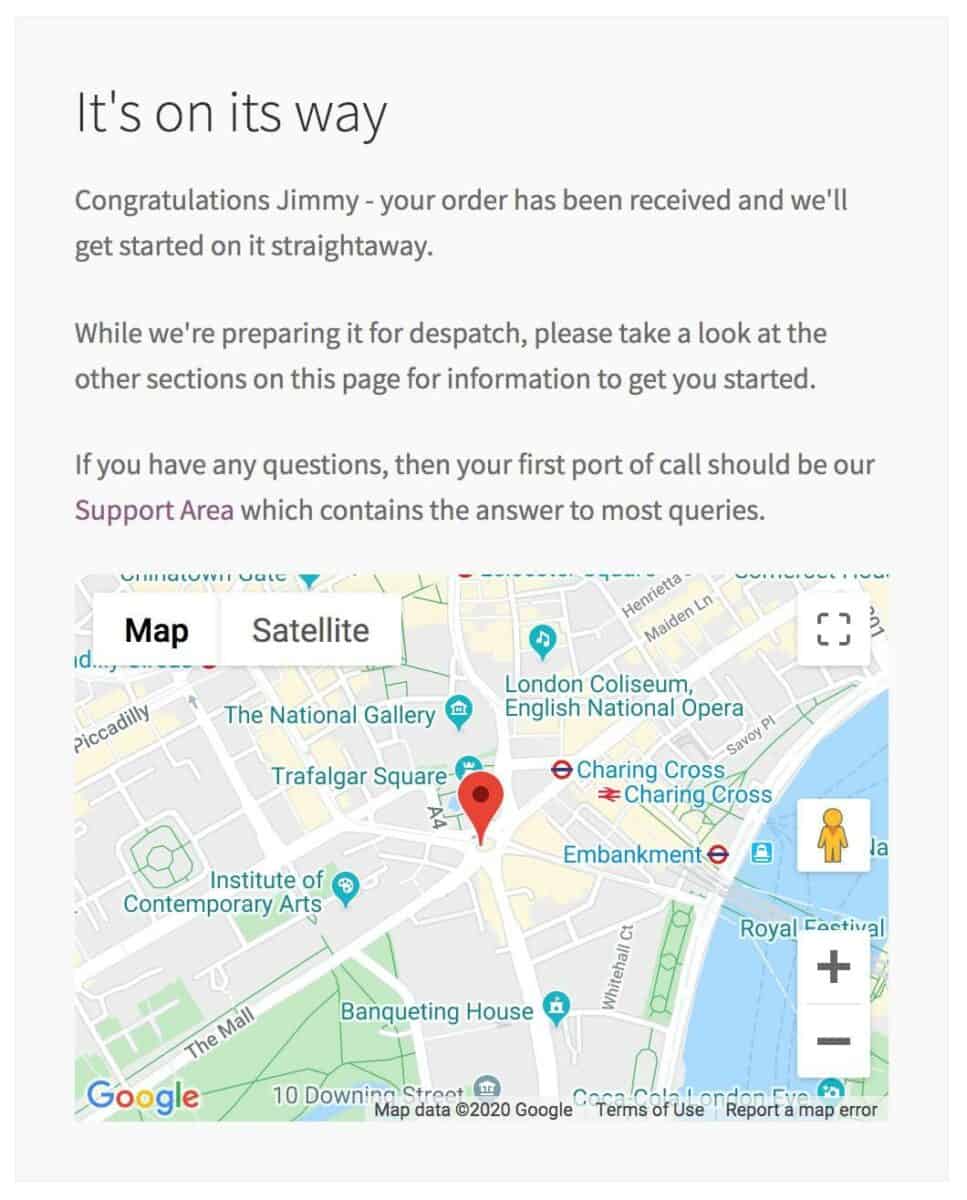
Customized WooCommerce Thank You pages
Here’s an example of some custom WooCommerce Thank You page components:
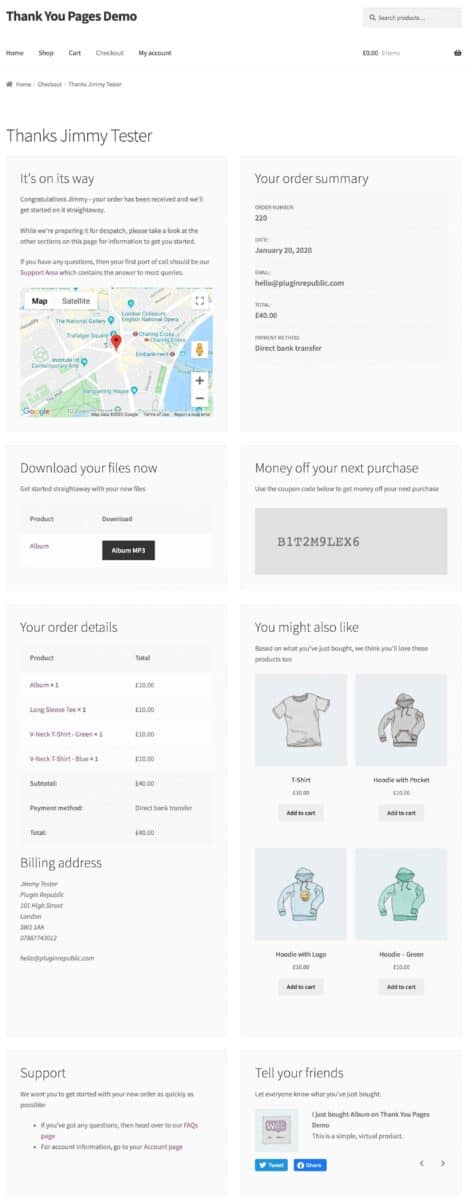
You can see that there’s quite a difference. A few of the most obvious differences include:
- The page is personalized towards the customer, using their name to address them directly
- It uses images and a Google Map to make the page more visually interesting
- It provides the customer with the next steps – either in terms of making another purchase or helping them to get started with their recent purchase
Steps to customize a WooCommerce Thank You page
You can customize any aspect of your website using code or plugins. Coding is a risky approach if you’re not an experienced developer, as even the smallest mistake can break your site. That’s why we recommend using a plugin.
WooCommerce Thank You Pages plugin
For the tutorial section, we’ll be using the WooCommerce Thank You Pages plugin.
First of all, after installing and activating the Thank You Pages plugin, we need to create a new Thank You page in place of the default WooCommerce version.
To create a new WooCommerce Thank You page:
- Go to WooCommerce > Thank You Pages
- Click ‘Add Thank You Page’
- We can then start adding components as outlined below
Let’s look at some of the typical content you might want to add to your Thank You page. We’ll understand each component in turn and walk through how to add them to your WooCommerce site.
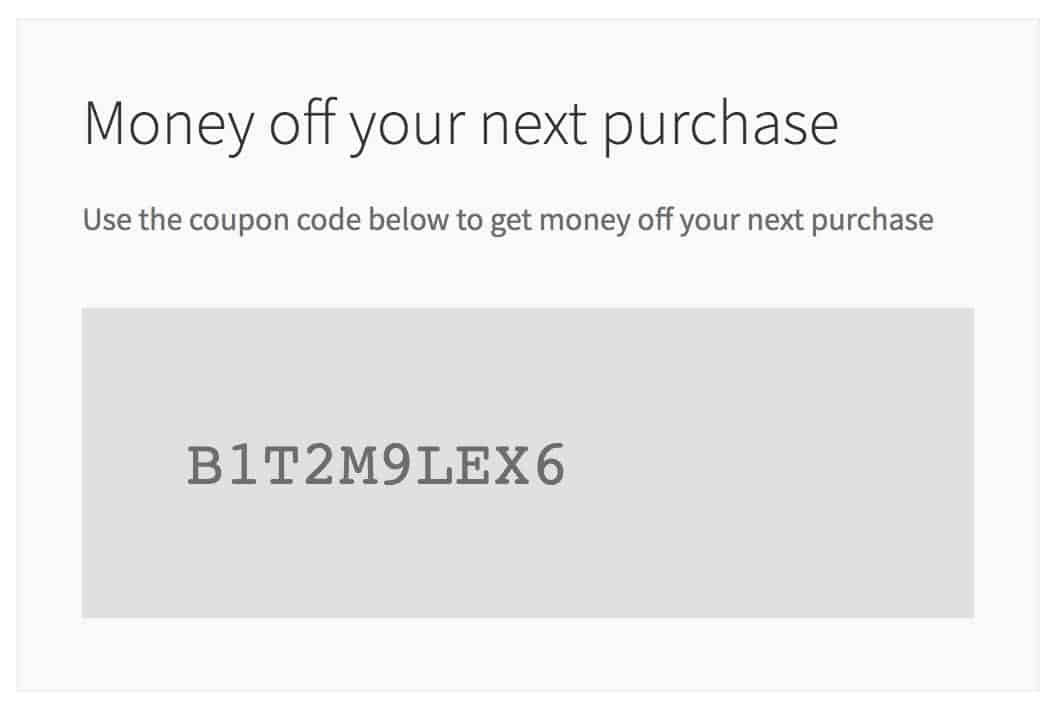
Coupons
Offering the new customer something straight back is a great sales technique. The customer is already feeling positive about your products (you know this because they’ve just made a purchase in your store).
So offering them an incentive to go straight back and make another purchase could work really well for some stores. Plus, WooCommerce discounts are a well-established promotion method.
And by using WooCommerce coupons, you can ensure that coupons are limited in their usage. So only the customer themselves can use the new coupon code. And you can set the maximum number of uses too.
How to add a coupon to your Thank You page
To add a coupon to your WooCommerce Thank You page:
- Edit your new Thank You page
- Give it a title
- In the content area, add the [order_coupon] shortcode
To configure the coupon:
- Go to WooCommerce > Settings > Thank You Pages > Coupons
- You can edit the parameters, like the amount and usage restrictions, by following the guidance in this support document
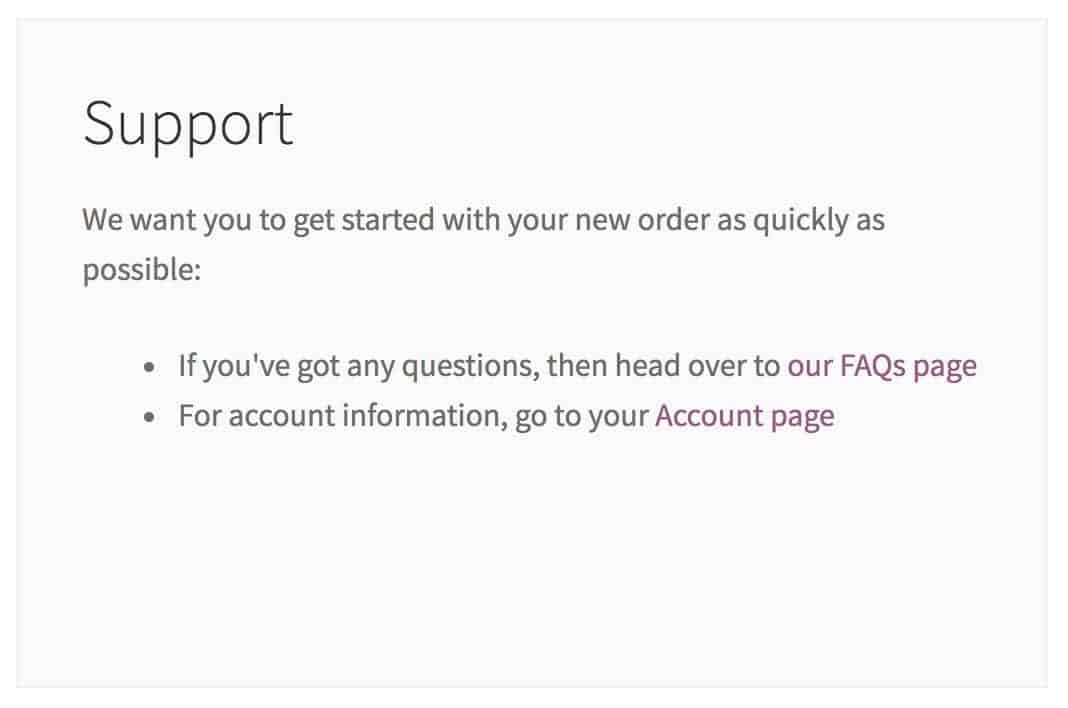
Custom Content
There are many reasons you might want to add some custom content to your Thank You page. These include:
- Onboarding guidance
- Support information
- Information about delivery times
- Information about returns
- A personalized message to the customer welcoming them to your site
Because the WooCommerce Thank You Pages plugin uses WordPress posts, you can add any type of custom content you wish, including text, images and video.
How to add custom content to your WooCommerce Thank You page
To add custom content to your WooCommerce Thank You page:
- Edit your new Thank You page
- Give it a title
- In the content area, add the [order_custom_content] shortcode
- Add your custom content using any kind of WordPress content you’d like
- Close the custom content area using the [/order_custom_content] shortcode (note the slash just after the opening square bracket)
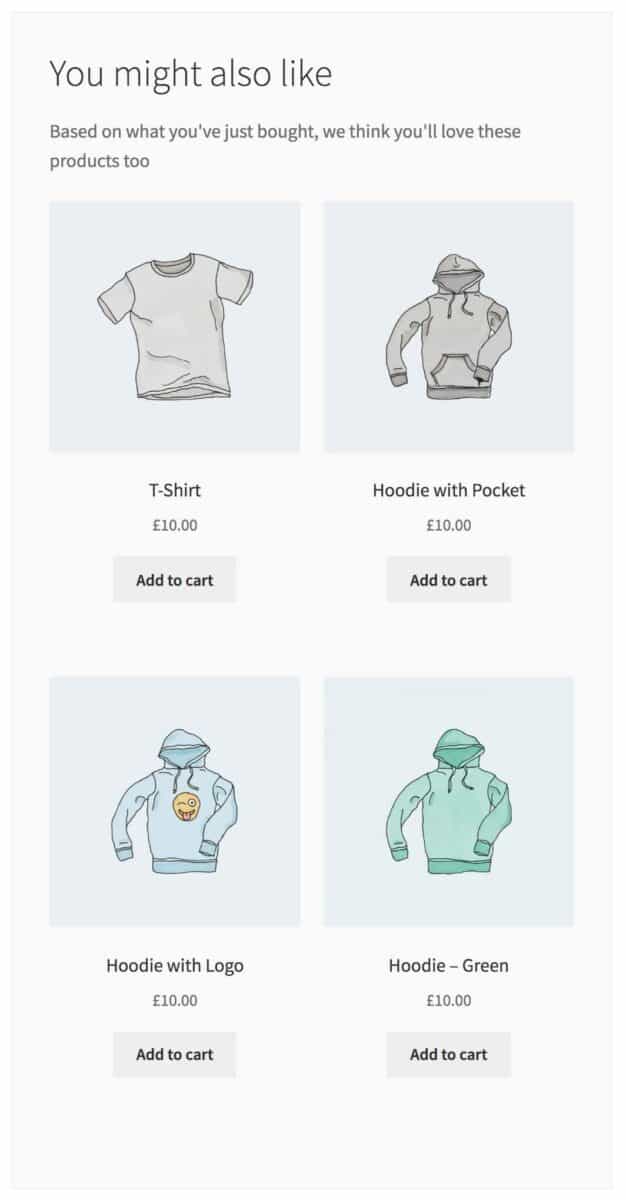
Cross Sells or Recommended Products
Cross-sells are used to encourage the customer to buy more products – by recommending products based on the content of their cart or order.
Adding cross-sells to your Thank You page (especially if you’re also offering a coupon) may just be the extra push the customer needs to go back and buy that extra item.
In WooCommerce, you specify cross-sells per product – so cross-sell recommendations on the Thank You page should appeal to your customer.
How to add a ‘Recommended Products’ section to your Thank You page
To add a Recommended Products (or Cross Sells) section to your Thank You page:
- Edit your new Thank You page
- Give it a title
- In the content area, add the [order_cross_sells] shortcode
To configure the section:
- Go to WooCommerce > Settings > Thank You Pages > Cross sells
- You can edit the parameters, like the number and layout, by following the guidance in this support document
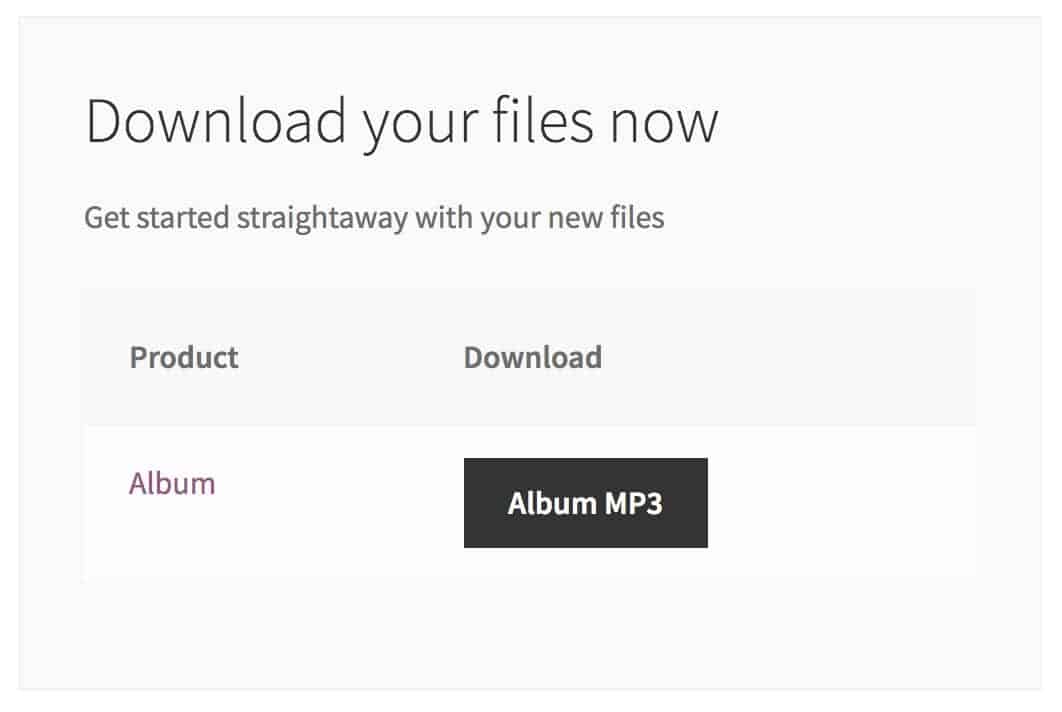
Downloadable Files or Products
It’s sometimes said that the experience of purchasing downloadable products on a WooCommerce store can be a little flat. The Thank You page is the perfect place to rectify that – by providing the customer with extra information, download links, and some onboarding guidance.
How to add downloads to your Thank You page in WooCommerce
To add a downloads section to your WooCommerce Thank You page:
- Edit your new Thank You page
- Give it a title
- In the content area, add the [order_download] shortcode
To configure the section:
- Go to WooCommerce > Settings > Thank You Pages > Downloads
- You can edit the parameters, like the number and layout, by following the guidance in this support document
Shipping map
Have you ever bought anything from a store built on Shopify? They have a very neat Thank You page that includes a Google Map with the customer’s shipping address marked.
As well as being visually satisfying, this creates confidence in the user’s mind. It might seem like a relatively minor detail, but things like this all add up, sending positive signals about your store and products to your customers.
How to add a shipping map to your Thank You page
To add a shipping map section to your Thank You page:
- Edit your new Thank You page
- Give it a title
- In the content area, add the [order_shipping] shortcode
To configure the section:
- Go to WooCommerce > Settings > Thank You Pages > Shipping
- You can edit the parameters by following the guidance in this support document
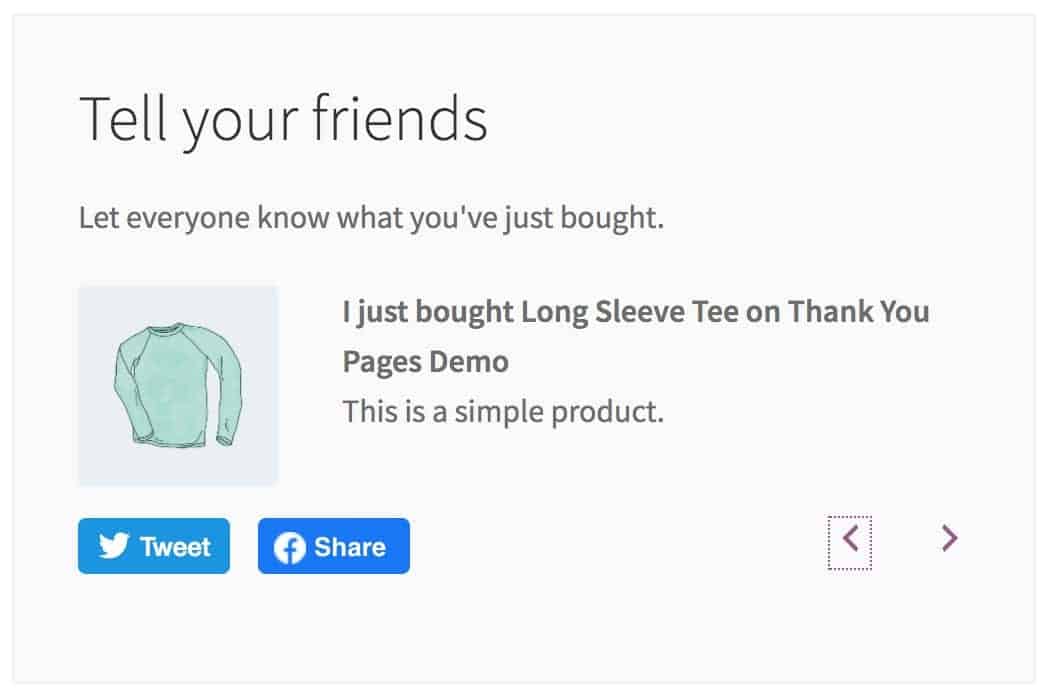
Social Share Buttons
As the biggest online retailer in the world, Amazon knows a few things about how to sell products. Among other things, they encourage their customers to share their new purchases via the Thank You page.
It’s a long-established fact that we tend to put more faith in recommendations from our peers than any form of advertising or other promotion. Seeing a tweet or Facebook post from friends bragging about their new online purchases is a great way to drive consumers to your site. In fact, one study found that, before making a purchase, 82% of Americans ask family and friends for referrals and recommendations.
How to add social share buttons to your WooCommerce Thank You page
To add social share buttons to your WooCommerce Thank You page:
- Edit your new Thank You page
- Give it a title
- In the content area, add the [order_social_shares] shortcode
To configure the section:
- Go to WooCommerce > Settings > Thank You Pages > Social sharing
You can edit the parameters by following the guidance in this support document
Frequently Asked Questions
- What is the default URL for WooCommerce Thank You page?
The default WooCommerce Thank You page URL is “…/checkout/order-received/…” You can edit it to reflect the page content better by customizing the URL from the Advanced section of your WooCommerce settings or creating a redirect by adding code to your functions.php file.
- How do I test a Thank You page in WooCommerce?
To test a Thank You page in WooCommerce without a third-party plugin, you can place a test order on your website as if you were a customer. For this, you can enable test mode from the WooCommerce Payments section. After selecting a payment gateway, activate test mode and obtain test API credentials from your payment gateway provider if necessary. Then, you can place a test order on your website to see the Thank You page and ensure that it is working correctly. After submitting the order, you will be redirected to the Thank You page.
- How do I link a Thank You page in WordPress?
To ensure your customers see your custom Thank you page after making a purchase, you might want to link to it. Don’t worry; this is very easy with the Thank You Pages plugin. To replace the default WooCommerce Thank You page, follow these steps:
- Navigate to WooCommerce > Settings > Thank You Pages > General.
- Next to ‘Default Thank You Page’, choose your customized Thank You page.
Your default Thank You page will immediately be replaced with your custom Thank You page.
Recap – create your custom Thank You page today!
So, in this article, we looked at:
- What the WooCommerce Thank You page is and why would you want to customize it
- How to create a custom Thank You page in WooCommerce
- Specific elements you can add to the custom Thank You page and their benefits
- Steps to add each element
- Frequently Asked Questions about custom Thank You pages
Don’t forget to download the WooCommerce Thank You Pages plugin to set up your custom page in minutes.