When you purchase the plugin, you’ll immediately receive an email confirming your purchase. This email also contains:
A link to download the plugin files
Your licence key
Click on the link to download a zip file that contains the plugin. You don’t need to unzip this – just make a note of where it downloads to on your computer, e.g. your ‘Downloads’ folder.
Installing the plugin
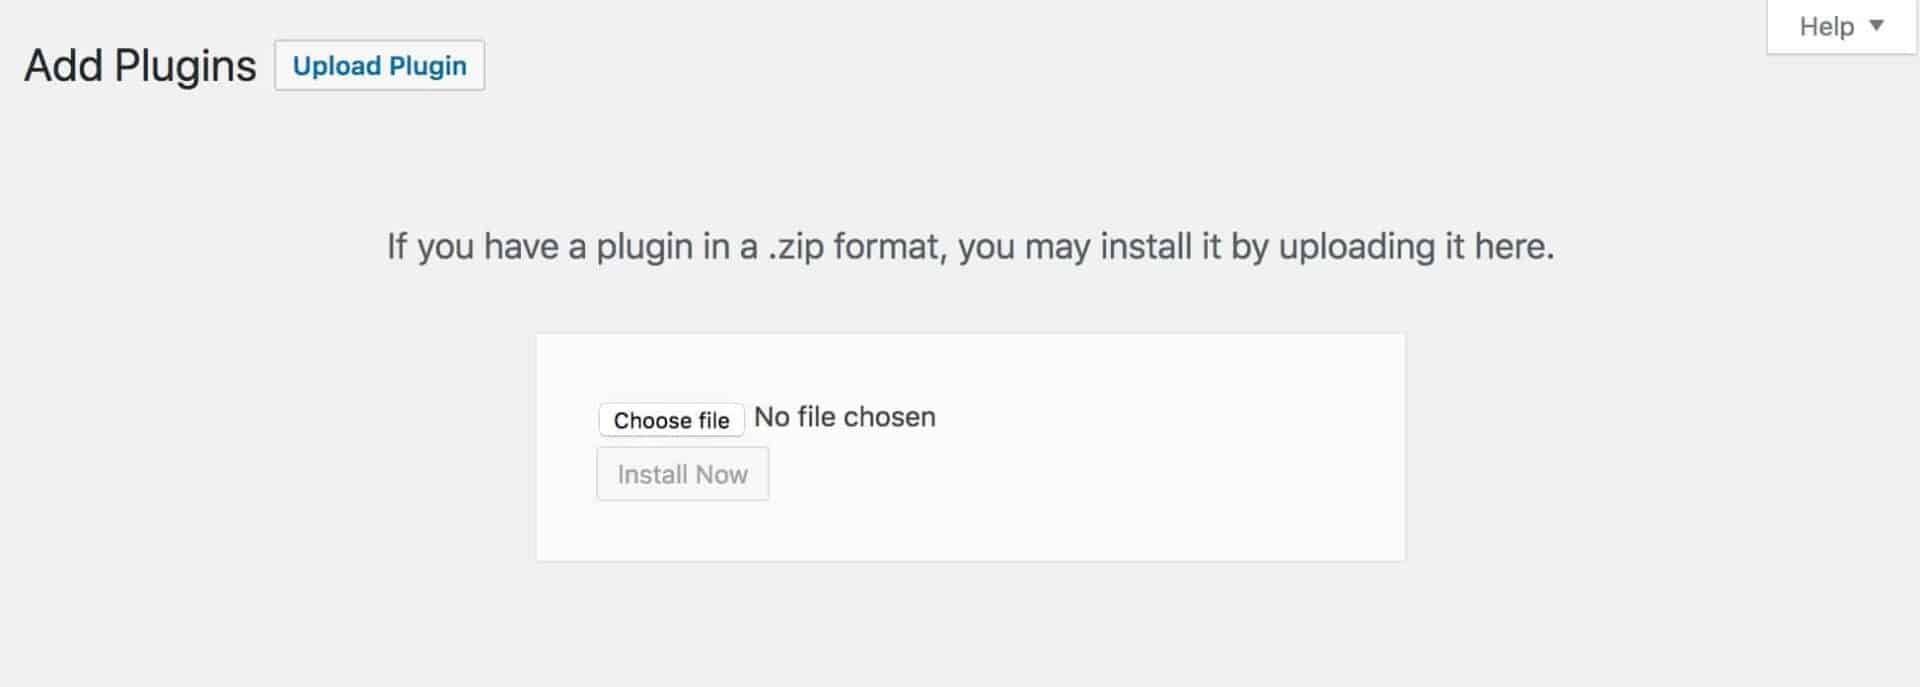
To upload and install the plugin, go to Plugins > Add New > Upload Plugin. You can either drag the bookings-for-woocommerce.zip file into the upload file zone (see image below) or click the ‘Choose file’ button and browse to the file on your computer.
Once you’ve uploaded the file, click ‘Install Now’ then click ‘Activate’ (remember that you will need to have WooCommerce activated as well).
Enter your plugin license
Go to WooCommerce > Settings > Bookings to enter your license key.
Click ‘Activate this licence’.
This will ensure that you receive automatic updates.