Create custom portrait and framing products in WooCommerce
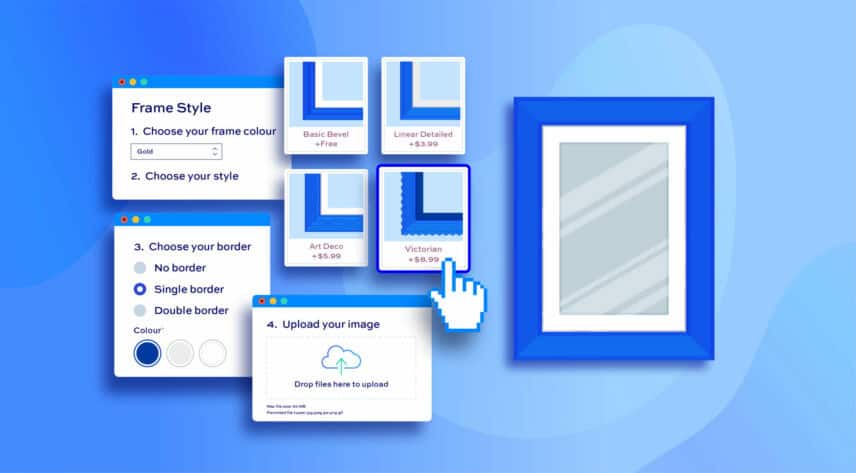
If you’re running a portrait or framing business, you might want to let your users upload their own images and/or customize frames. WooCommerce doesn’t allow you to do this by default so you’ll need an extra plugin.
WooCommerce Product Add-Ons Ultimate will allow you to add upload fields to your store’s product pages. It will also allow you to add extra fields to product pages so that customers can choose frame styles and other options. This makes it ideal for businesses offering services like custom pet portraits, personalized portraits, custom framing, printing, photography, and many others.
In this article, we’ll look at how your customers can:
- Choose frame styles for a print on your site
- Upload their own photos and images for printing
- Preview their uploaded image with different frame styles
- Choose other options like size, mount, paper, etc – and you can charge additional fees for these different options if you wish
- Edit their uploads
You can use some or all of the features discussed in this tutorial. For all sections, you’ll need the WooCommerce Product Add-Ons Ultimate plugin. Later, we’ll look at some other optional plugins for additional features. Note that you can also use any theme you like.
WooCommerce Product Add-Ons Ultimate
Create custom portrait and framing products in WooCommerce
Choosing frame styles for prints
If you’re selling prints or other images on your site, you might want to give the user the option to select the frame they want.
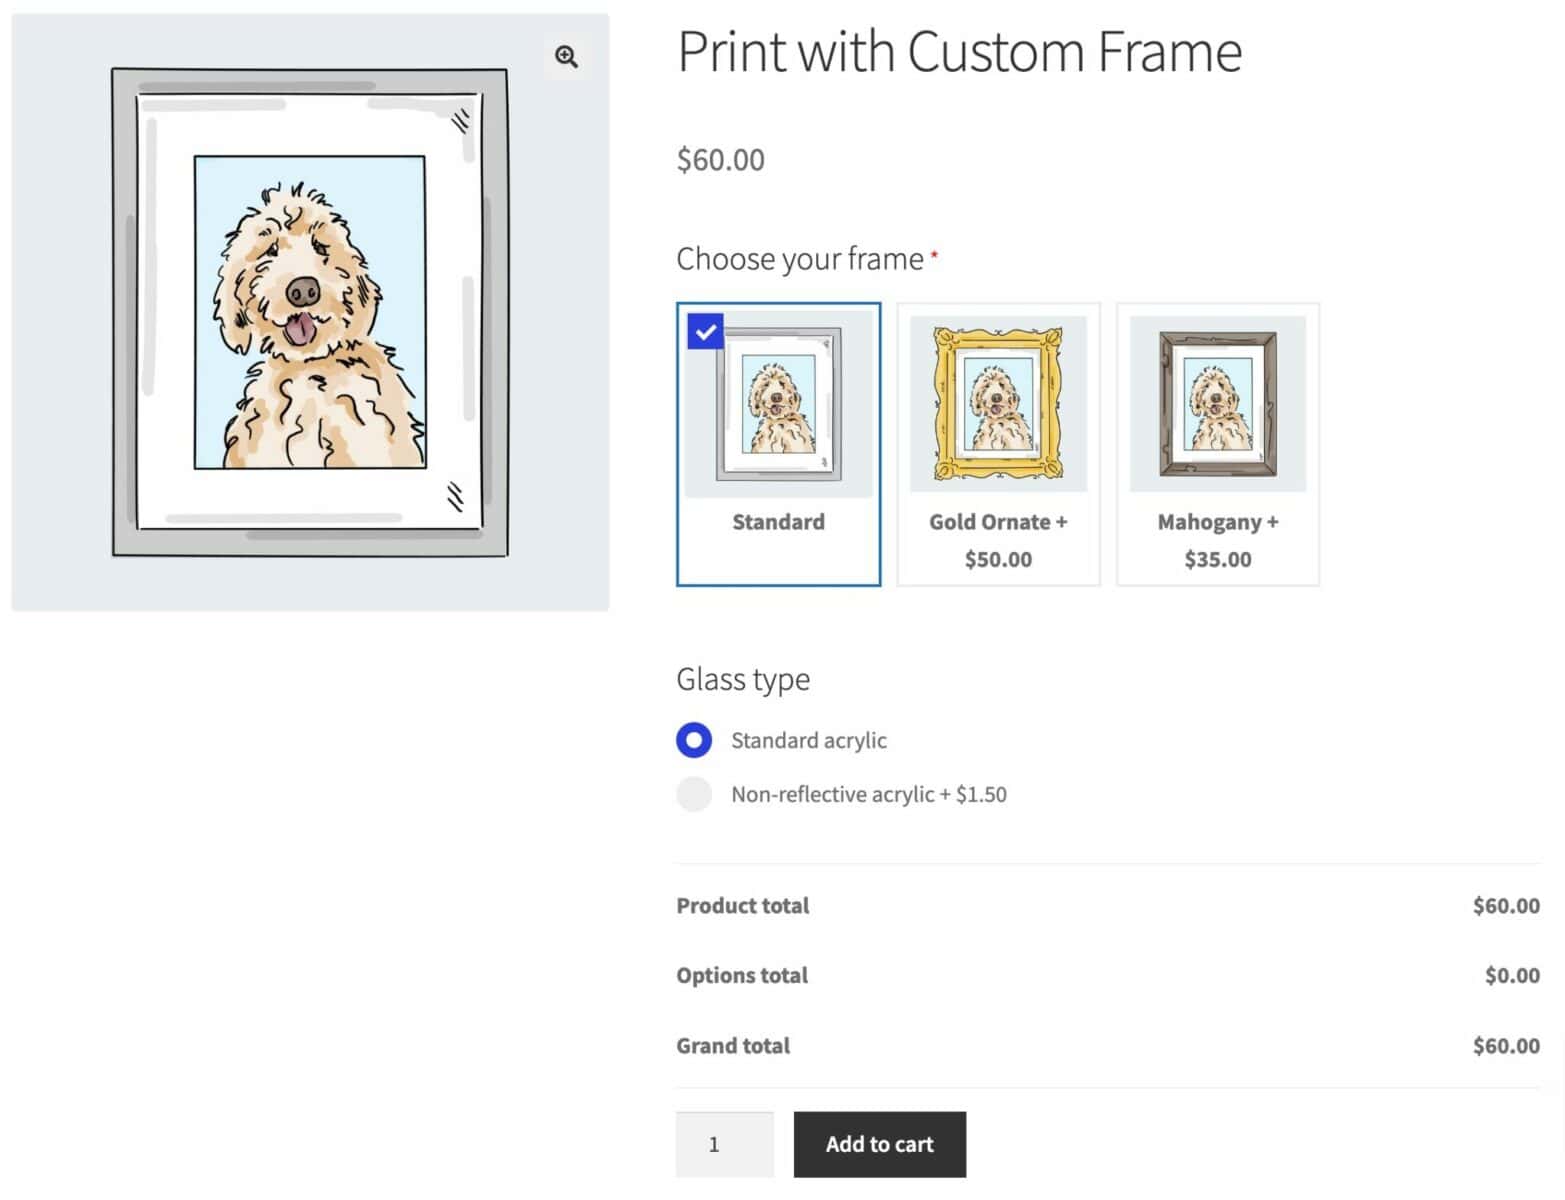
Not only can the user choose a frame, they can see their selected version as the main product image.
For this, we’ll use a swatch field. Note that you will need the Pro version of Product Add-Ons Ultimate for this feature.
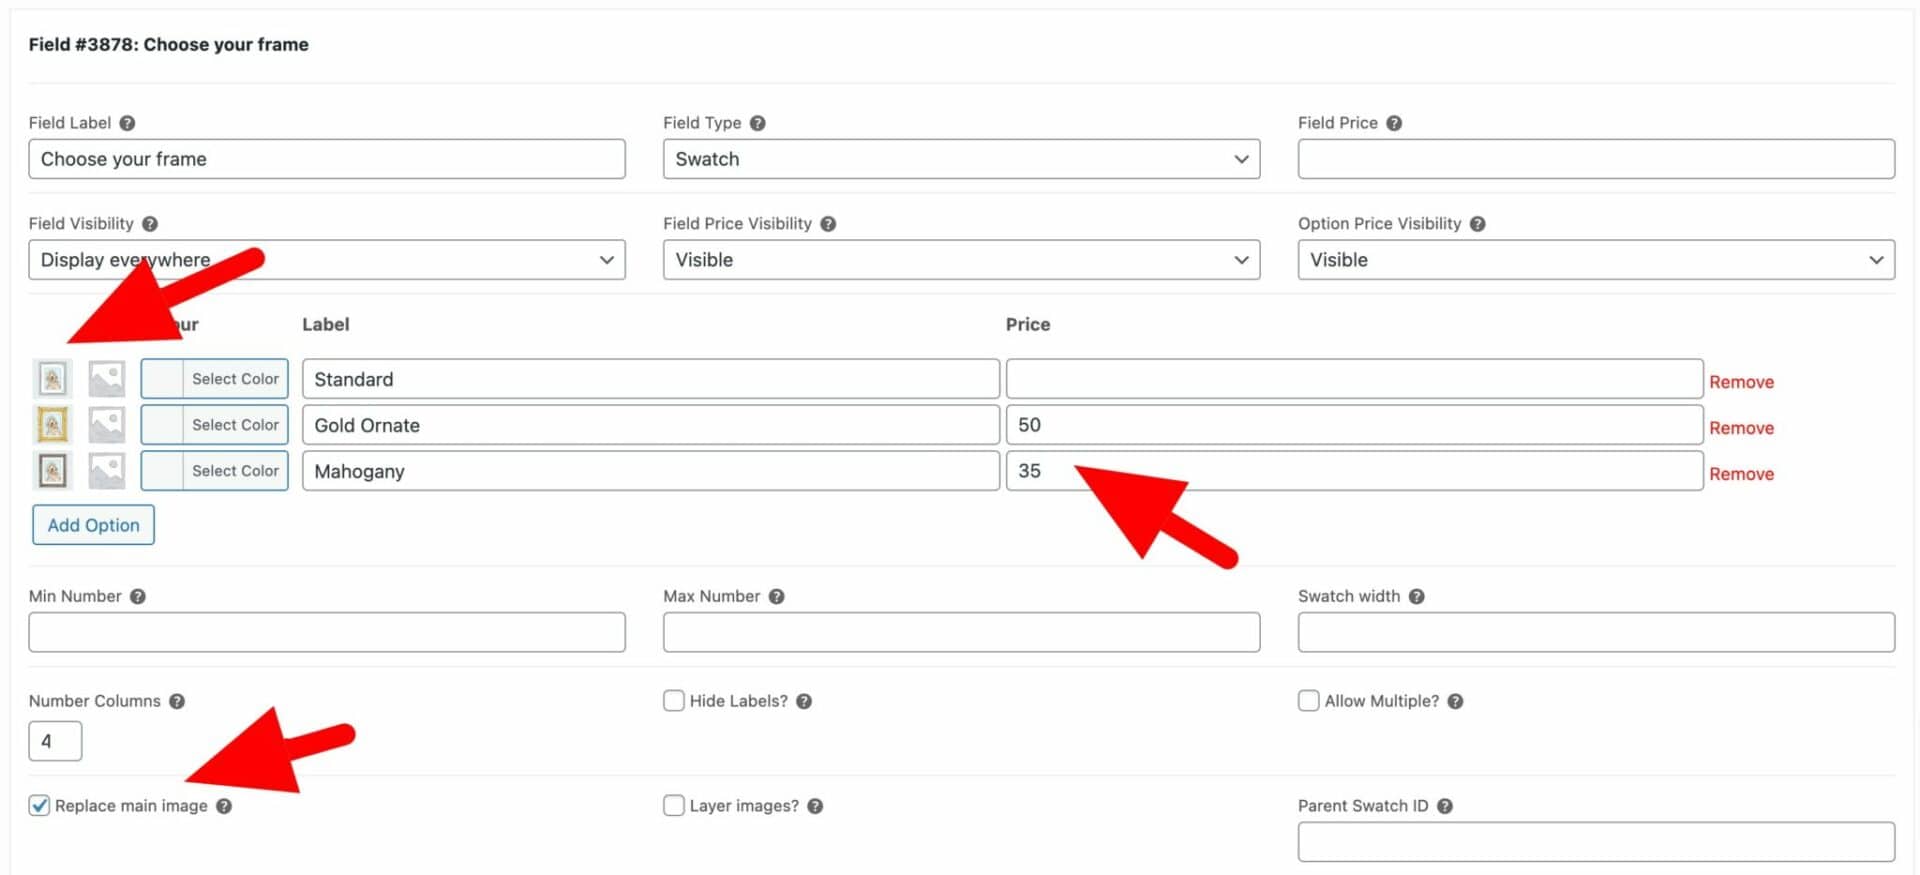
To add a swatch field to your WooCommerce product:
- In ‘Product data’, click on the ‘Product Add-Ons’ tab
- Click ‘Add Field’
- Select ‘Swatch’ as the field type
- Click ‘Add Option’ for each swatch that you’d like to add
- Upload an image for the swatch, enter a label, and add a price if the option has an additional cost
- Finally, select the ‘Replace main image’ option to ensure that the main product image updates when the user chooses a new swatch
Check out the demo product here.
Uploading portraits to your product page
With Add-Ons Ultimate, you can add an upload field for users to upload their own images. Customers might want to upload portraits of themselves, their pets, their families, and so on.
This is slightly different to the previous example – users will still be able to choose a frame type, but they’ll also be able to upload their own photos and, optionally, preview what their photo looks like in their chosen frame.
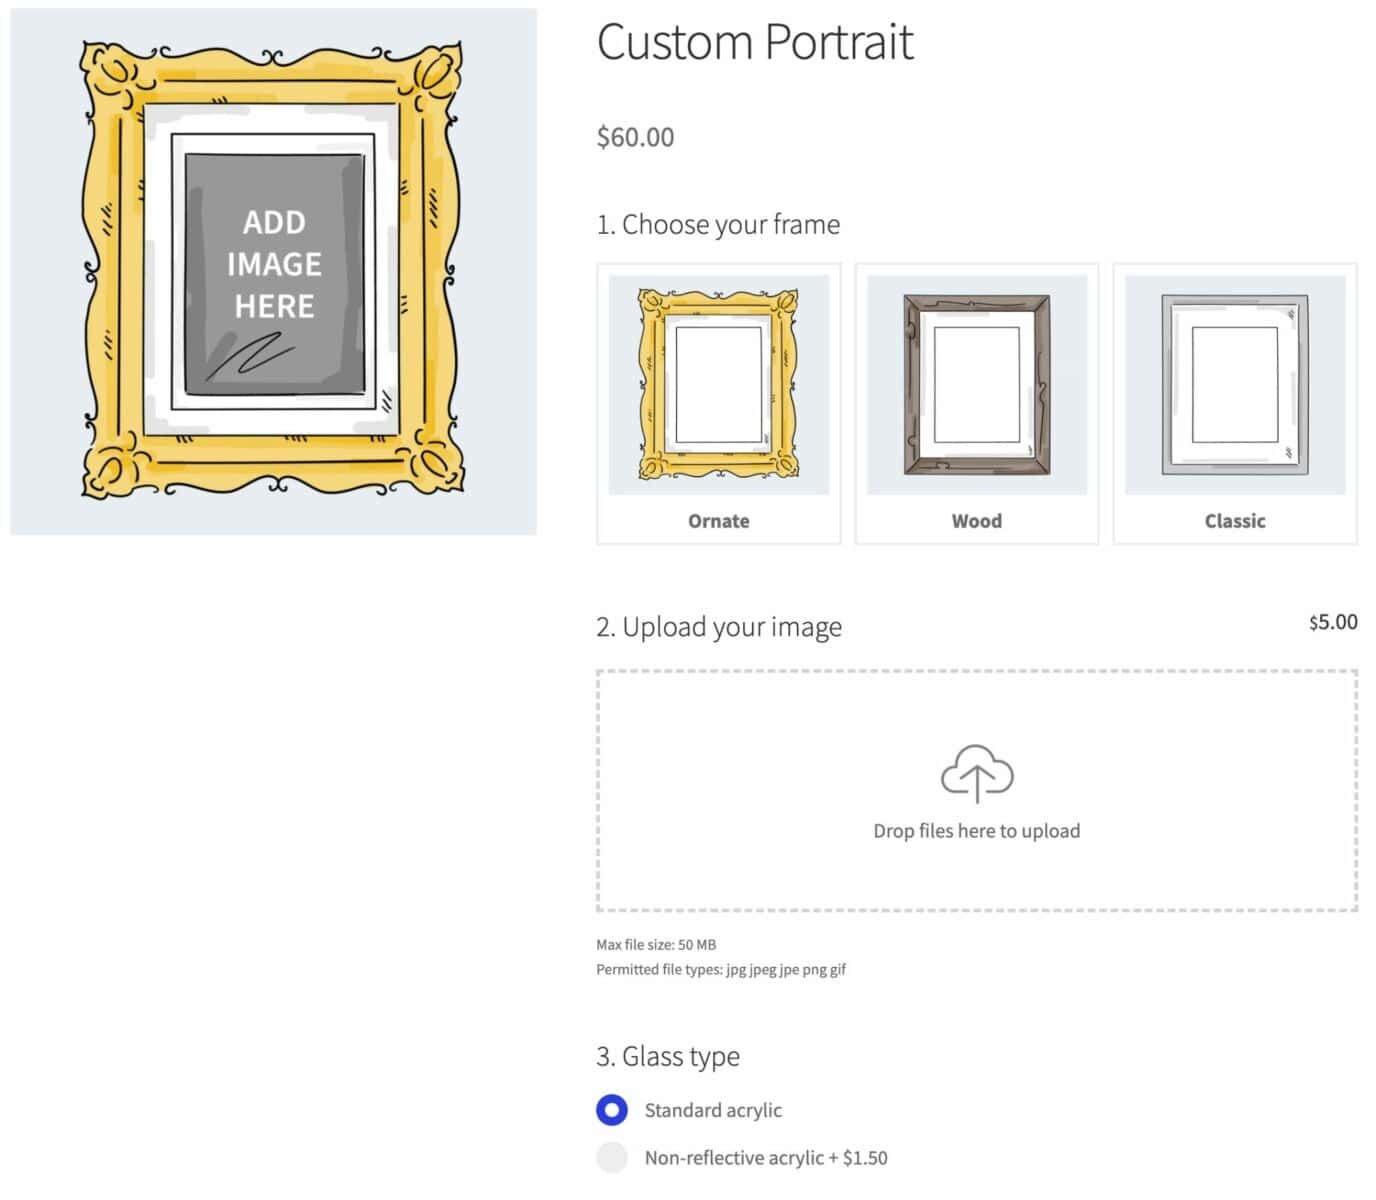
Here’s a demo product showing most of the features in action.
To add an upload field to your WooCommerce product:
- Install and activate WooCommerce Product Add-Ons Ultimate
- Edit the product where you’d like the field
- Select the ‘Product Add-Ons’ tab in the ‘Product data’ section
- Click ‘Add Group’ then ‘Add Field’
- Choose ‘Upload’ as the field type
- Enter other details like a name for the field and some instructional text if you like

Here’s what you’ll see on the front end. It’s a nice modern-looking upload field:
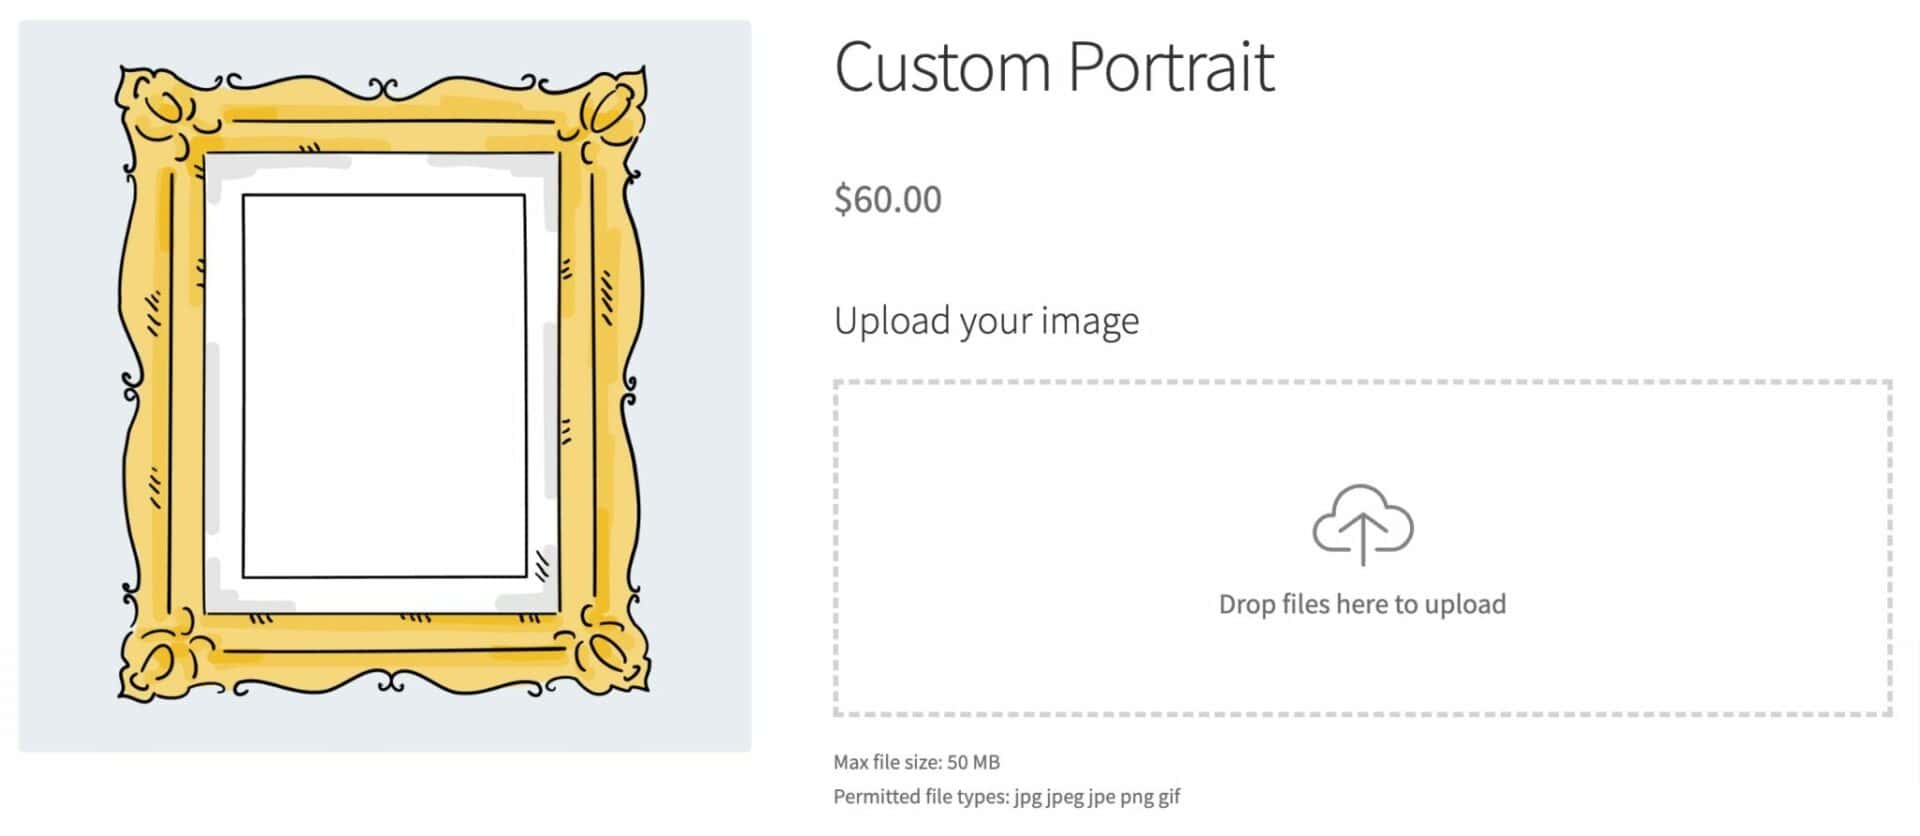
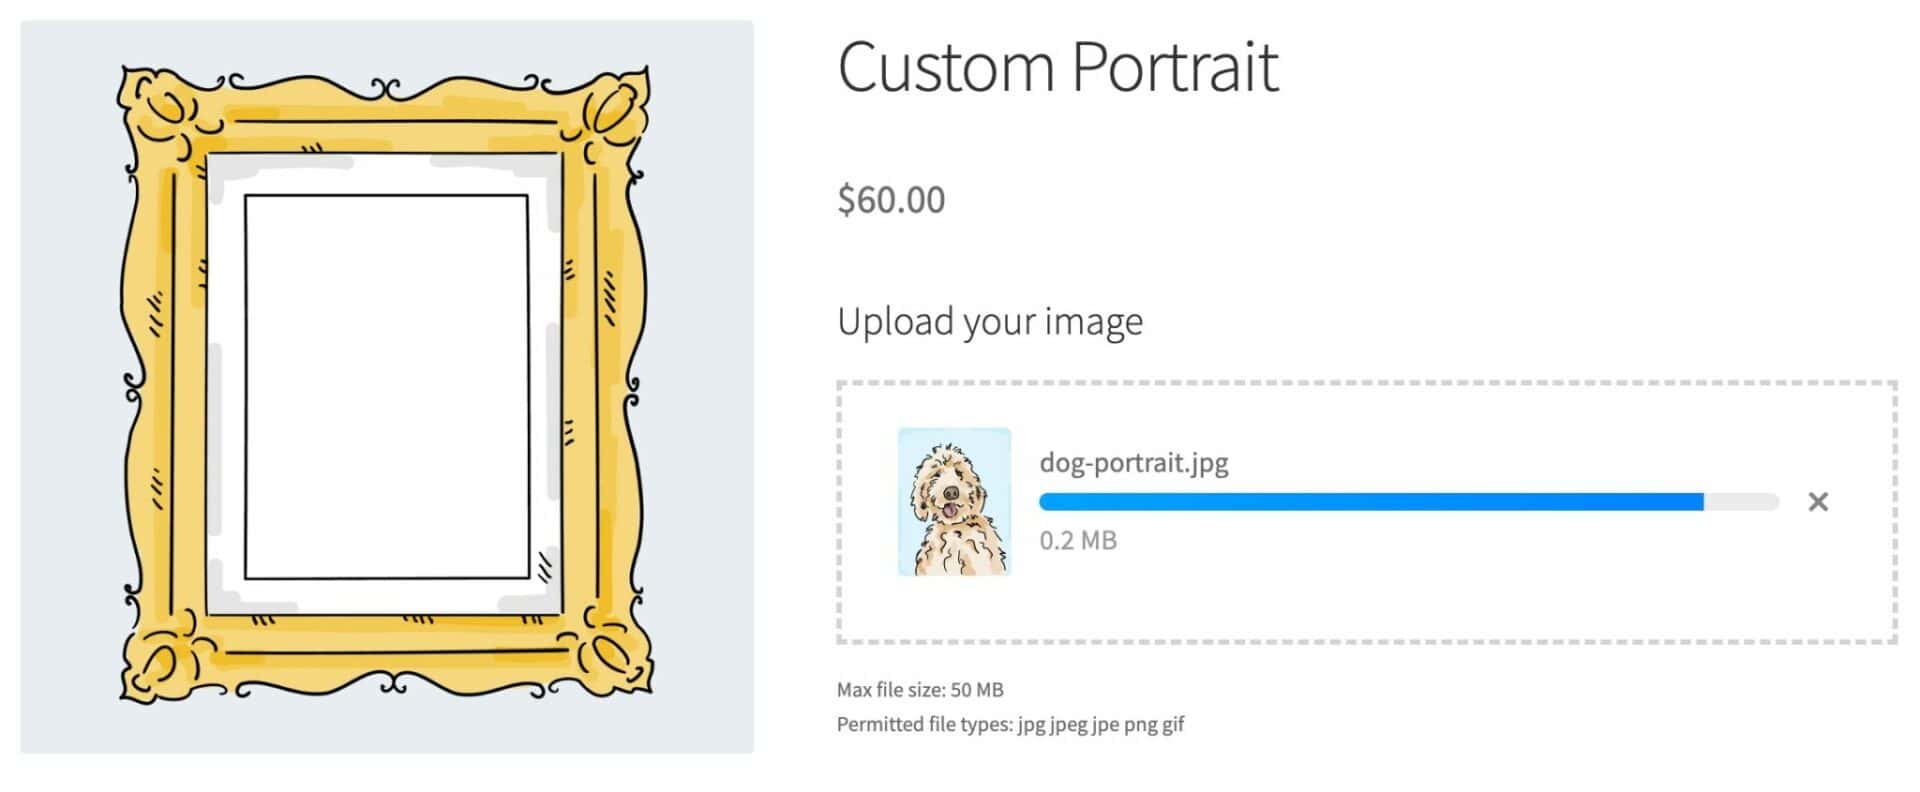
When the user drags a file into the field, they’ll see a progress bar indicating how long the upload will take and a neat thumbnail of the uploaded image.
Adding a price for uploading images
With Add-Ons Ultimate, you also have the option to charge the user an additional fee for uploading an image. To add a fee, just enter a value in the ‘Field Price’ setting. This value will be added to the product price when a user uploads a file.

Uploading multiple images
If you would like to accept multiple images, you can enable this by selecting the ‘Allow multiple uploads’ option. You can then set a maximum number of files in the ‘Max Files’ setting.

WooCommerce upload fields – more information
That’s how to easily let users upload photos to your site. If you’d like more information on upload fields in WooCommerce, here’s a really in-depth tutorial on adding image and file uploads to WooCommerce product pages.
Now let’s look at how to allow the user to select a frame for their portrait.
Selecting a customizable frame
You can follow the same steps as above to add a swatch field for your custom frame.
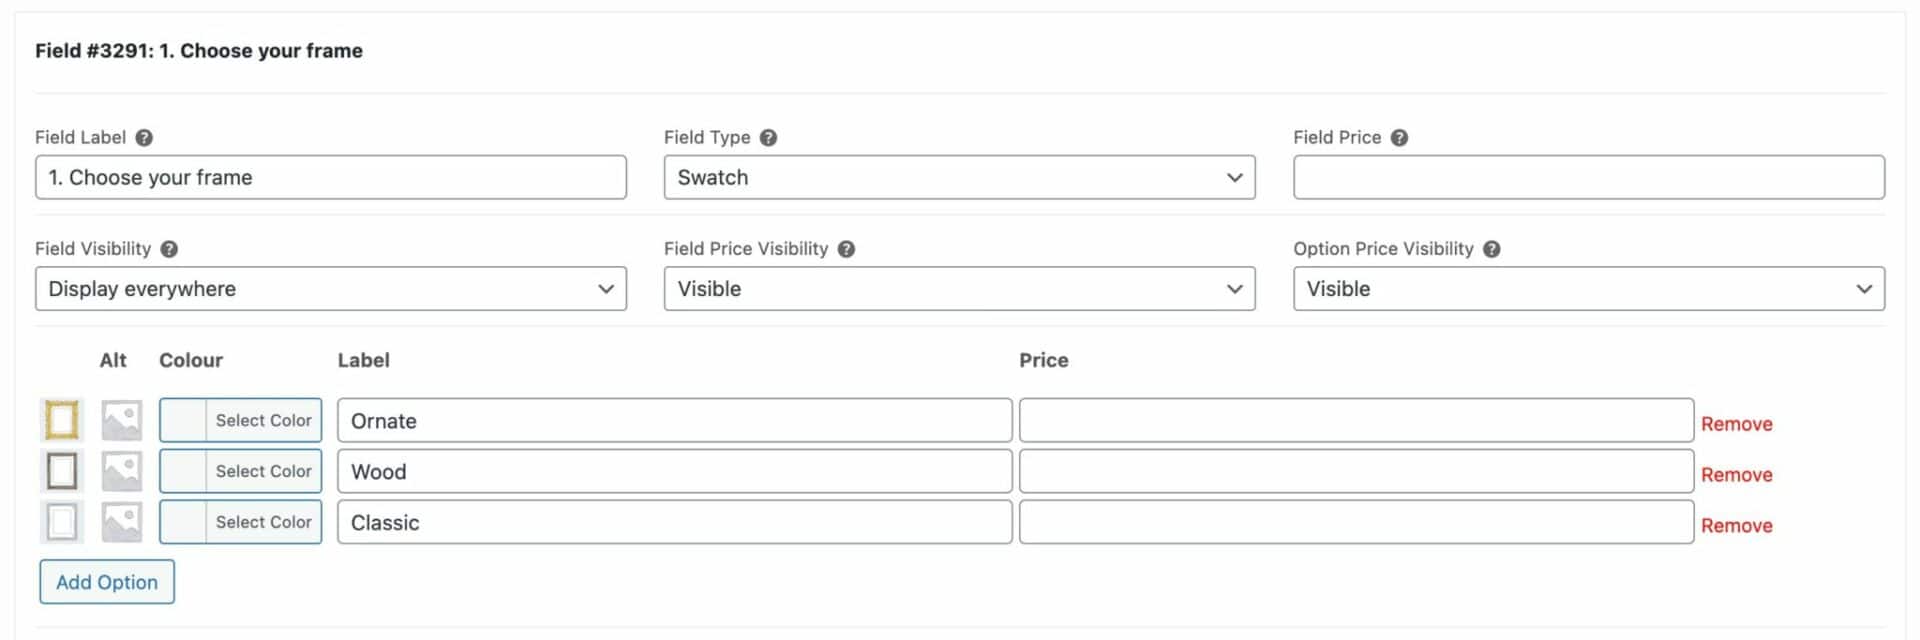
Here’s how the field will look on the front end:
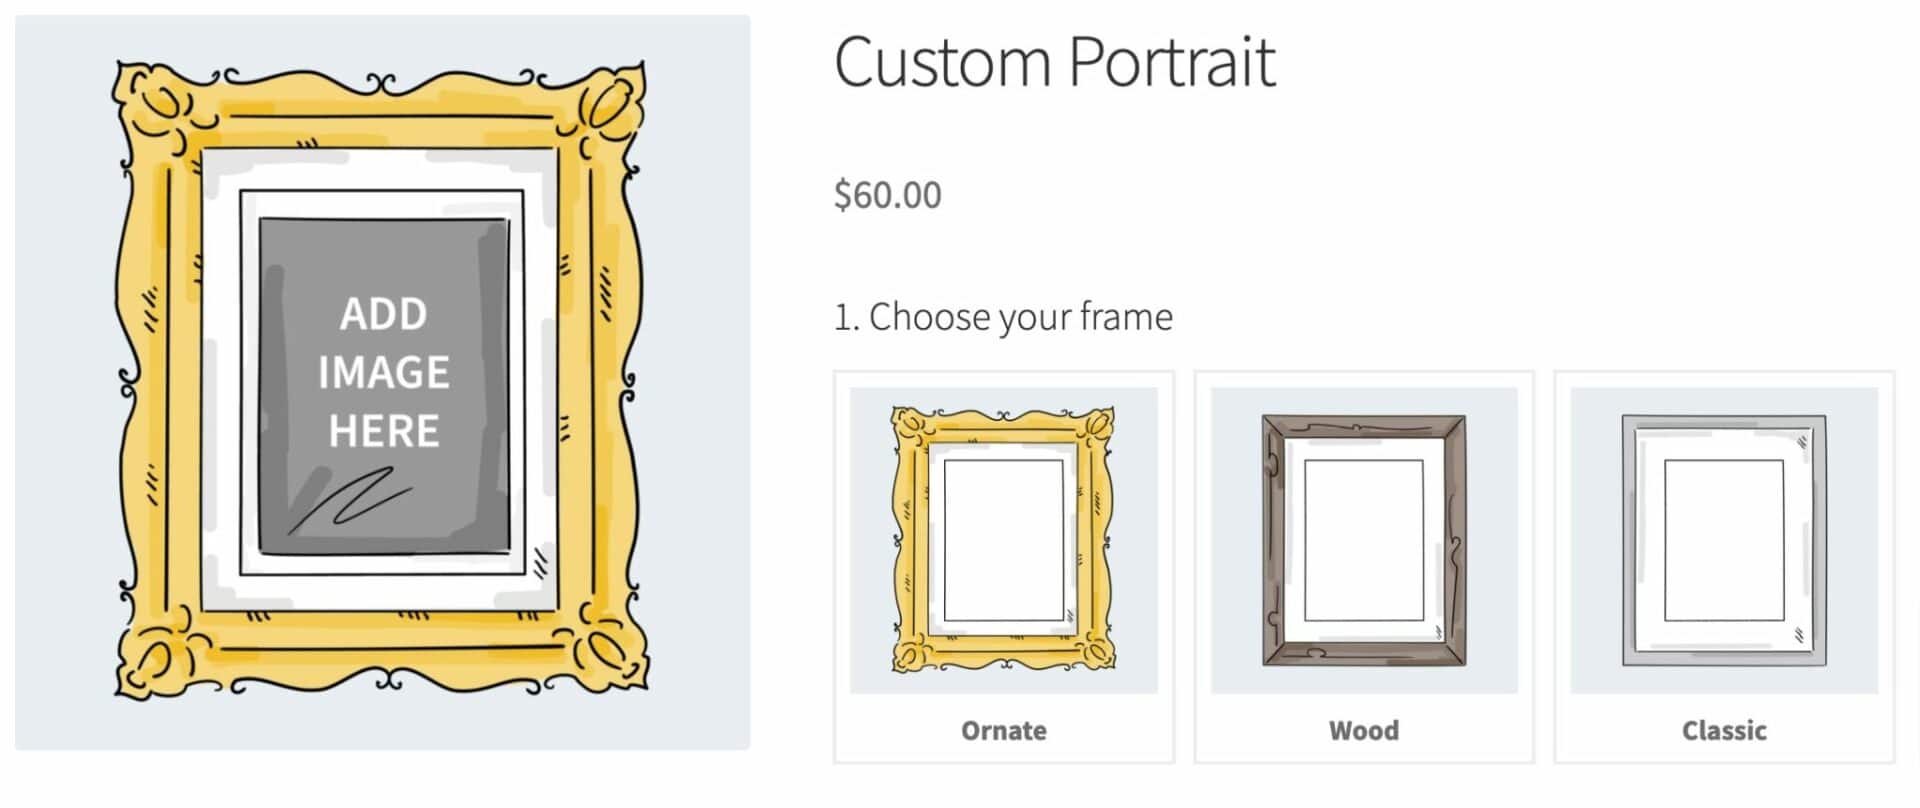
Previewing the frame
If you’d like the main product image to update when the user selects a frame, you can enable this using the ‘Replace main image’ setting.
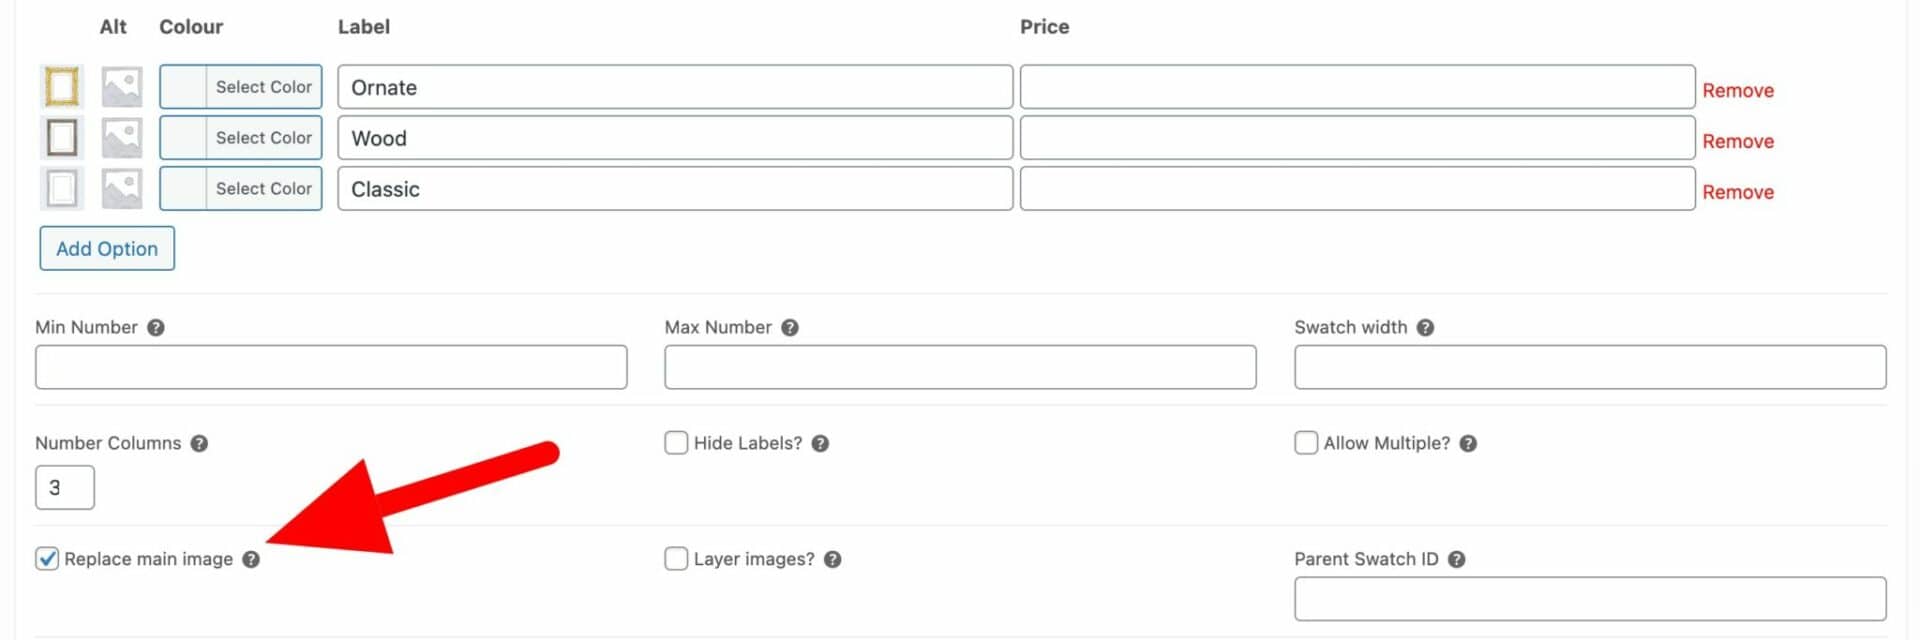
Now, when the user selects their frame, the swatch image will replace the main product image.
Adding extra options
There are all kinds of additional options that you might want to include. Add-Ons Ultimate is designed specifically to allow you to add extra options to WooCommerce products and has around 20 different field types.
In our example, we’ll give the user an option to select what kind of glass they would like.

You can see that we created a new field and selected ‘Radio Group’ as the field type. We added a couple of options and, for one of them, added a premium price.
Now the user can select which glazing they prefer. If they select the premium option, an additional cost will be added to the overall product price.
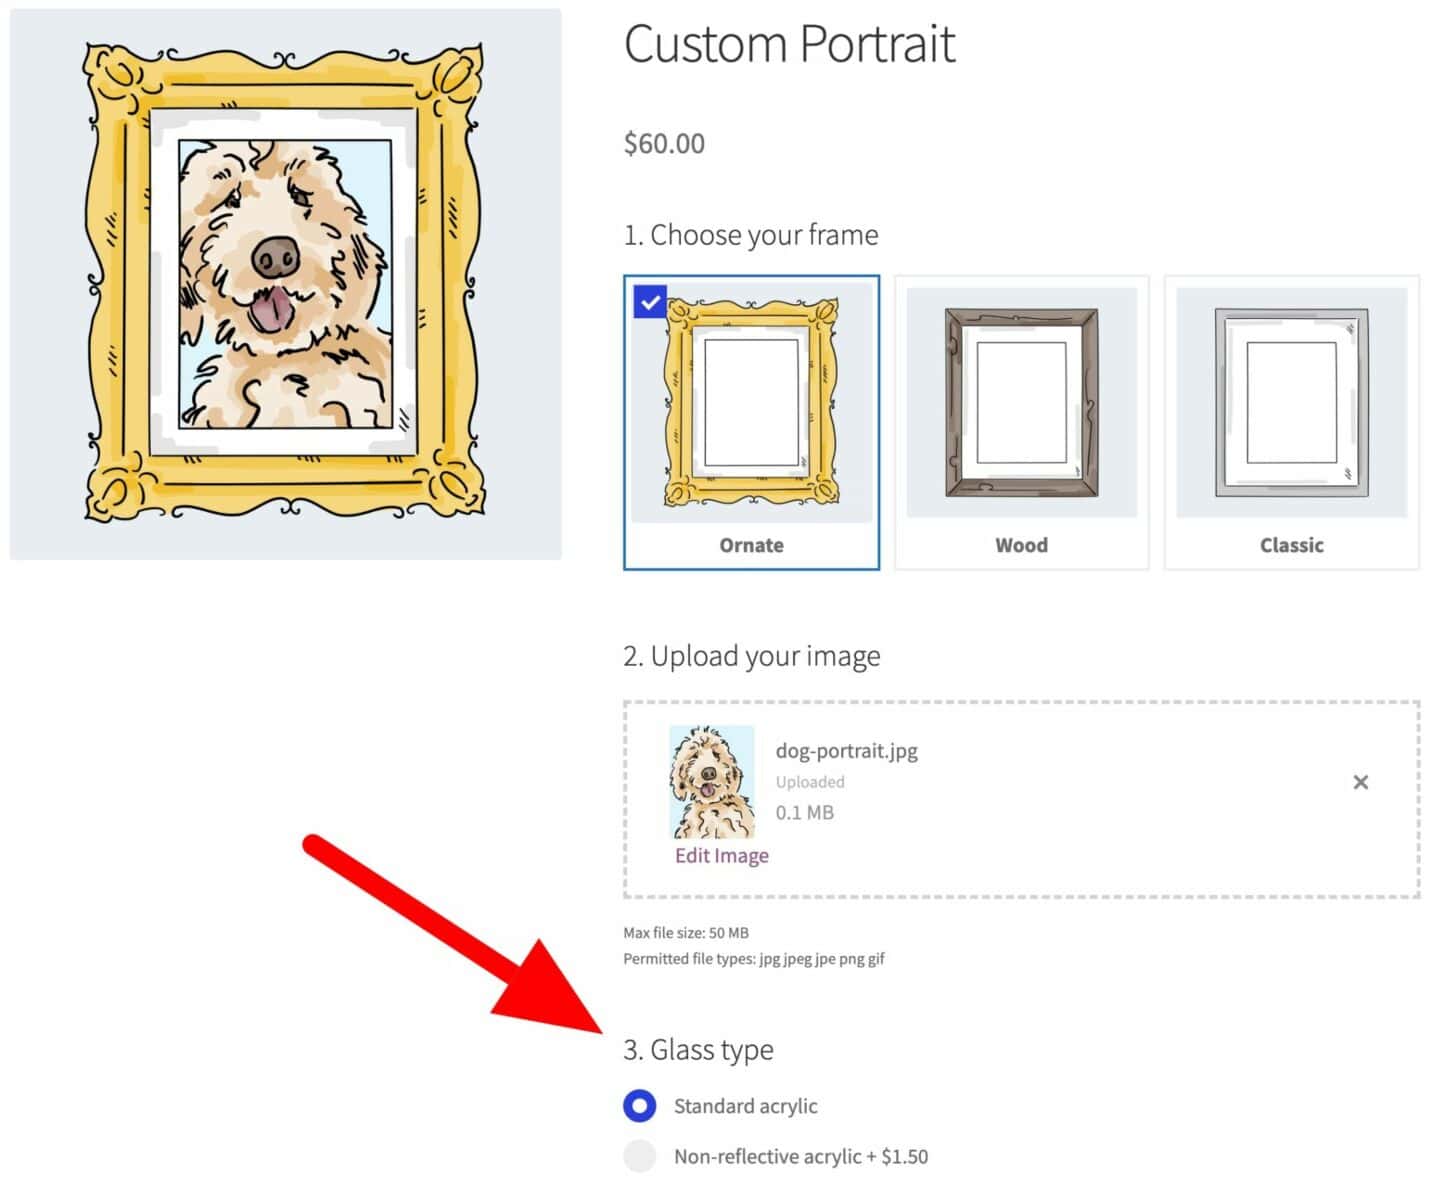
You can add all kinds of additional option to your product.
Previewing the uploaded image
So far, everything we have looked at requires just the Add-Ons Ultimate plugin. Now let’s look at some extended features requiring one or more additional plugins.
Firstly, the Image Preview for Add-Ons Ultimate plugin allows users to preview their uploaded images as part of the main product image.
Image Preview for Add-Ons Ultimate
Preview uploaded images as part of the main product image
Once installed and activated on your site, Image Preview will add some extra settings to your upload field. Just enable the ‘Preview Image’ option to preview any uploaded images in the main product image.
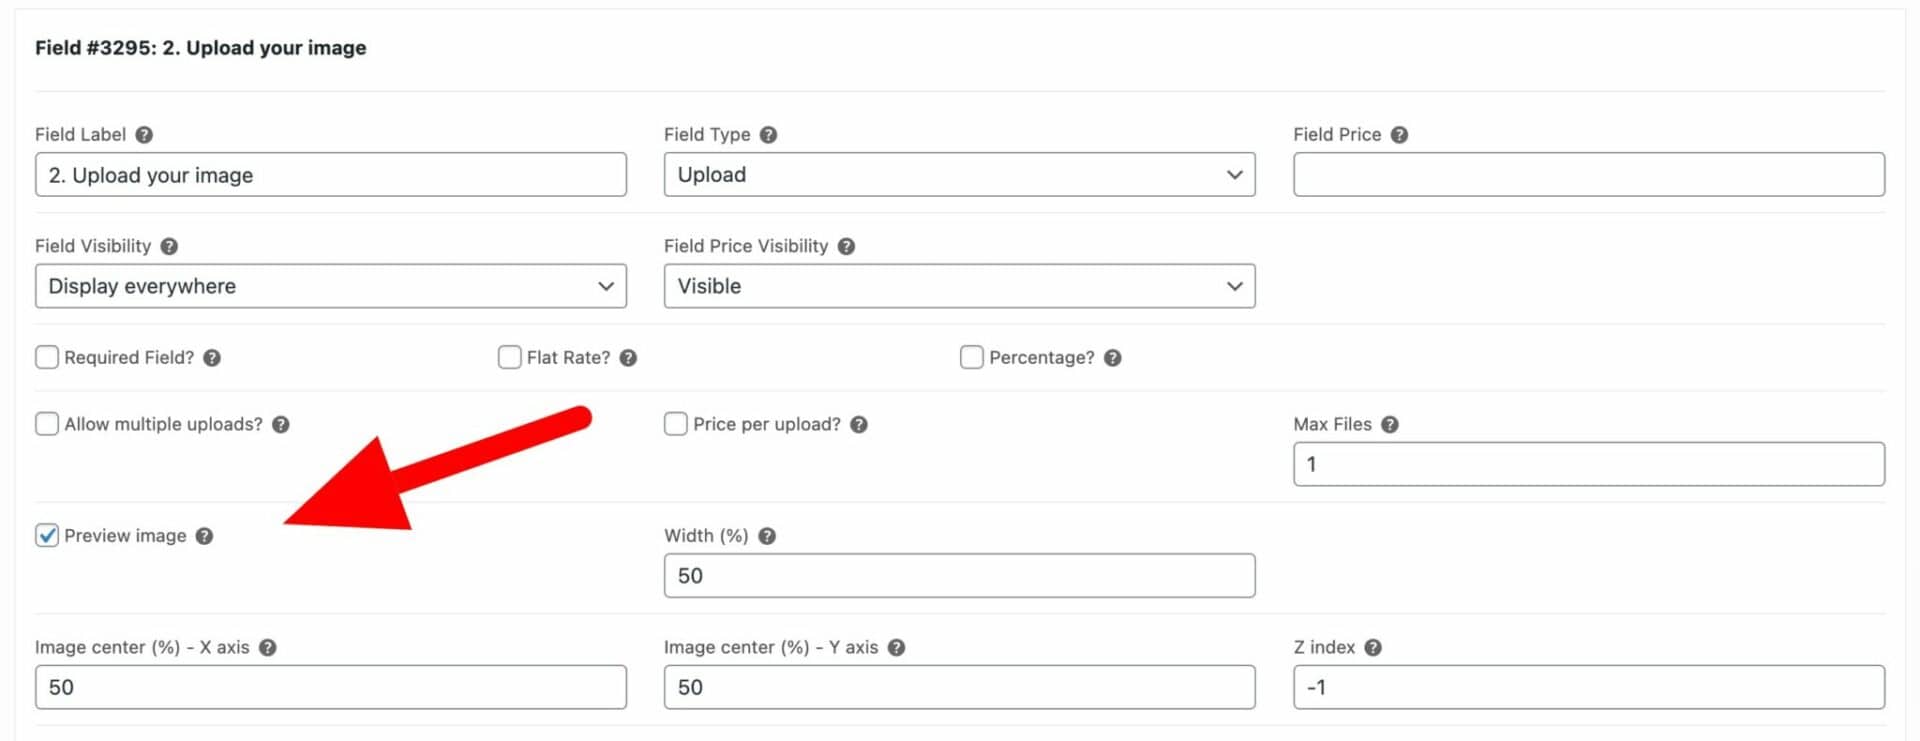
You can also set size and position parameters for the uploaded image.
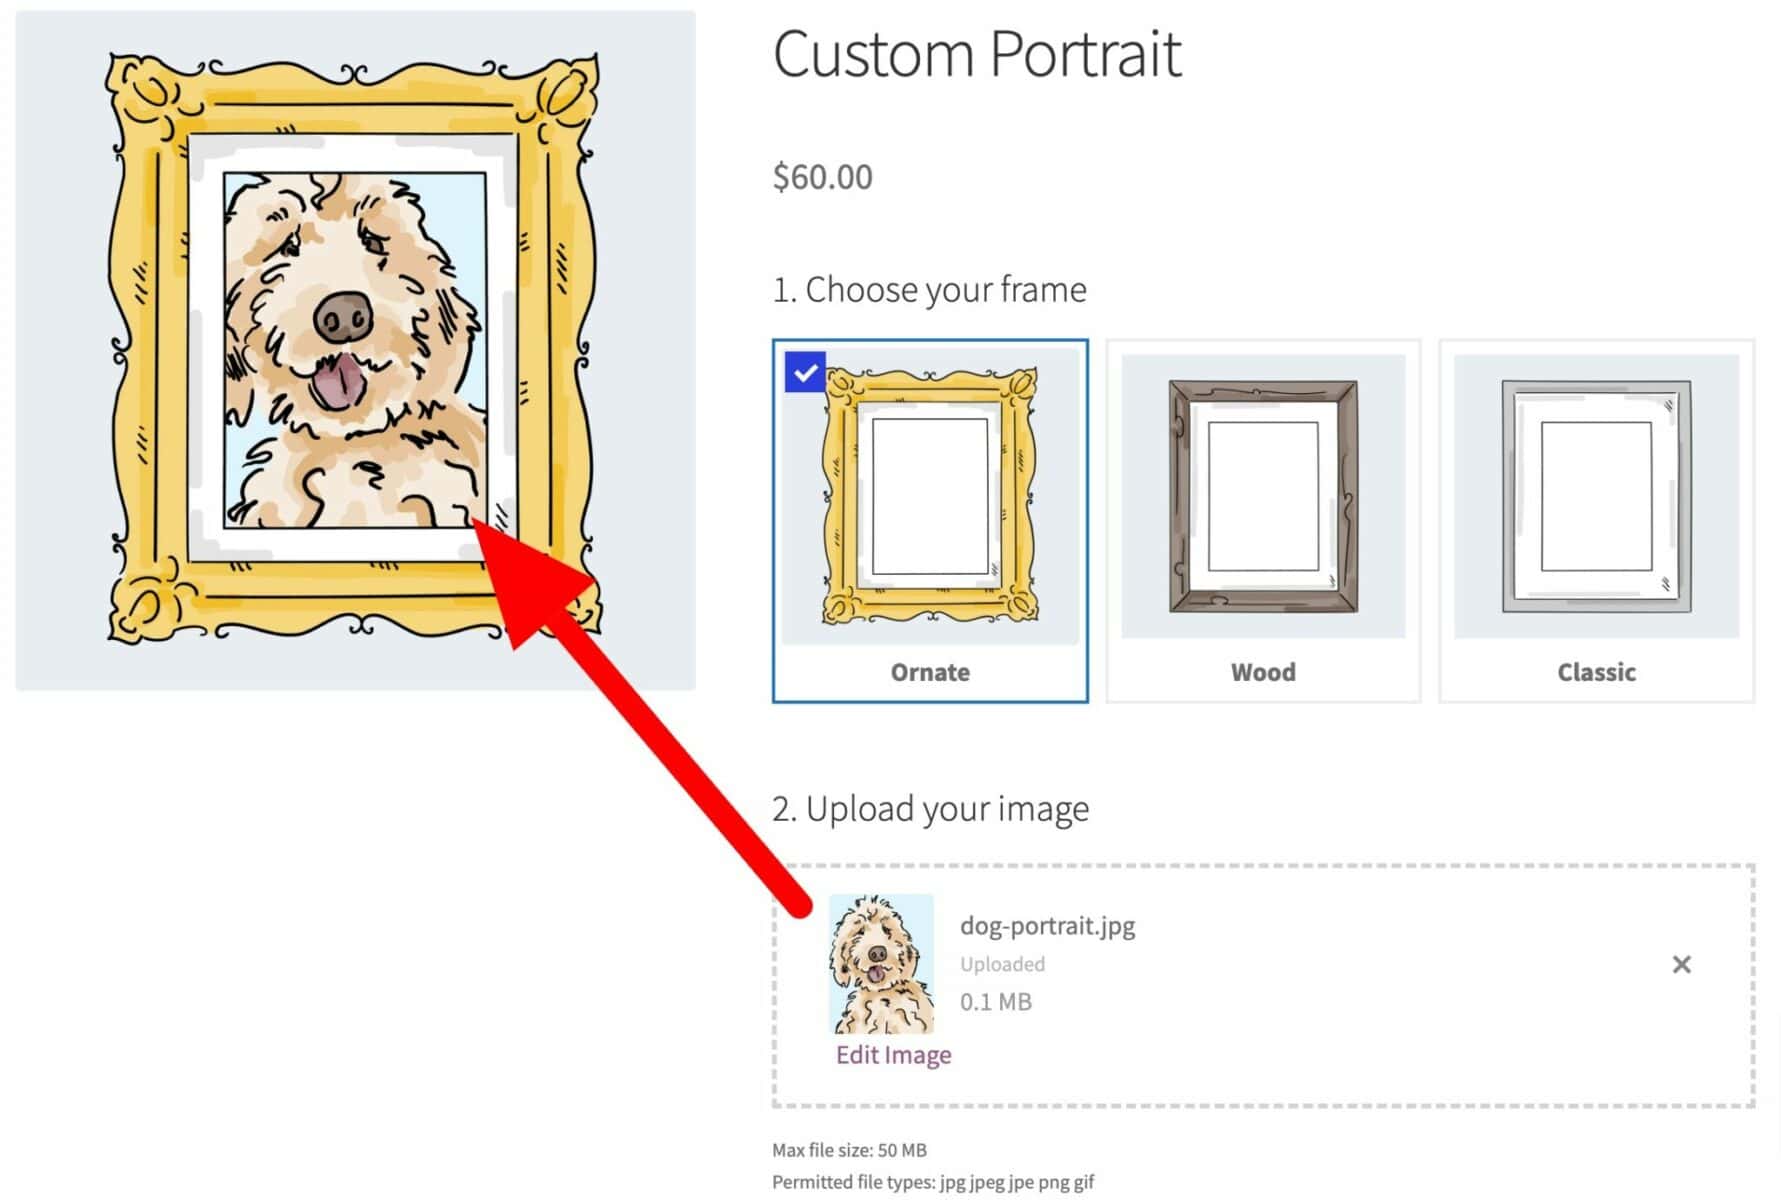
Editing the uploaded image
Finally, you might want to allow the user to edit their uploaded portraits. This is especially useful to ensure that uploaded images fit the available space within the frame.
To edit uploads, you need the Advanced Uploads for Add-Ons Ultimate plugin. Once installed and activated, this will add further options to the upload field settings.

When the user uploads their image, they can edit it in a lightbox.
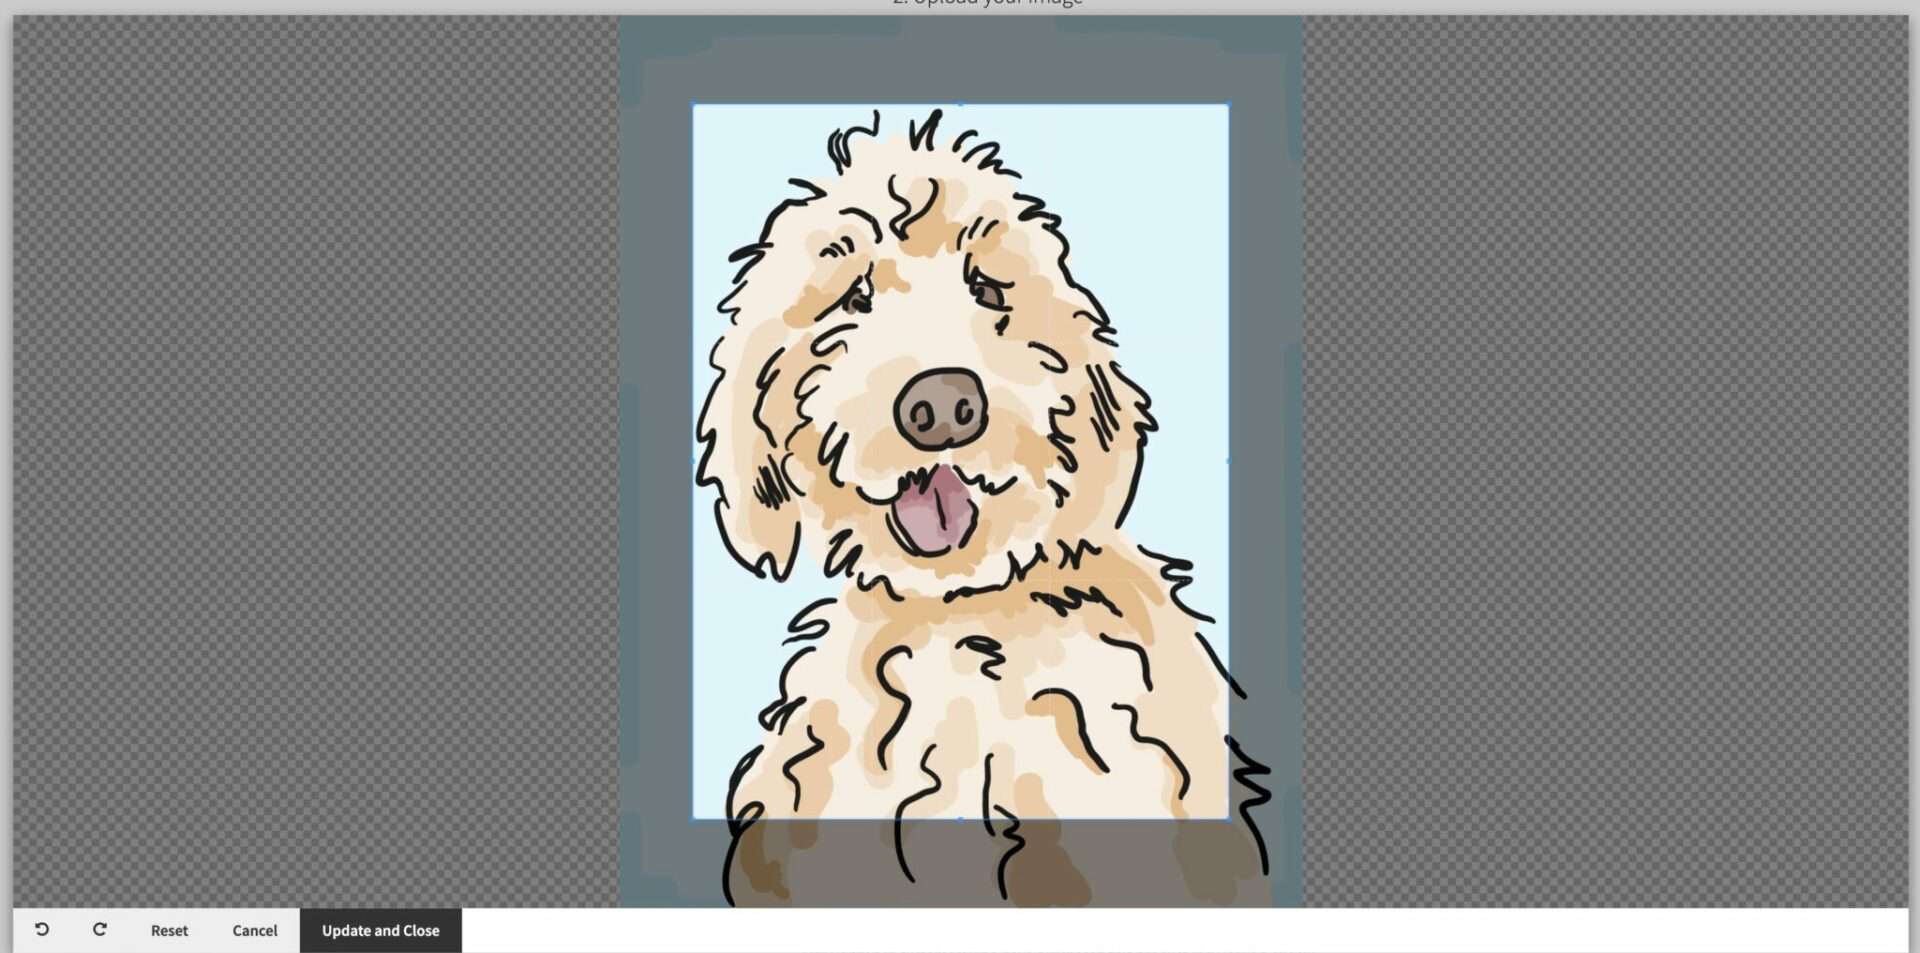
Users can resize, rotate and crop the image. You can specify an aspect ratio to ensure that the image will fit the available area. And you can specify minimum and maximum sizes for the image.
Once the image has been edited, it will be previewed as part of the main image if you are also using Image Preview.
Custom framing and portraits in WooCommerce – a recap
So that’s a tutorial on how to create custom framing and portrait products in WooCommerce. It’s ideal for all kinds of businesses, including custom pet portrait sites, printers, photographers, framers, and many more.
In the tutorial we looked at several plugins:
- WooCommerce Product Add-Ons Ultimate: you need this plugin for all the features covered in the tutorial
- Image Preview for Add-Ons Ultimate: you need this extension if you would like to preview users’ uploaded images in the main product image
- Advanced Uploads for Add-Ons Ultimate: you need this extension to allow users to edit their uploaded images
All these plugins are available separately. However, you can also purchase Pro Lifetime licences for them all (and several others) as part of the Product Add-Ons Ultimate Bundle:
Product Add-Ons Ultimate Bundle
Advanced features, superior control and excellent savings
