Both the Text Preview and Image Preview plugins allow you to display their preview layer on a specific image in the product gallery. By default, the preview layer will display on the main product image and all the images in the gallery. But you can use the settings in this guide to trigger a specific gallery image for certain text and/or image previews.
This is helpful if your product has a gallery and you want to show a finished product as the main thumbnail with a different product image for the previews.
You can do this using the Layer position and Frame # settings:
- For text previews, these settings are on the ‘Text’ tab
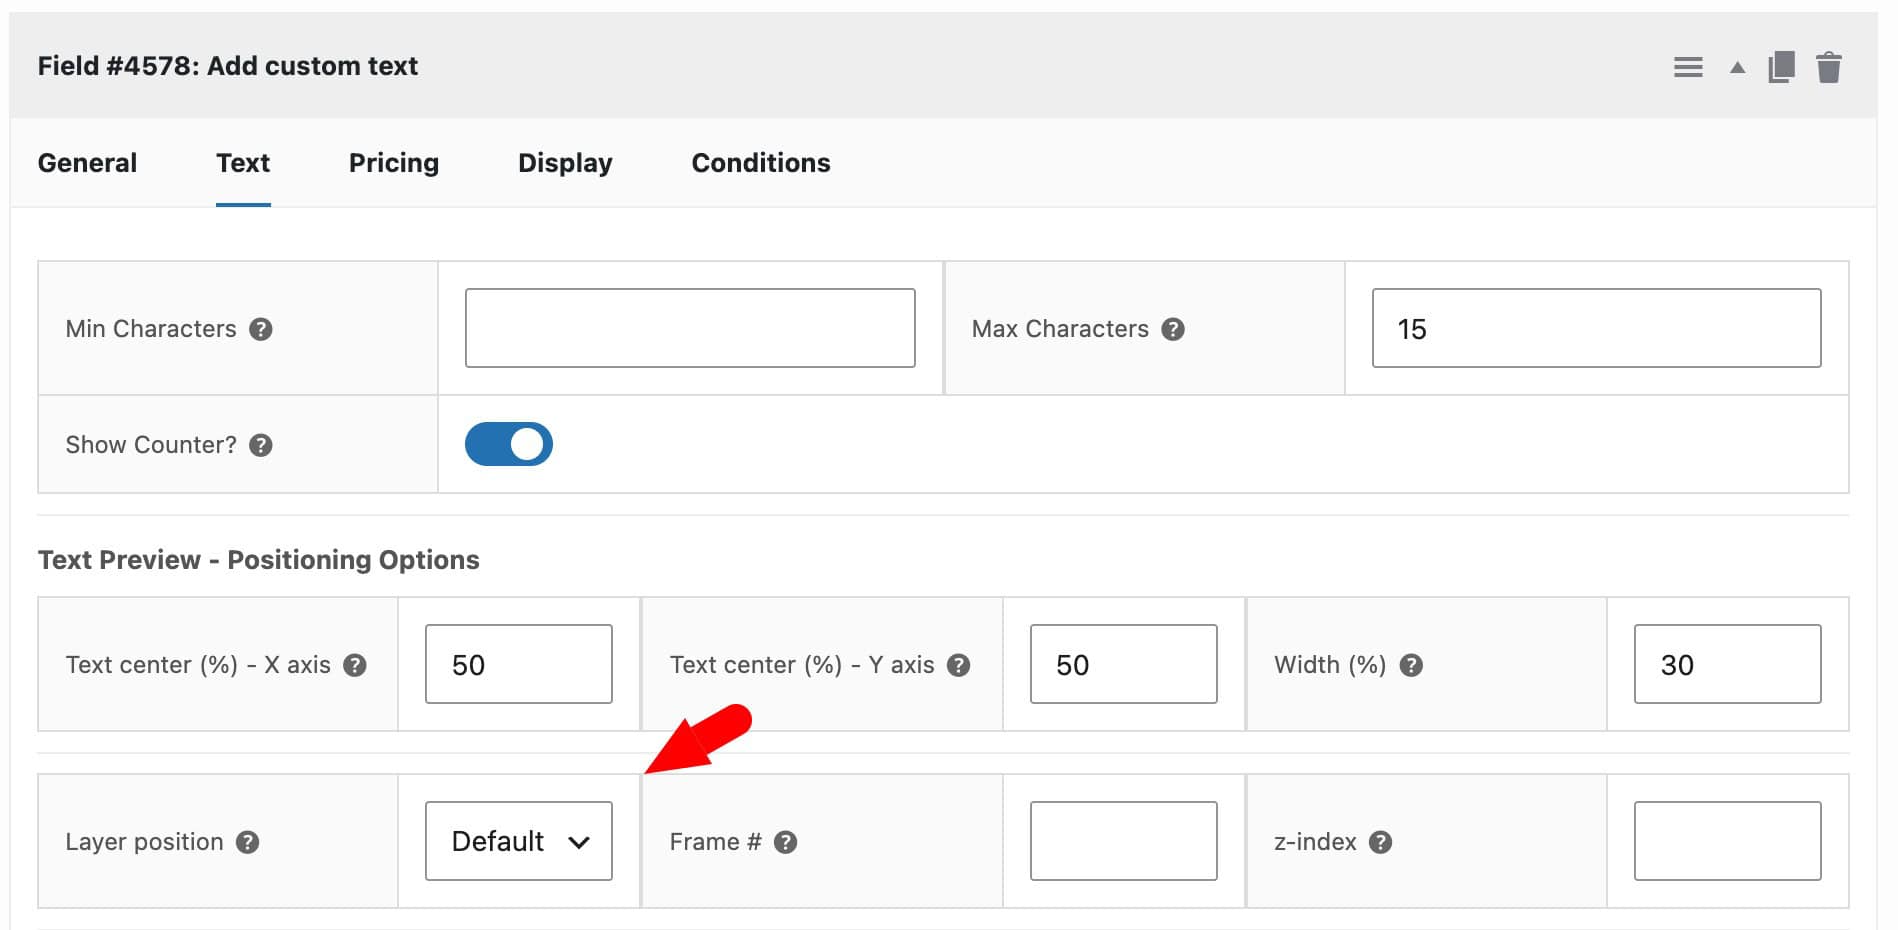
- For image previews, the settings are on the ‘Upload’ tab
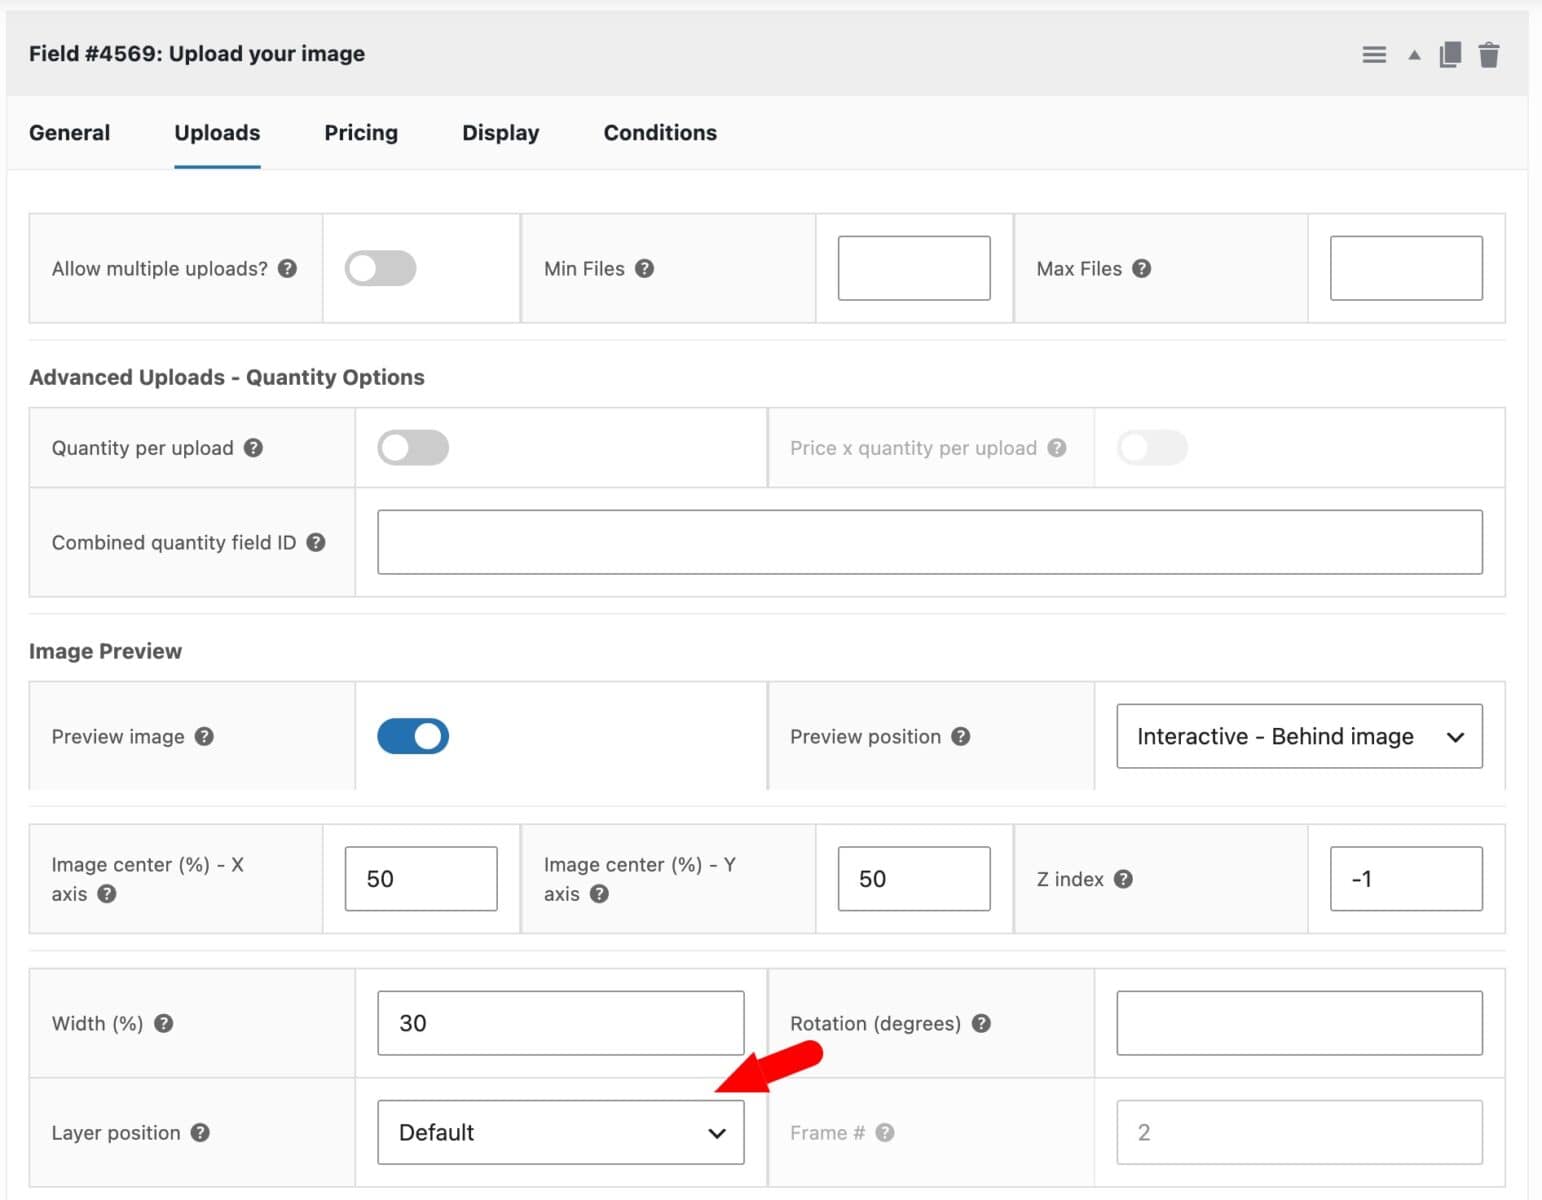
Layer position
Layer position decides which image in the gallery the Text Preview is drawn on top of.
| Option | Where the preview appears |
|---|---|
| Default | The main gallery/product image, using the plugin’s standard placement. Use this if the product has no gallery or you want the preview on all product images |
| First gallery frame | The first frame of the gallery (the featured image). |
| Last gallery frame | The last image in the gallery. Useful when you keep a “personalize me” mockup as the final gallery image. |
| Specific frame # | A frame you choose by number. When you pick this, enter the number in Frame #. |
The preview follows that frame as the customer navigates the gallery – when they scroll or click through to the chosen frame, the live preview will appear.
Likewise, when the user starts to enter their custom text or uploads their preview image, the specified product image will be triggered.
Frame
Frame # is only used when Layer position is set to Specific frame #. It is the position of the image in the gallery, counting from 1.
How frames are numbered:
- Frame 1 is the product’s featured image.
- Frame 2 is the first image in the Product gallery box.
- Frame 3 is the second gallery image, and so on.
So if you want the preview on the third picture the customer sees (featured image + two gallery images), set Frame # to 3.
If you enter a number that doesn’t match a frame (for example the gallery is shorter than the number you typed), the preview falls back to the first frame.