Accept online bookings for campervan rentals with WooCommerce
This tutorial will take you through everything you need to accept online bookings for campervan(s) rental through WooCommerce. Users will be able to see availability, select start and end dates through a calendar, and pay online.
You’ll be able to achieve the following:
- Create bookable products for one or more campervans
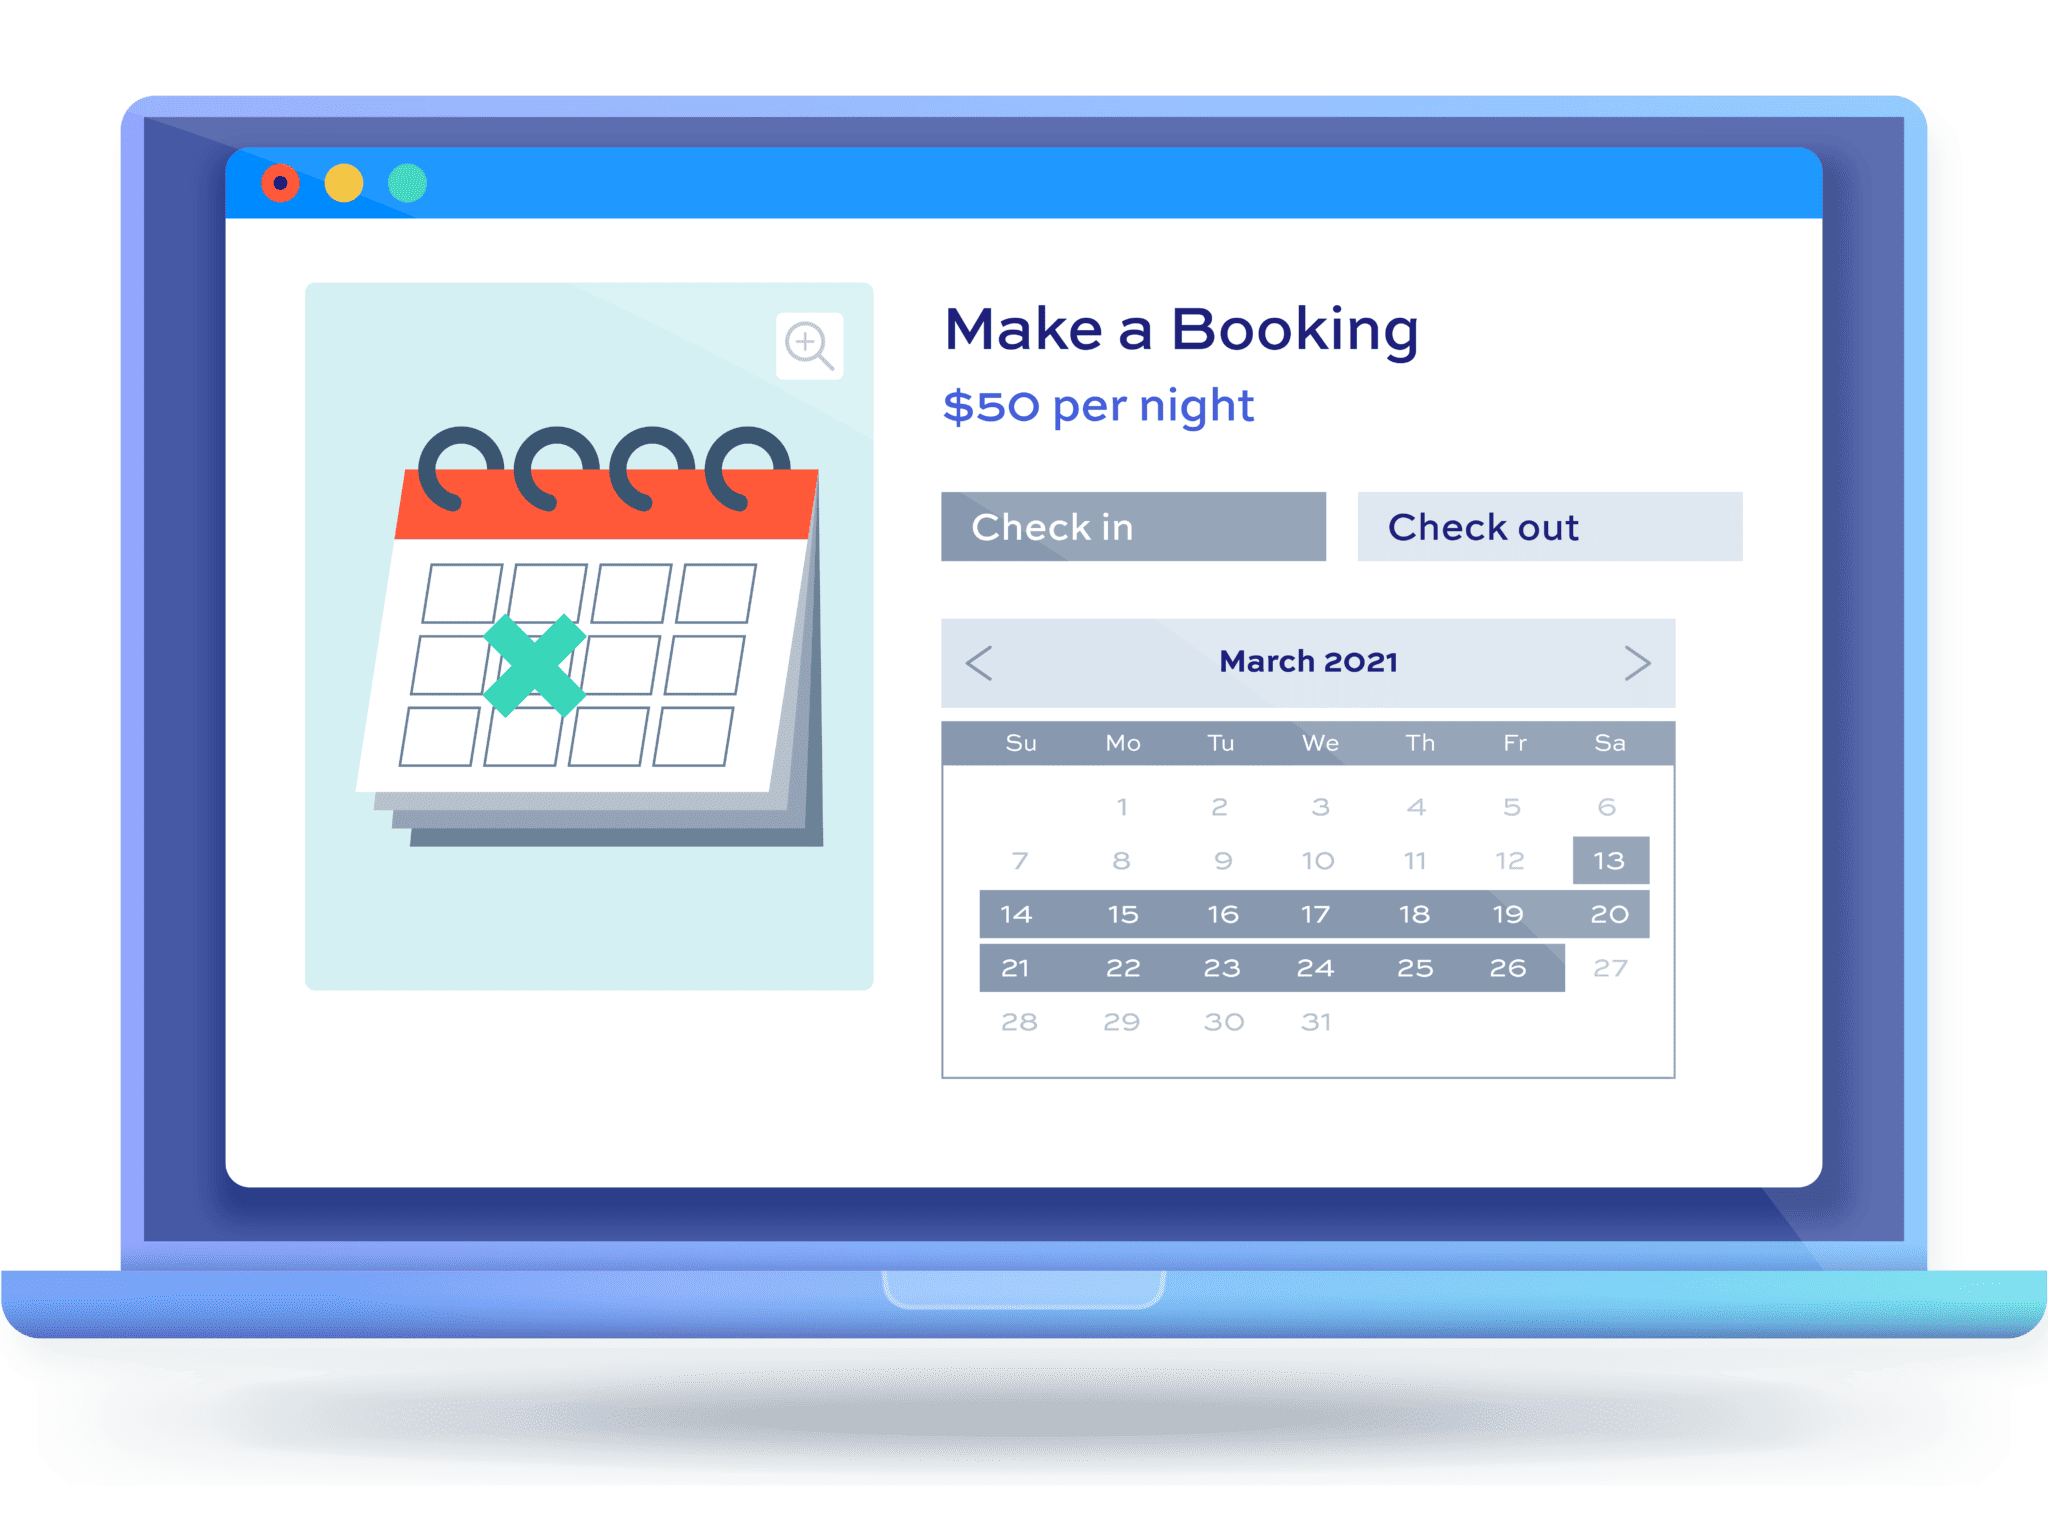
- Allow users to select start and end dates for their booking from a calendar date picker
- Let users search all campervans for availability by date
- Display availability and pricing by day per campervan
- Block out certain dates so that your van can’t be rented at certain periods
- Set seasonal prices – charge more when you’re busiest
- Accept payments for campervan rentals online
- Manage stock so that you don’t oversell vans on certain days
- Offer discounts on longer rentals
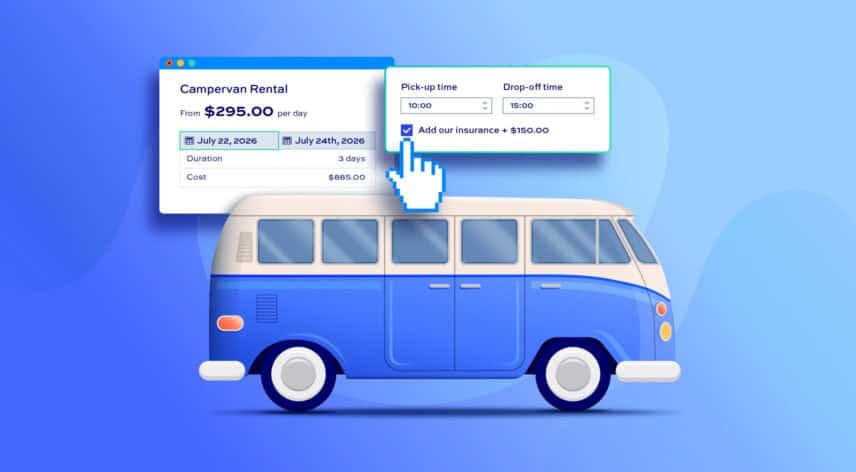
- Specify pick-up and drop-off times
- Add optional extras, like cleaning or insurance
- Accept deposit payments
There’s a simple demo product here.
Campervan rentals with WooCommerce – complete tutorial
We’ll assume that you already have WooCommerce installed and activated. WooCommerce is an incredibly powerful and flexible ecommerce solution – but it doesn’t allow you to create rental products.
So, you’ll also need the Bookings for WooCommerce plugin. This will allow you to create bookable products in your WooCommerce store and rent your campervans.
Step #1: Install and activate the Bookings for WooCommerce plugin
Once you’ve purchased Bookings for WooCommerce:
- Download the plugin’s zip file by clicking on the link on your order confirmation screen or in your welcome email. You’ll receive the email automatically a few seconds after you’ve completed the purchase
- Go to Plugins > Add New in your WordPress dashboard
- Click on the ‘Upload Plugin’ button
- Drag and drop the plugin’s downloaded zip file into the ‘Choose File’ area and click ‘Install Now’
- When the plugin has uploaded, click the ‘Activate Now’ button
Step #2: Create a bookable product
With Bookings for WooCommerce activated, you can create your first bookable product:
- Go to Products > Add New
- Give your product a name, e.g. ‘VW Camper’
- Select ‘Booking’ as the product type
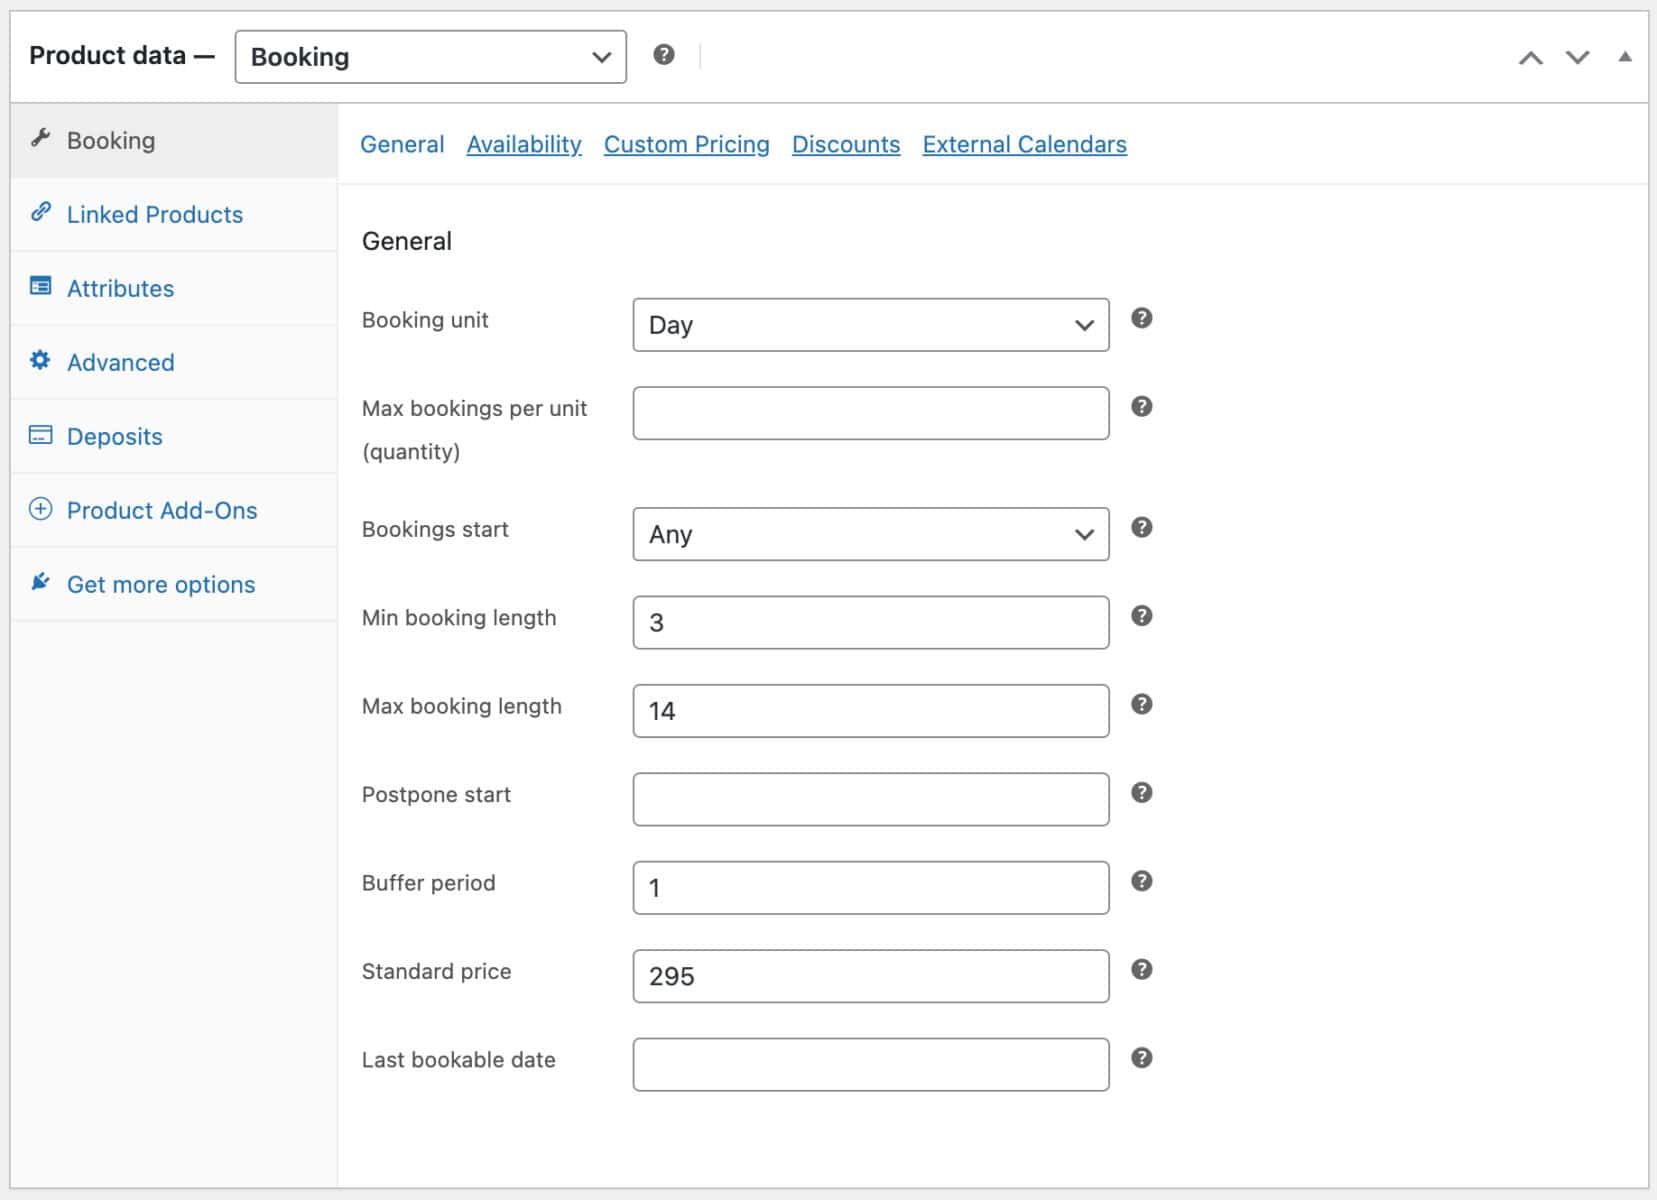
- Select a ‘Booking unit’ – in this case, we’ll rent our van out on a daily basis
- Optionally, choose a day of the week when bookings should start – this is great if you want bookings to run from a certain day of the week
- Select a minimum and / or maximum booking length. Many campervan rentals have a minimum rental period
- If you need time between bookings, enter a ‘Buffer period’. That will ensure that one booking doesn’t start straight after the previous booking
- Finally, set a price per day
Here are some sample settings:
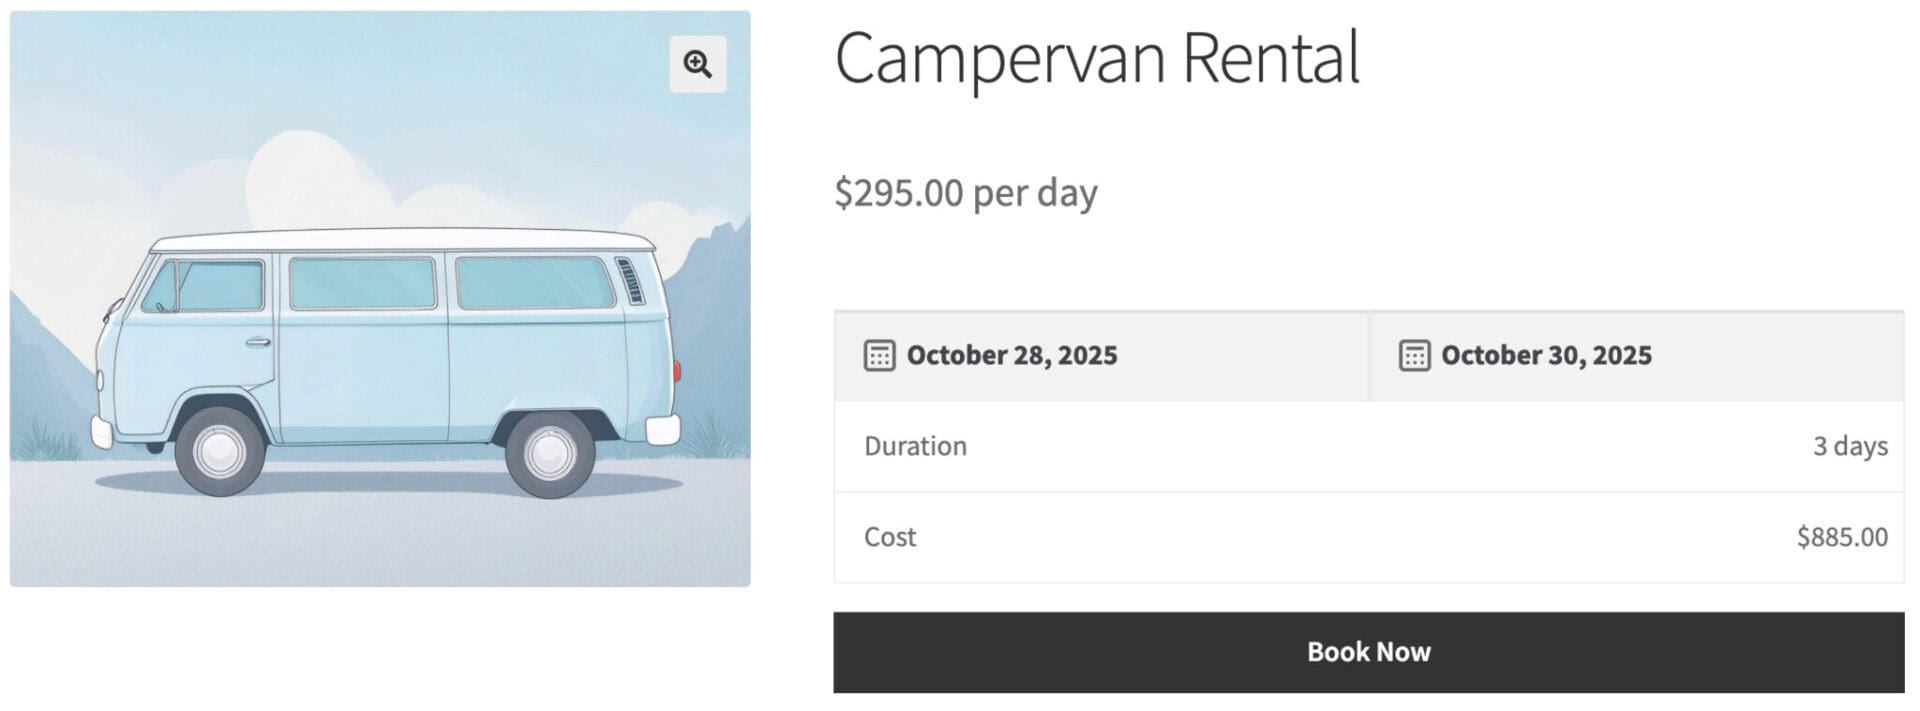
When you’ve added all your settings, you can publish your product. Your customers can now select their desired rental dates using a calendar date picker and pay online.
Rent multiple vans from the same product page
In this example, we’ll assume that there is only one campervan per type. However, if you have more than one campervan with the same spec and/or price, you can enter a value in ‘Max bookings per unit’. For example, if you have three campervans that all have the same spec and price, you can rent them out from the same product page. Just enter ‘3’ as the ‘Max bookings per unit’. The plugin will track how many vans are available per day and ensure that you don’t get overbooked.
Rent multiple vans from different product pages
If you are hiring out more than one campervan and each van has a different spec and/or price, you can create a separate product for each van. Just follow the steps above to create one product per van.
Step #3: Block out certain days and/or dates
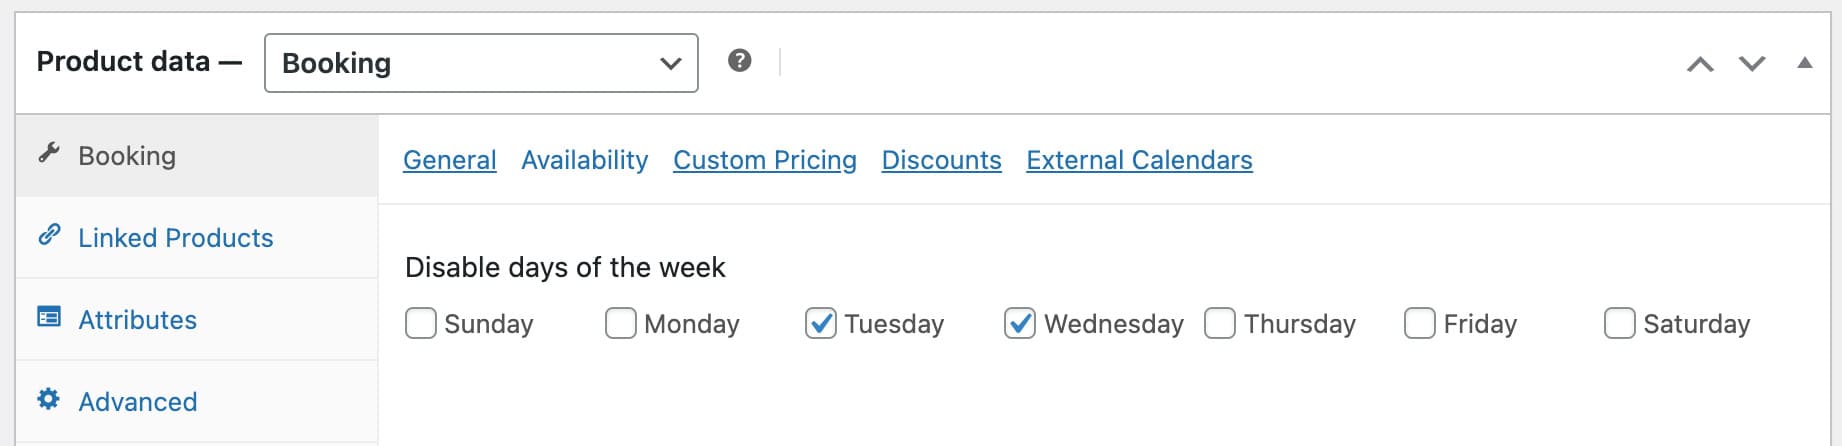
It might be that you don’t want to accept pick-ups or drop-offs on certain days of the week. To disable specific days of the week on the calendar so that users can select them:
- Click the ‘Availability’ tab
- Select which day(s) of the week should be disabled
Now, users won’t be able to select those days to either start or end a rental.
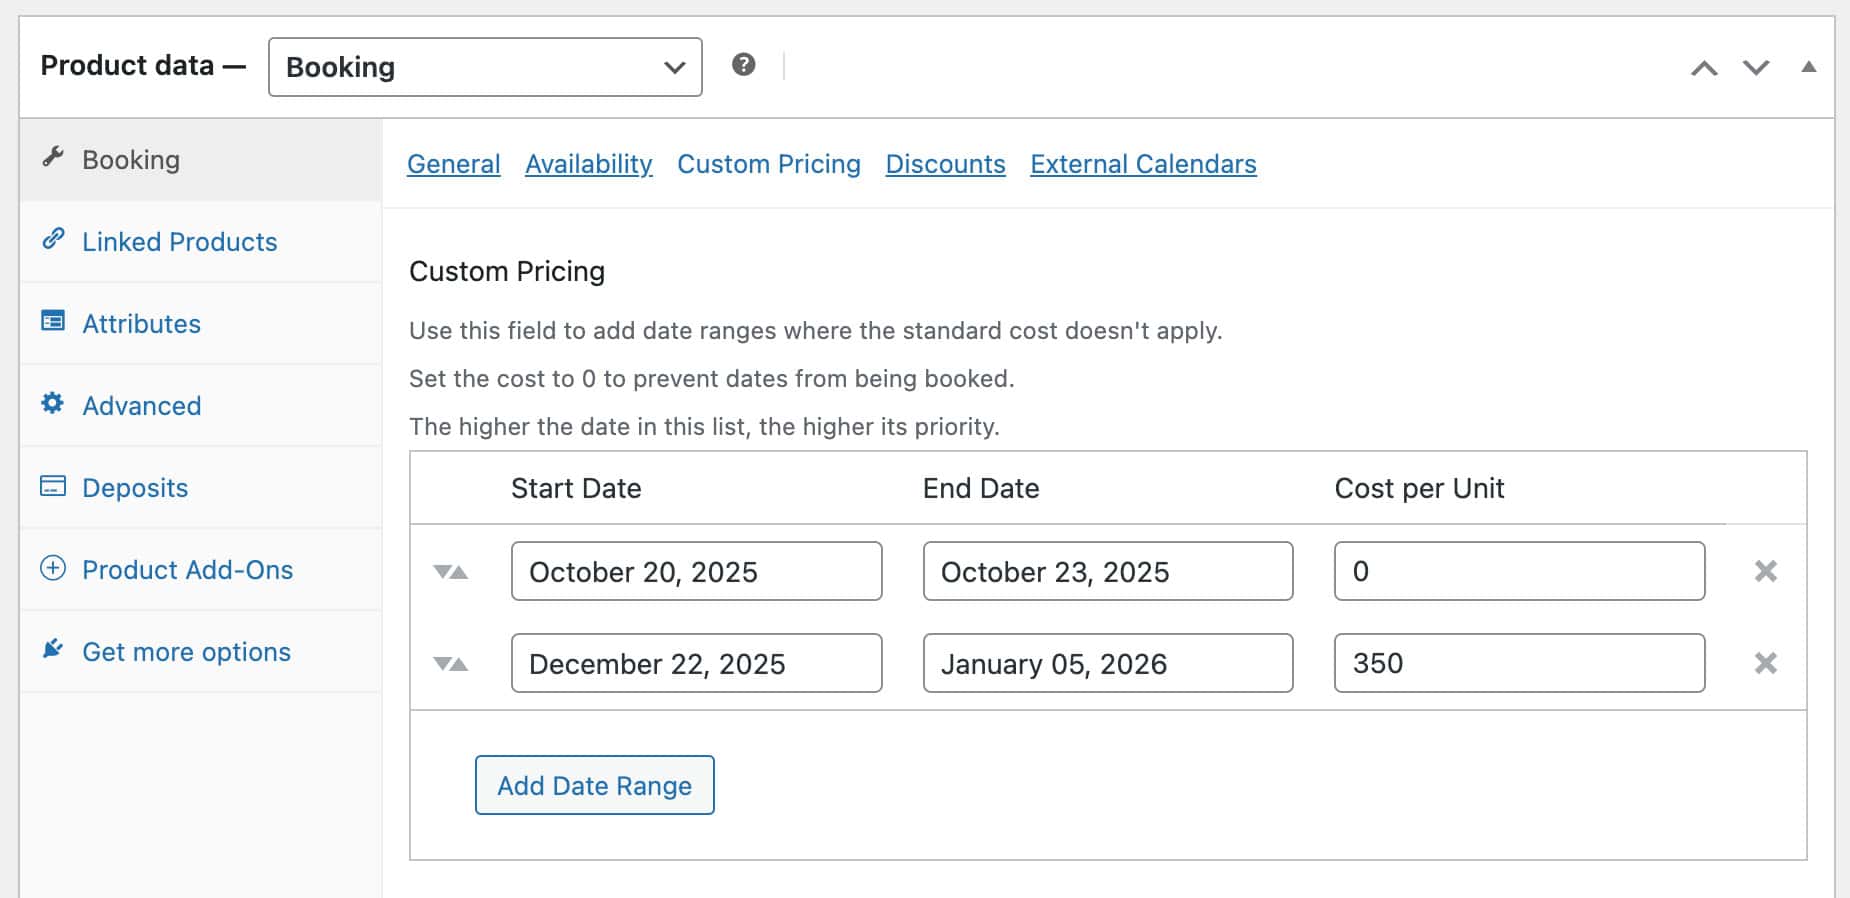
If you would like to block out certain periods – for example, if you are taking a couple of weeks off:
- Click the ‘Custom Pricing’ tab
- Enter the date range to block out
- Enter ‘0’ as the price
This will ensure that dates in the specified range will not be available for users to book.
Step #4: Set seasonal pricing
Certain times of the year are busier than others. You can adjust your campervan rental prices as much as you like. To set seasonal prices:
- Click the ‘Custom Pricing’ tab
- Enter the date range where the adjusted price will apply
- Enter the adjusted daily price
Step #5: Offer discounts for longer bookings
If you want to offer discounted prices for customers who hire campervans for extended periods:
- Click the ‘Discounts’ tab
- Set the ‘Discount Rate’ as a percentage
- In the ‘After’ field, enter the minimum number of days the rental must last to qualify for the discount
- In ‘Apply From’, select ‘All’ if the discounted rate should apply to the entire booking, or ‘Partial’ if the discounted rate only applies to the days after the minimum period

Bonus: Add search form on front end
Once you’ve followed the steps above, you’ll have your campervan rental product all set up in WooCommerce. Publish the product and the user can view availability for the campervan just by selecting the dates they want from the date picker calendar.
If you have multiple campervans, you can repeat the process and create a product for each van. Users can search availability for each van from the individual product page. However, you might want to allow users to search availability across all the vans on your site.
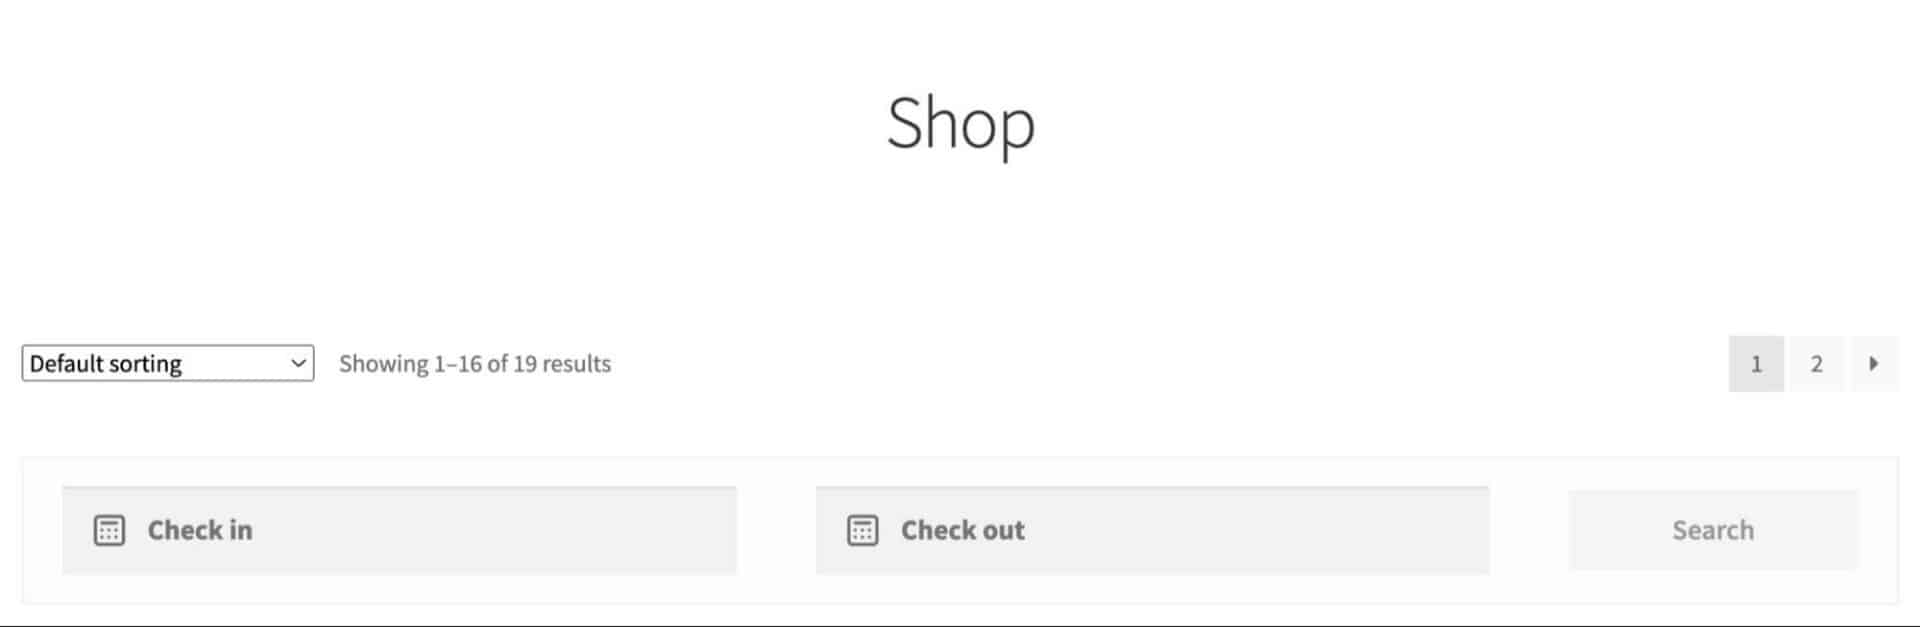
To enable a search function to check booking availability for all your campervans:
- Go to WooCommerce > Settings > Bookings > Search and check the ‘Enable search on archive pages’ field
- This will insert a search form at the top of your shop and archive pages
- Users will be able to enter the start and end dates they’d like to hire a book, and they’ll see all vans with availability within those dates
So that’s how to create bookable products in WooCommerce for campervan rentals. Let’s look at adding some optional extra features.
Manage your campervan rentals
Once you’ve started accepting bookings for campervan rentals on your site, you will need to manage them. Bookings for WooCommerce allows to:
- Manage your bookings through the standard WooCommerce Orders interface. When a customer books a campervan, it will create an order in your system where you can see the amount, booking dates, customer information, etc
- Automatically send and receive emails for new bookings – so both you and your customers receive an email for new bookings
- Create bookings manually – so if a customer wants to pay over the phone, you can just add their booking to the system from the back end
- View availability for each campervan through a calendar
- View availability for all your vans from a single, global calendar
Extra features for your campervan rentals
As well as key information like the start and end dates for your booking, you might want to collect extra information or offer upsells. In this section, we’ll look briefly at how to use the WooCommerce Product Add-Ons Ultimate plugin to offer your customers extra options.

Specify pick-up and drop-off times
One key piece of information that you might need is the pick-up and/or drop-off time for your rental. Using Add-Ons Ultimate, you can offer your customers a choice of times to collect and return the vehicle.
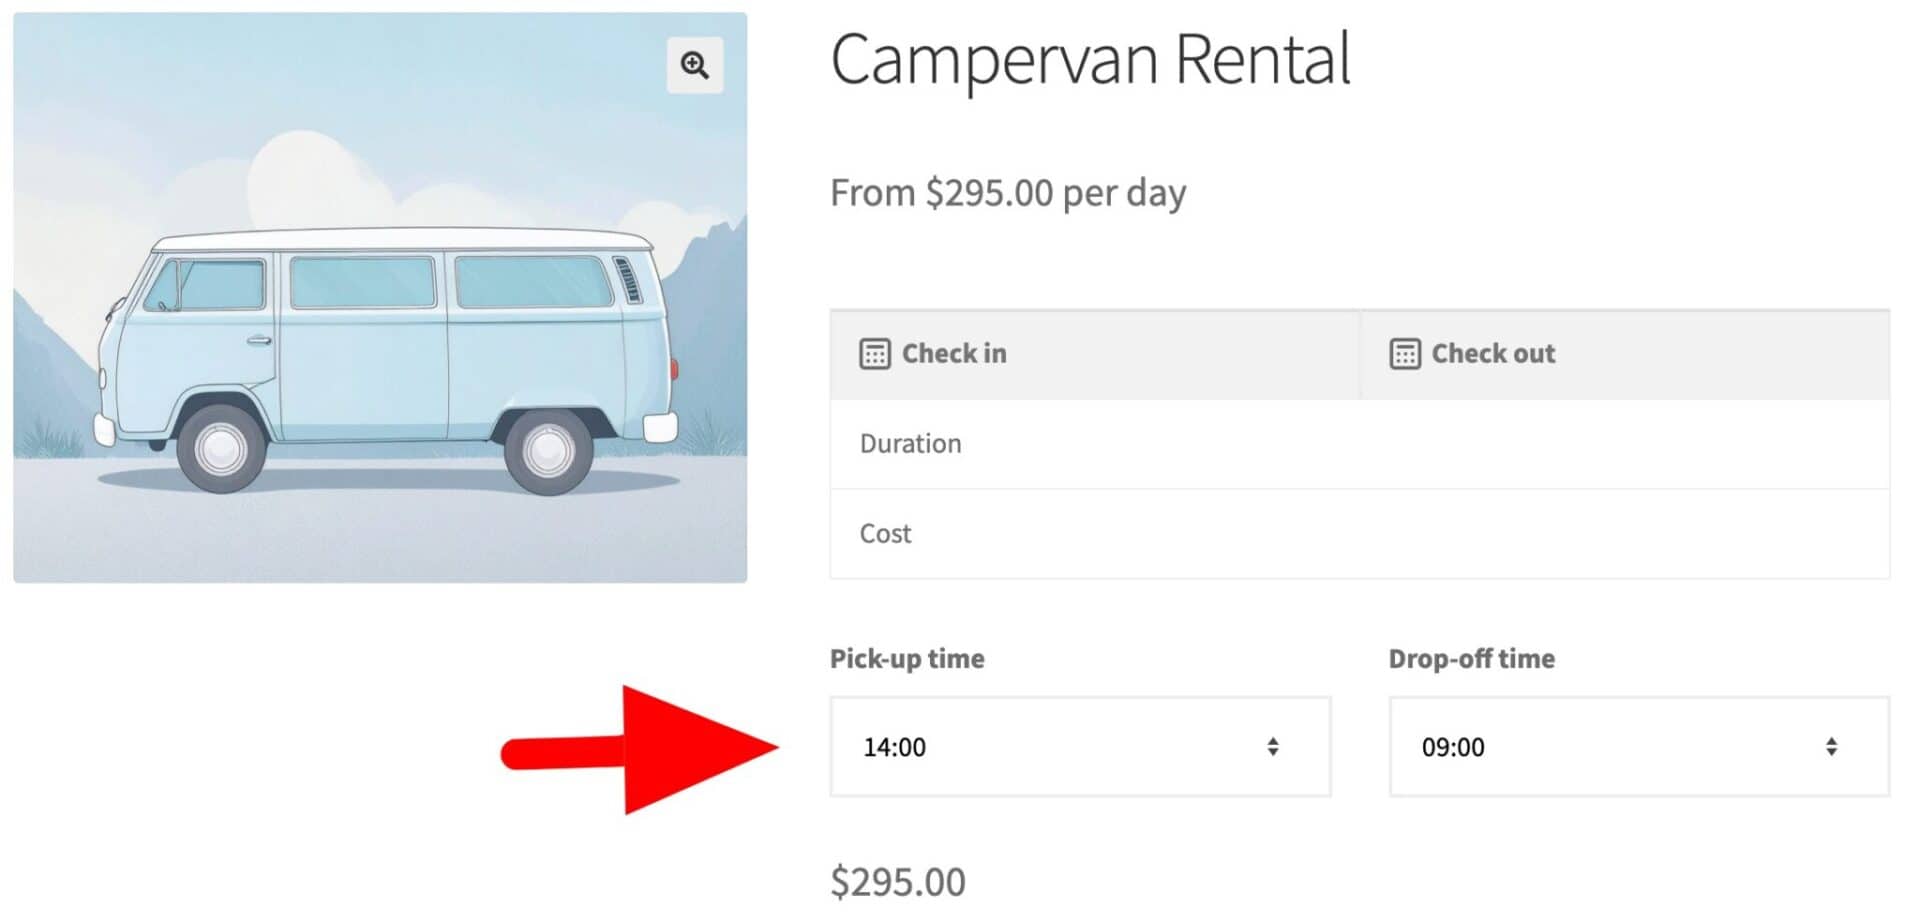
To add a select field for users to specify times:
- Go to the ‘Product Add-Ons’ tab in the ‘Product data’ section
- Click ‘Add Group’ then ‘Add Field’
- Enter a field label and choose ‘Select’ as the field type
- Click ‘Add Option’ for time that you wish to offer
- Enter the time in the option label
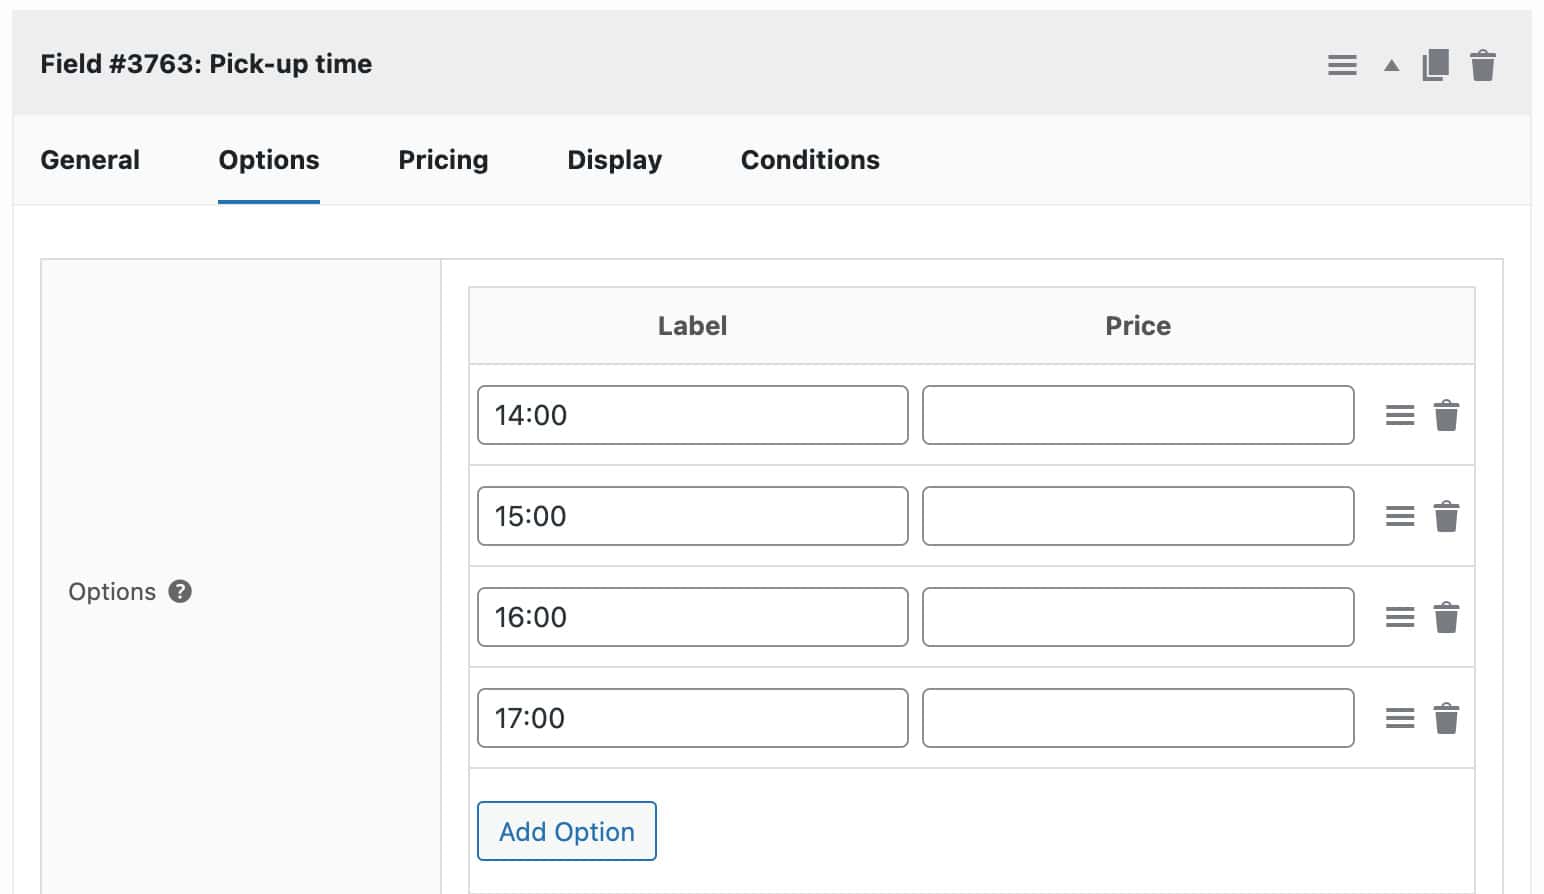
Now your dropdown list with times will appear on the front end.
Add upsells like cleaning or insurance
You might also want to add some paid upsells to your campervan rental – for instance, the option for cusotmers to pay for additional insurance.

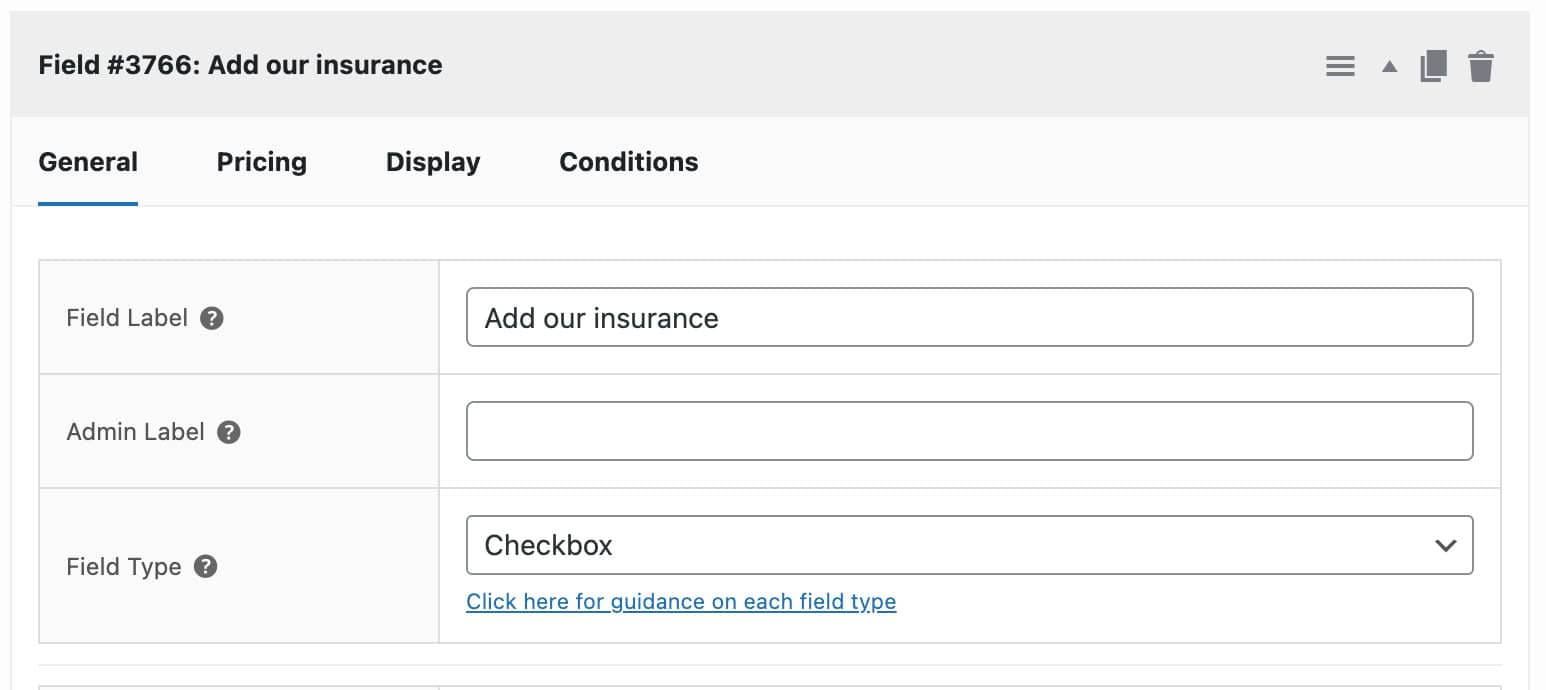
You can do this easily with a checkbox option:
- Follow the steps above to add a new field in the ‘Product Add-Ons’ tab
- Enter a label and choose a field type – in this case, it’s ‘Checkbox’
- Enter a price if the optional is chargeable
Those are a couple of quick examples for adding options and upsells to your campervan rental site. The Product Add-Ons Ultimate plugin has over 20 different field types – so you can add pretty much any type of extra option you like.
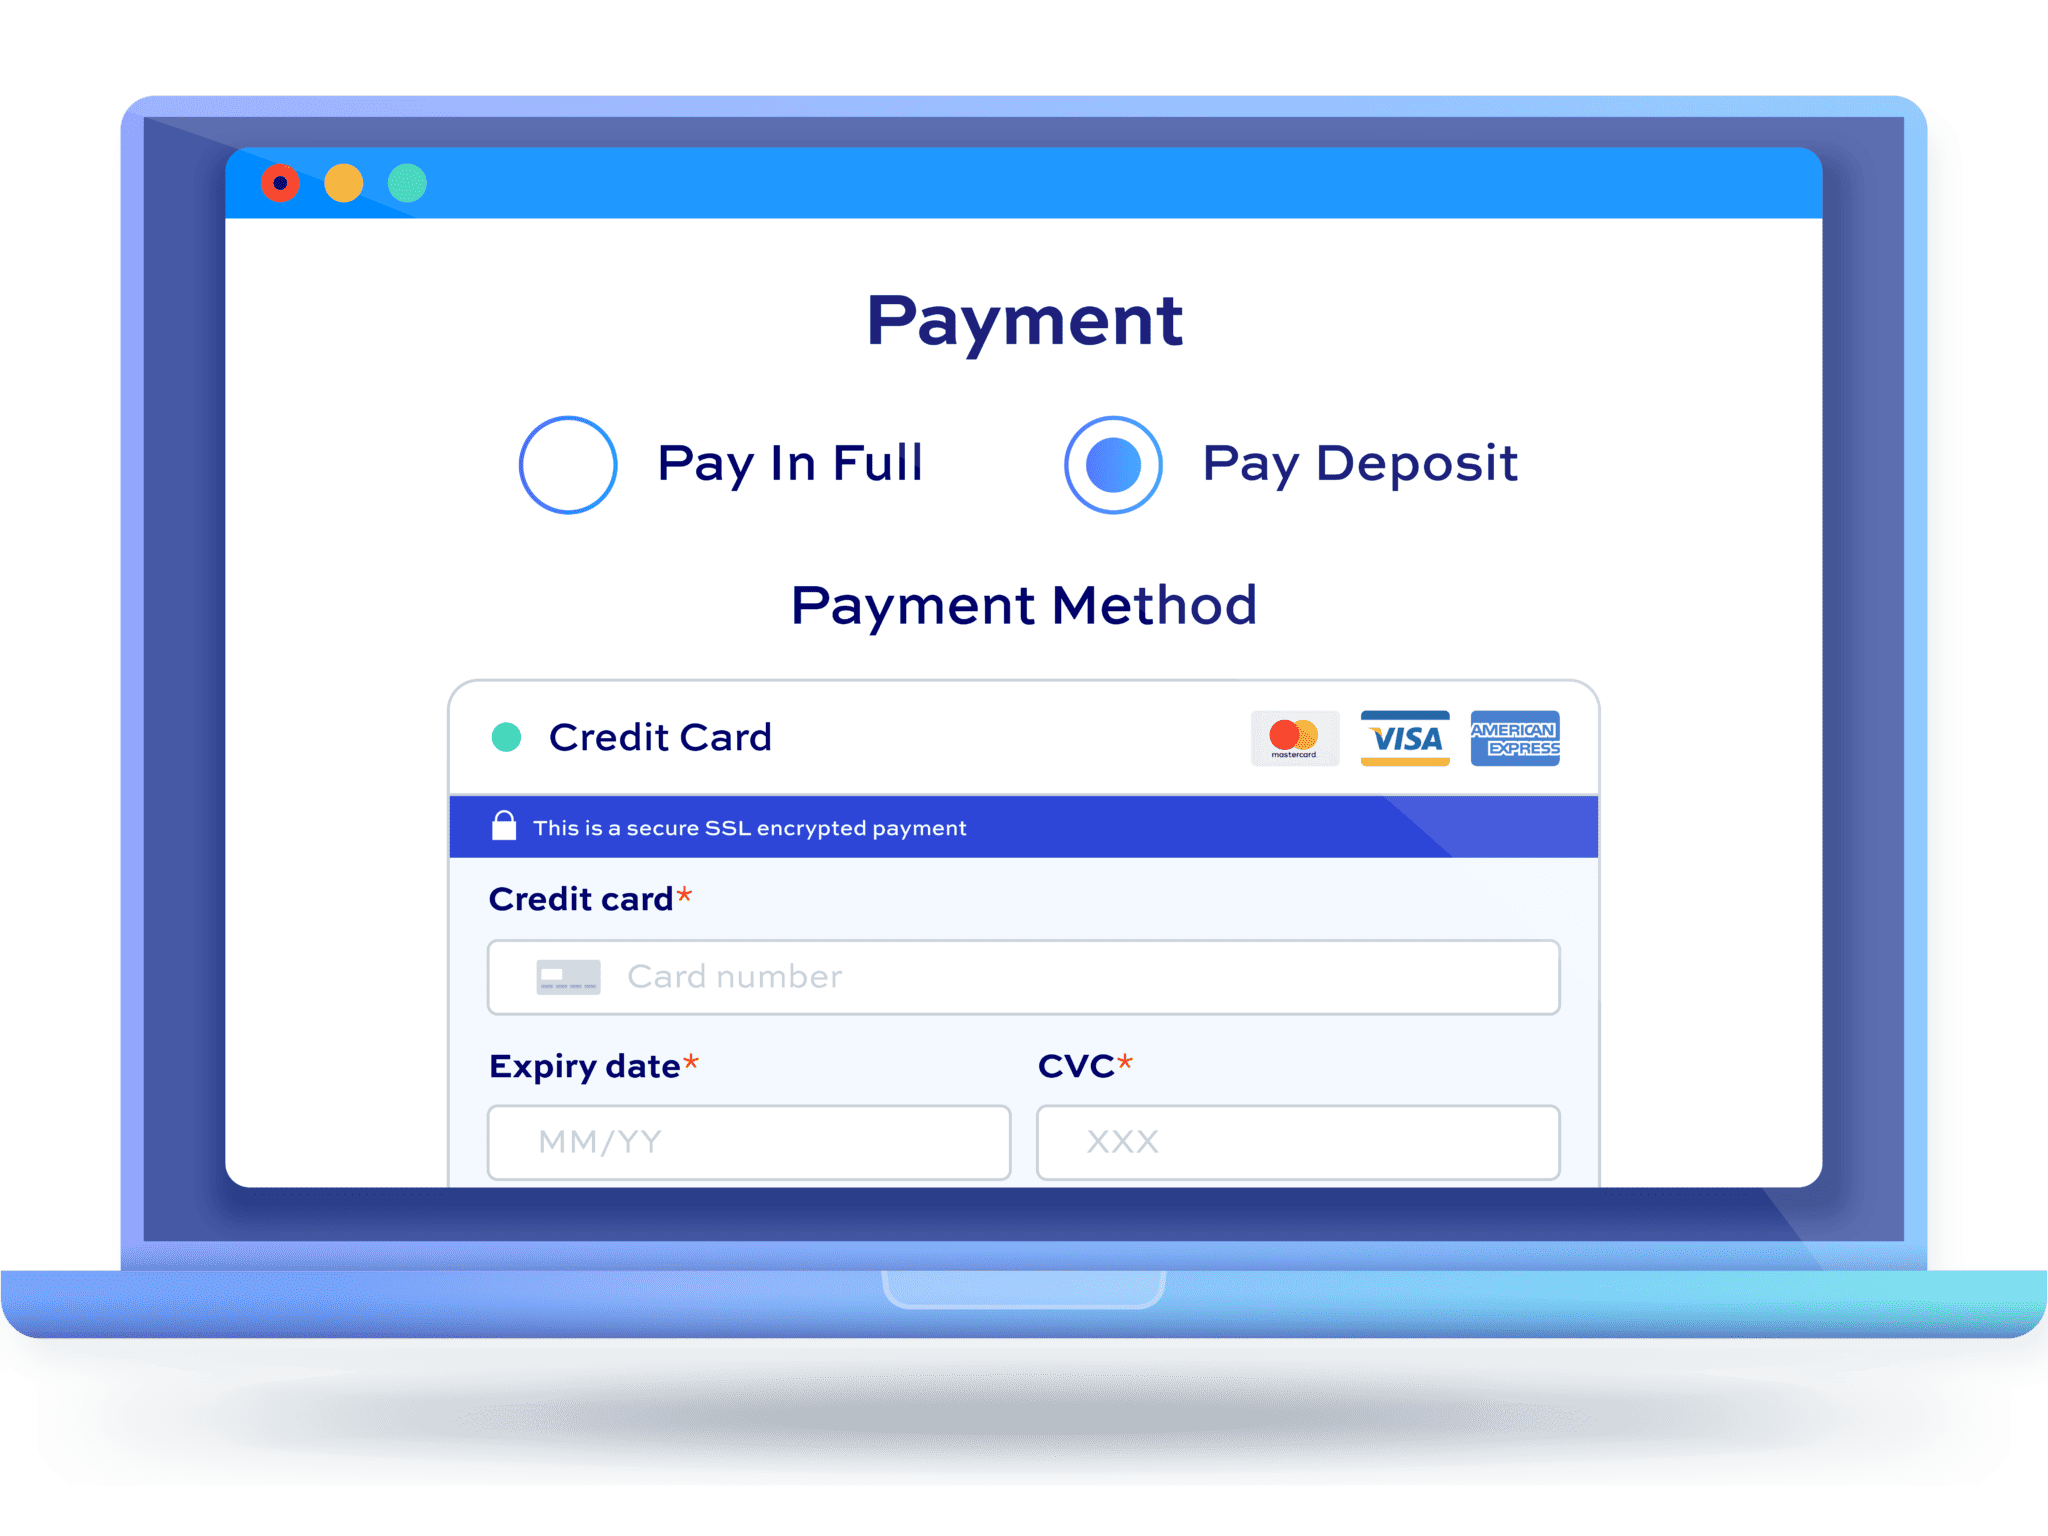
Accept deposits for your campervan bookings
As a final extra feature, let’s quickly look at how to accept a deposit or down-payment for your campervan rental. This means that your customers don’t need to pay the whole amount up front – they can make a part payment at first, then pay the remaining amount at some point before the booking is due to start.
To accept deposits, you’ll need the WooCommerce Deposits and Part Payments plugin.
WooCommerce Deposits and Part Payments
Provide flexible payment options on products and orders
To start accepting deposits on your campervan rentals:
- Go to WooCommerce > Settings > Deposits
- Choose whether to accept deposits on some or all products
- Select whether to accept a fixed amount or a percentage of the total price
- Enter the value of the deposit

WooCommerce Deposits and Part Payments also allows you to:
- Set different deposit rules per product if you wish
- Accept user-defined deposit amounts (with minimum and maximum values, if required)
- Offer a discount to users if they decide to pay in full for their booking
- Send reminder emails before the customer’s scheduled payment is due
So that’s briefly how to accept deposits on your campervan rental. There’s more information on how to accept deposits on bookings in WooCommerce here.
WooCommerce campervan rental – recap
In this article, we looked at how to use Bookings for WooCommerce to create a bookable product in WooCommerce for your customers to rent one or more campervans.
Also, using WooCommerce Product Add-Ons Ultimate you can add offer extra options with the rental; and with WooCommerce Deposits and Part Payments you can accept deposits on each booking.
All our plugins are compatible with any WordPress theme and/or page builder. They come with a 14-day money-back guarantee and a world-class support service – so you can try them risk-free.