Once you’ve installed and activated the WooCommerce Product Add-Ons Ultimate plugin you’ll want to start adding extra fields to your products. You can do this in two ways:
- Directly to individual products
- Globally to multiple or all products
In this article, we’ll walk through adding a new field to an individual product. Even if you plan to add global fields, it’s still worth reading this page first.
Create a new product, or edit an existing one. Remember to assign the product a price – otherwise your Product Add-Ons fields won’t be displayed on the front end.
In the Product Data table, you will see a new ‘Product Add-Ons’ tab:
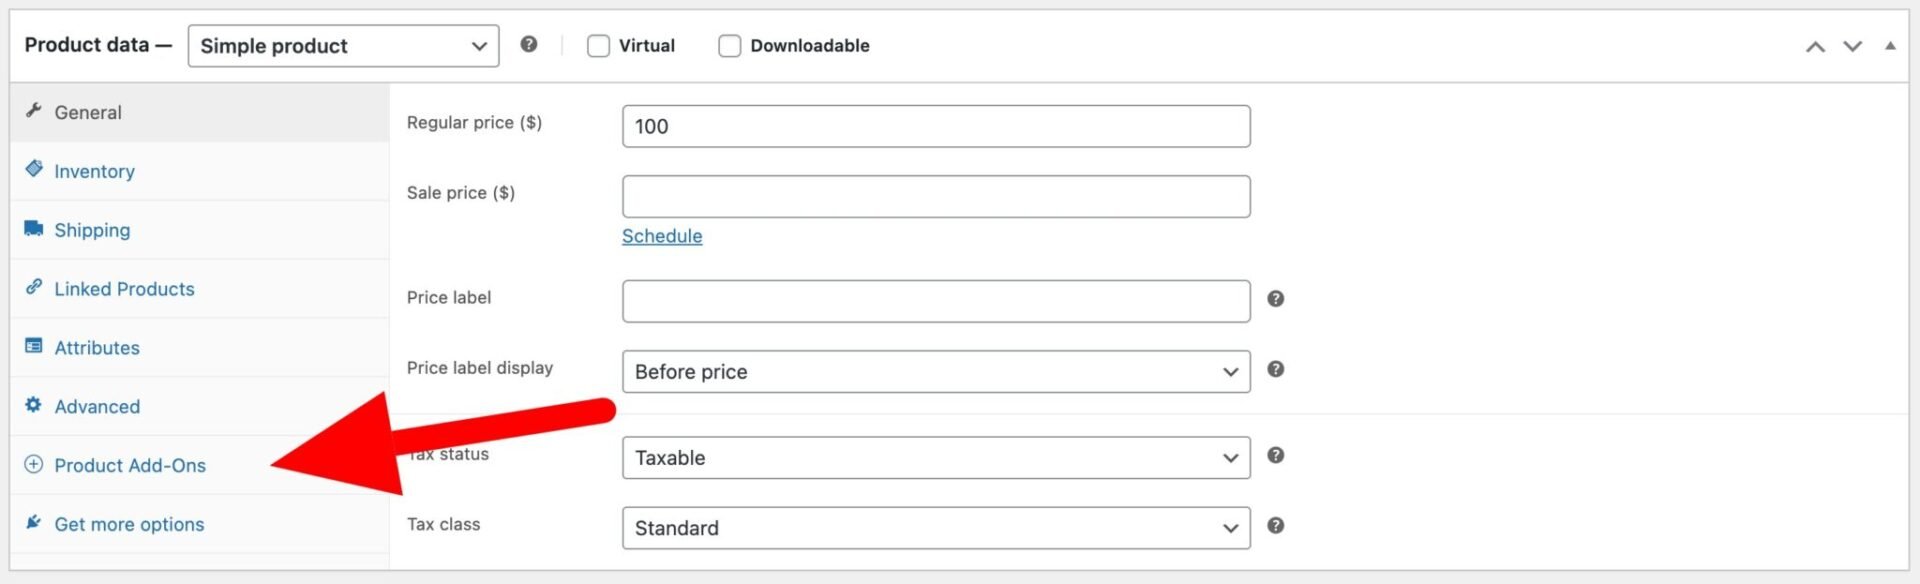
Product Add Ons groups and fields
First you add a Product Add Ons group, then you add a Product Add Ons field. A group is a collection of fields, helping you to organise your fields.
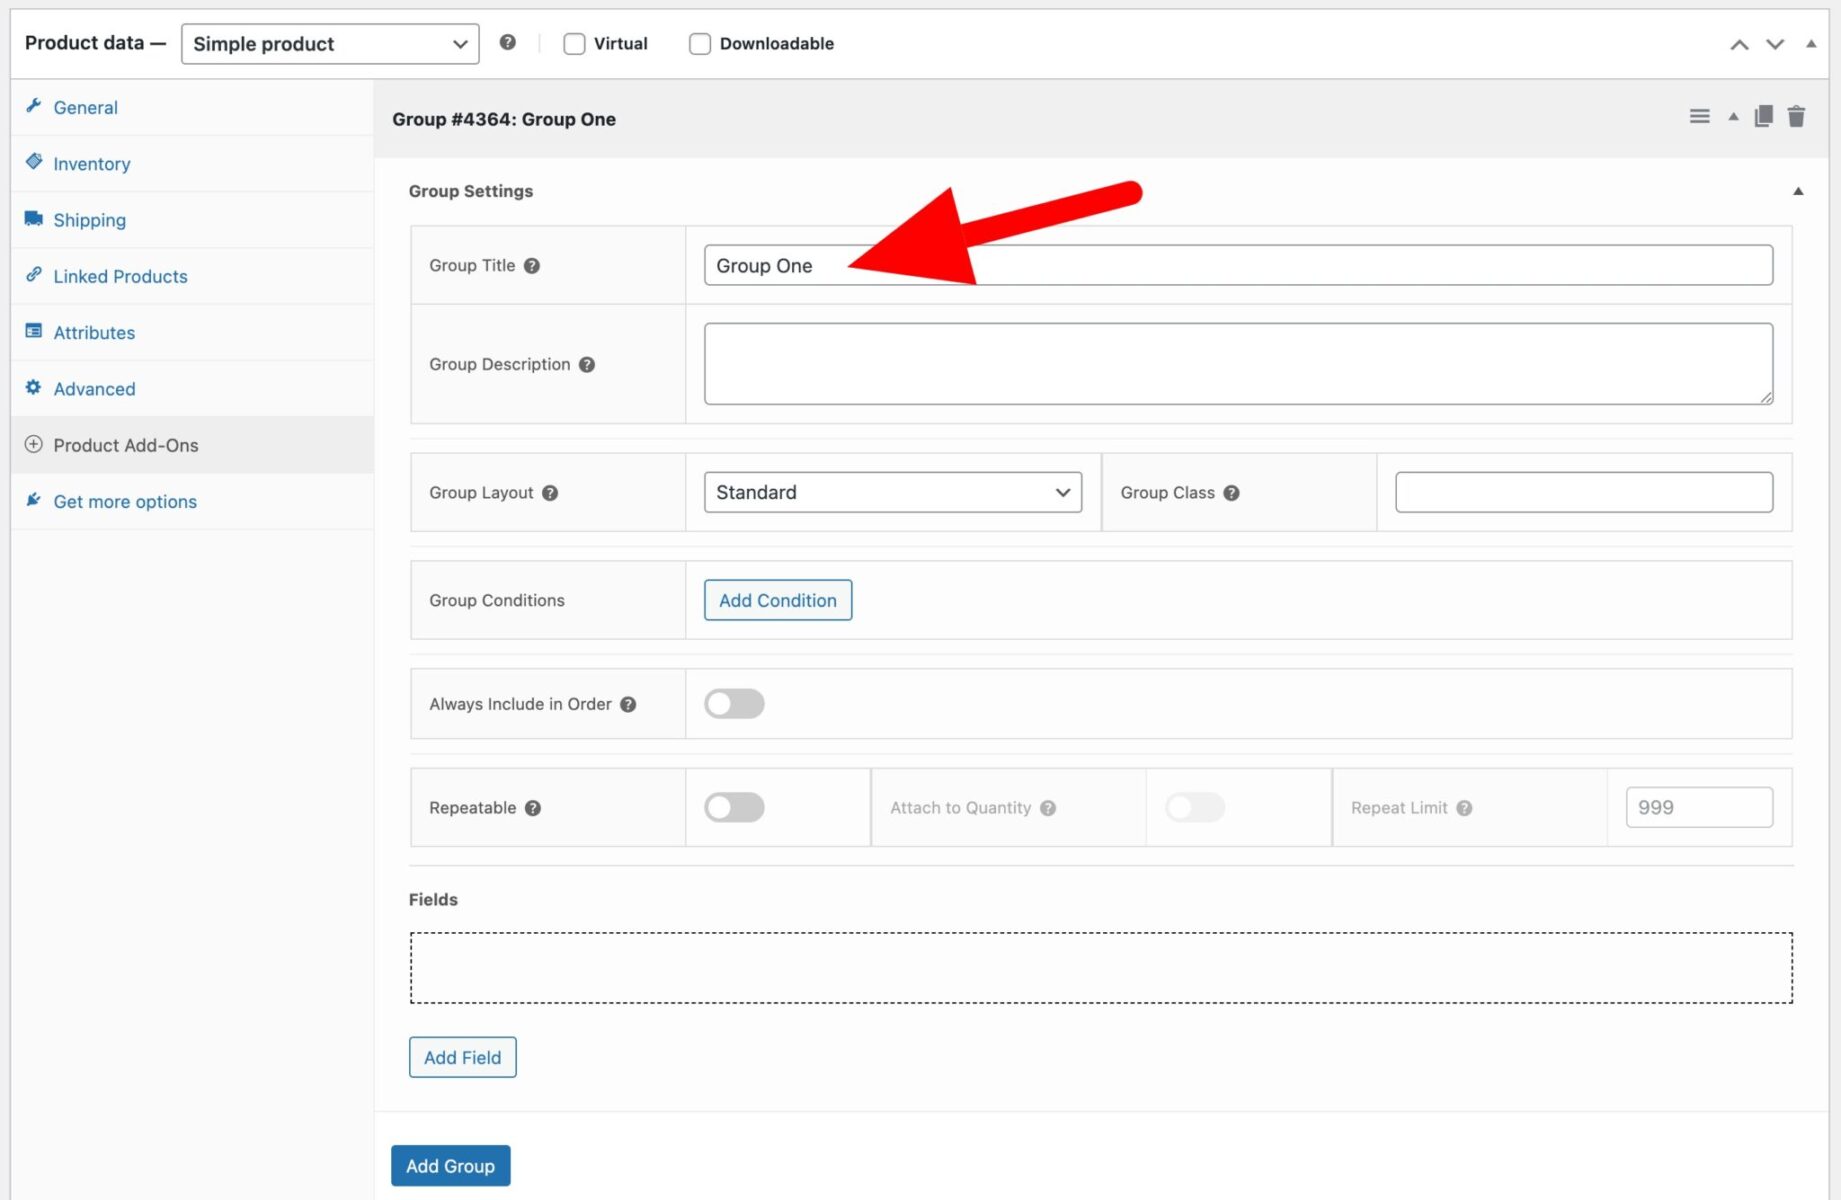
Add new group
Click the ‘Add Group’ button to add a new group. A group is just a collection of associated fields – for instance, if your users are submitting images, you might have a group that consists of an upload field and a text field for the image title.

You’ll see settings for the group. You can enter a Group title, if required. If you enter a title, it will appear as a heading for the group. Enter a Group description as well if you wish. This will appear under the group title.
For more information on group settings, see these articles.
Add new field
Click ‘Add Field’ to add a field.
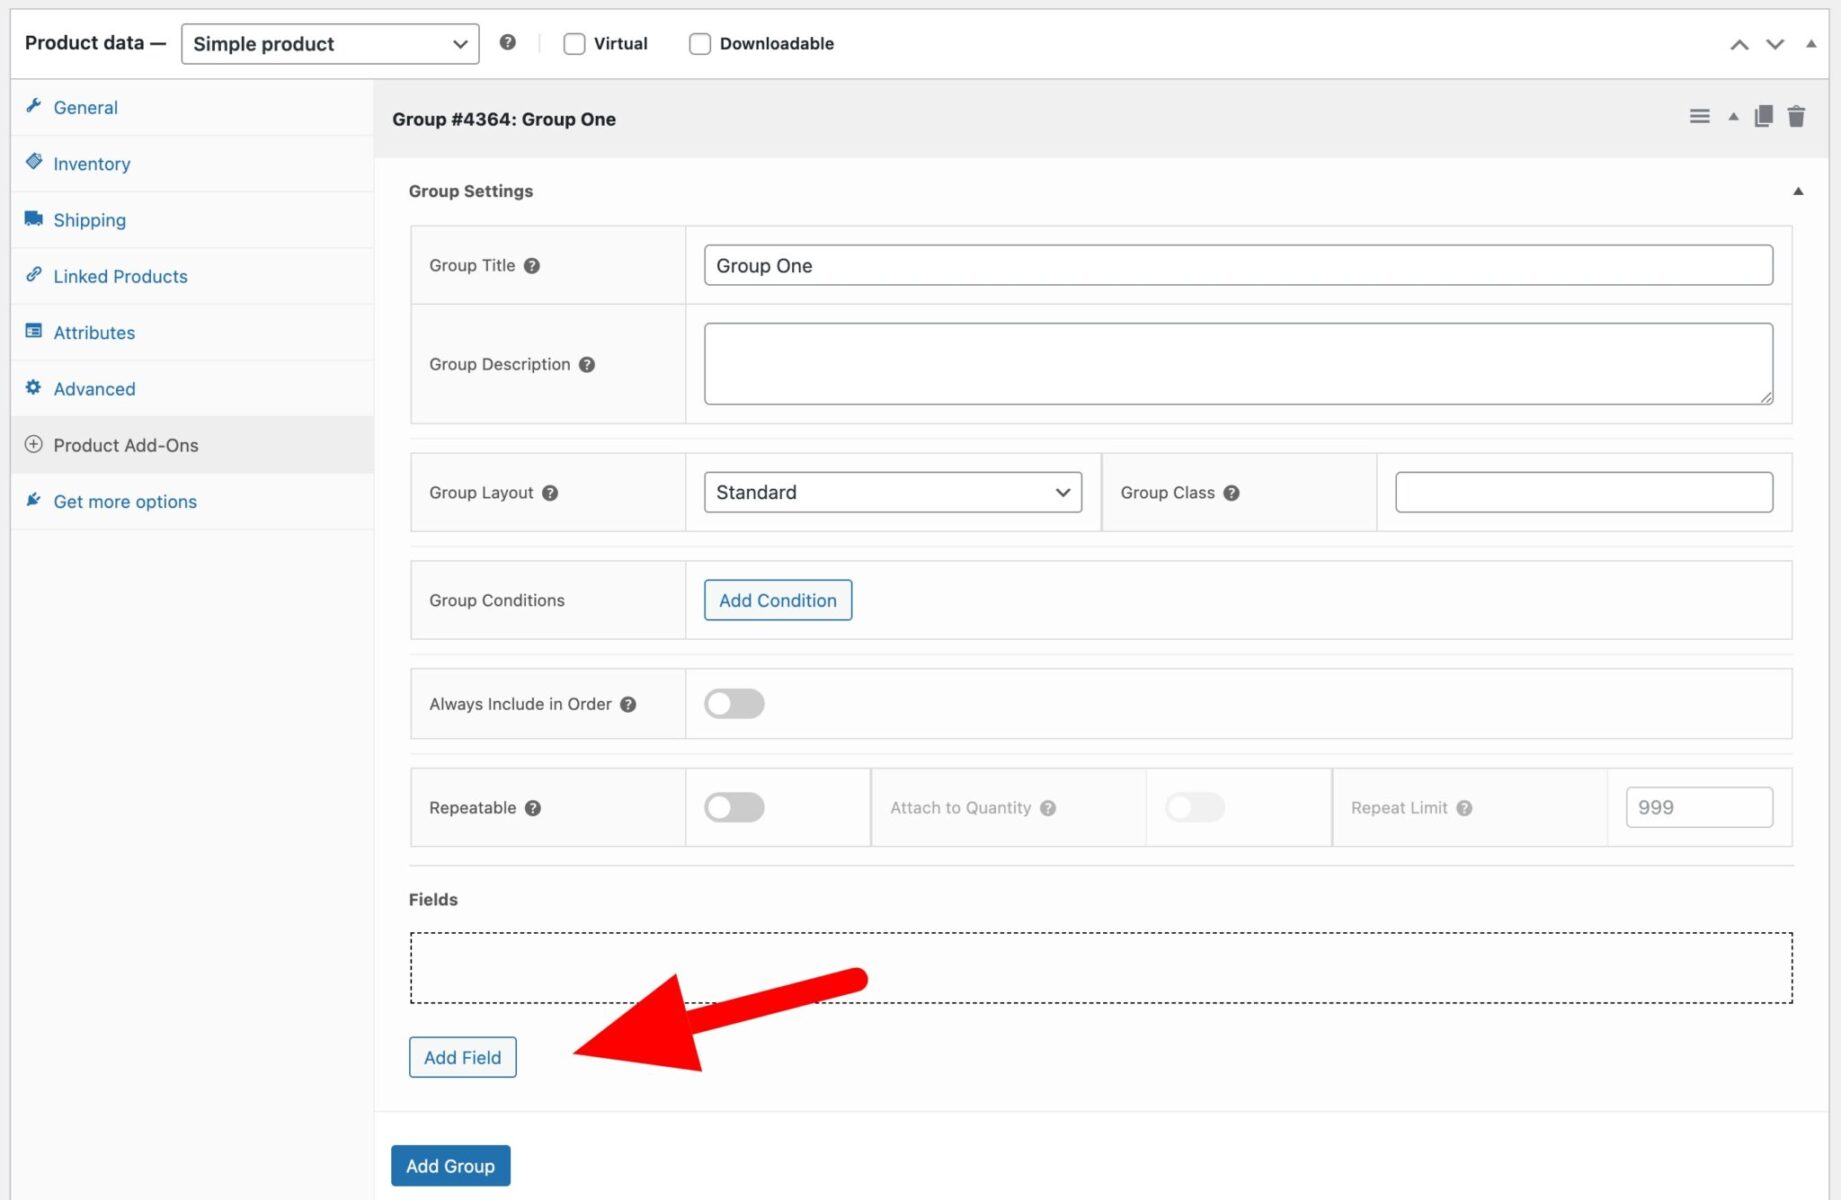
The field will be created.
The settings are organized into tabs. All field types have certain tabs like ‘General’, ‘Pricing’, etc. Some field types will have additional tabs. These are covered below.
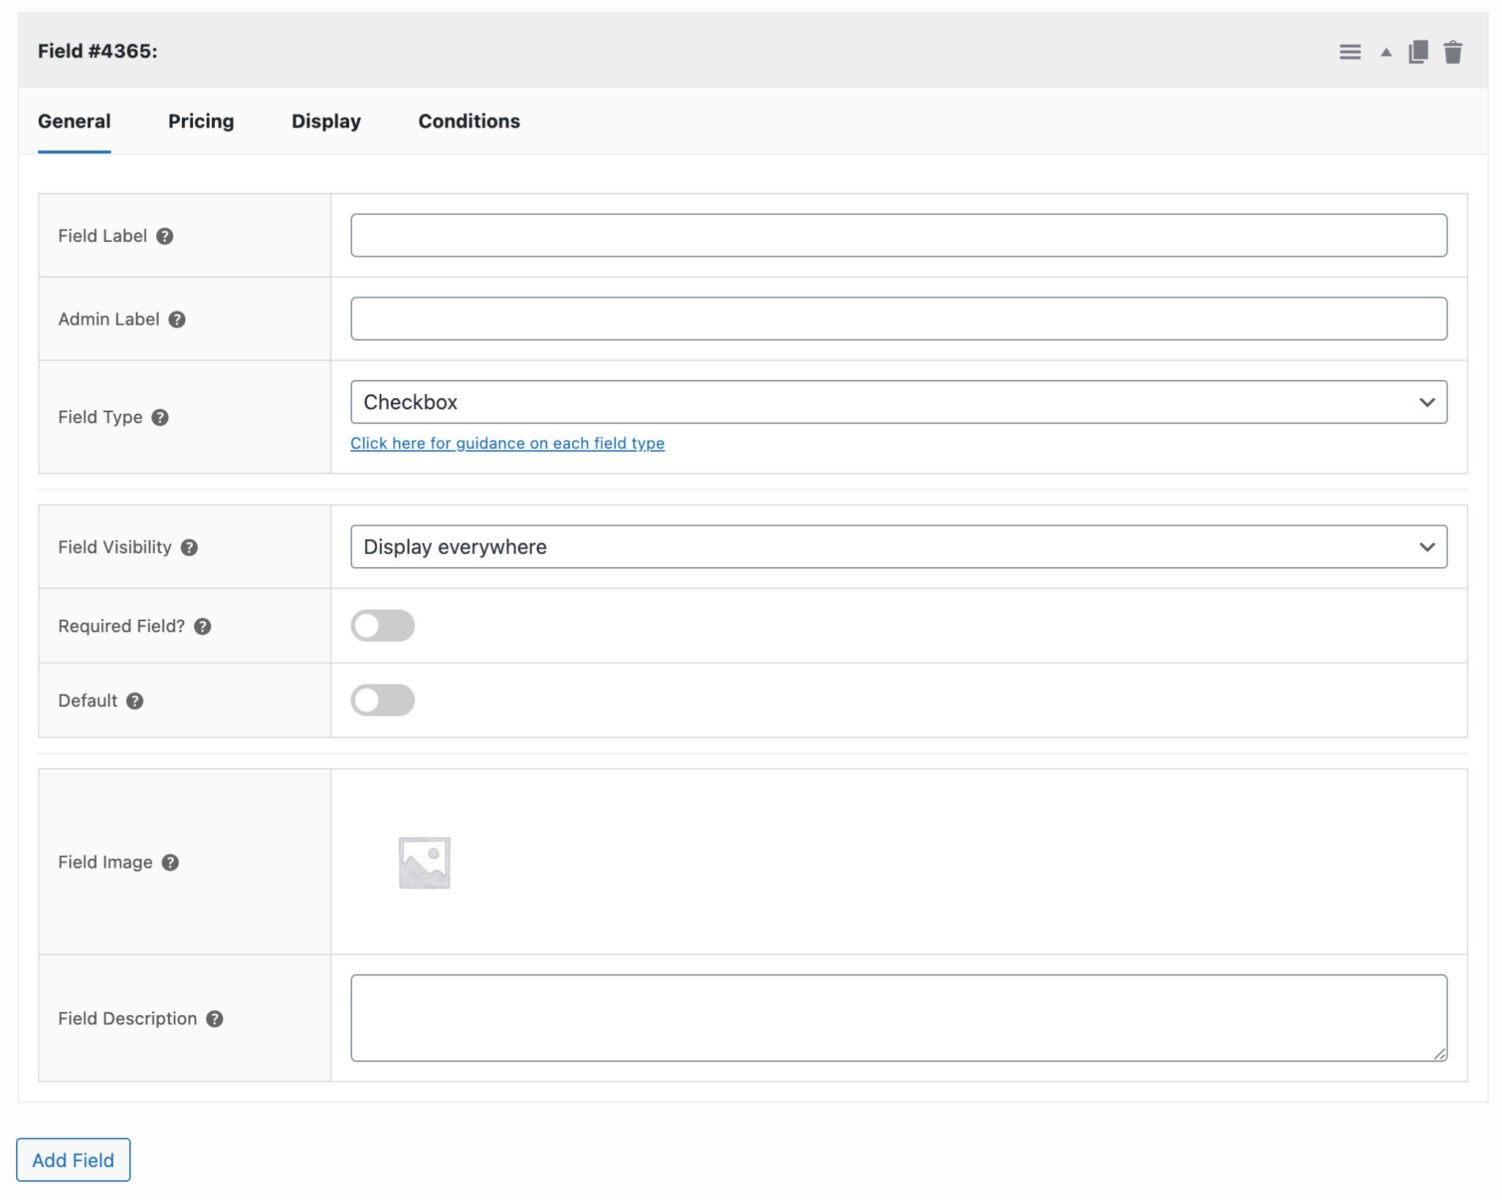
General tab
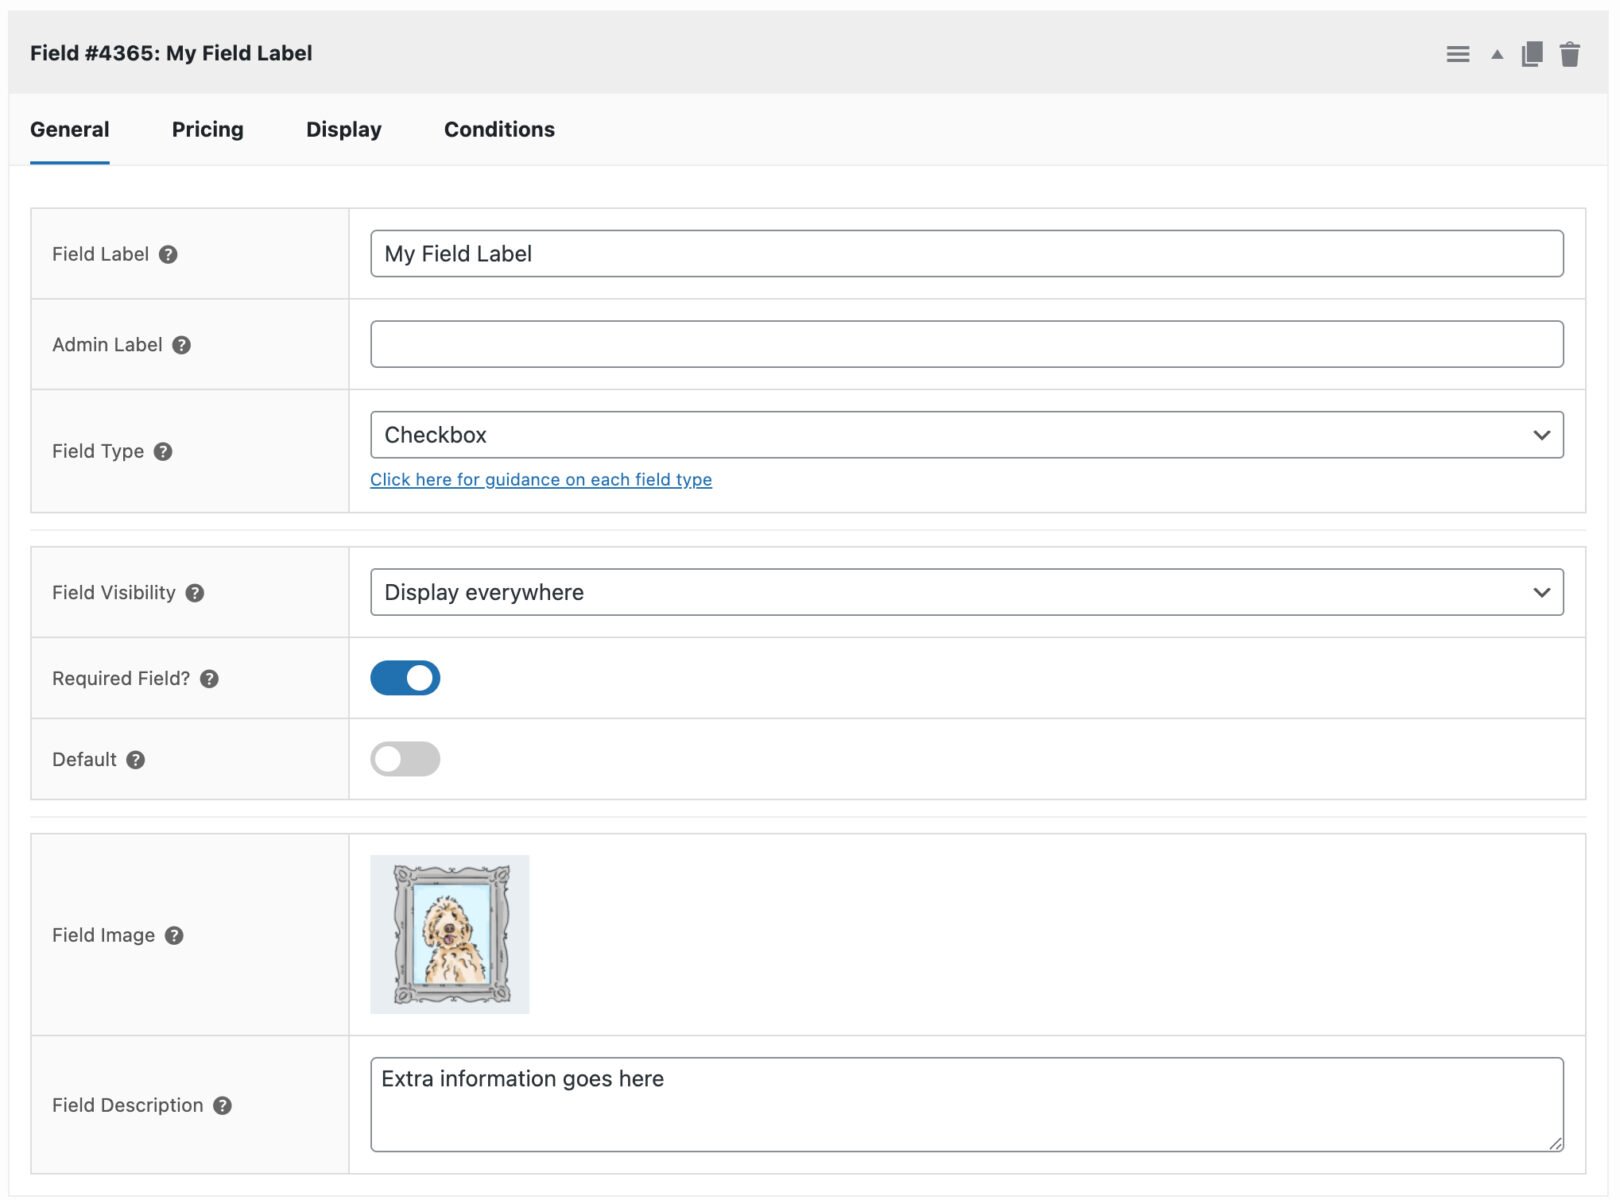
On the ‘General’ tab you can enter key information about your field including:
- Field Label – this is the label that will be displayed on the front end to your users. Choose something that clearly explains the purpose of the field
- Admin Label – this is an optional label that will only be used in the back end. It can be helpful if you have several fields with the same label
- Field Type – select the field type in this setting. There’s a guide to field types here.
The following settings are available to most field types, though not all.
- Field Visibility – this defines on what pages the field is displayed. Choose from:
- Display everywhere: the field will be displayed on the product page and its value will be included on the cart, checkout and order pages (including emails)
- Display on product page only: the field will be displayed on the product page but any value will be hidden from the user on the cart, checkout and order pages. The store admin will always be able to see the value that the user entered.
- Hide on product page only: you can select this option to hide the field on the product page but display its value on the cart, checkout and order pages. This is useful for creating hidden fields where you want to pass custom data to the order
- Hide from customer: similar to the option above but the value of the text field is never visible to the user, only to the admin in the store backend
- Required Field – enable this option if you want to ensure the user enters a value for the field. You can find out more about how fields are validated here.
- Default – enter a default value for the field here
- Field Image – you can optionally upload an image to accompany the field on the front end
- Field Description – you can add further information for the user to be displayed on the front end. If you’re using tooltips, this field is the content of the tooltip
Here’s a screenshot of the General tab with some settings.
Pricing
Almost all add-on fields allows you to assign a price to the field. When the user enters or selects a value for that field, the price is added to the overall product price.
To set a price for your field, click the ‘Pricing’ tab.
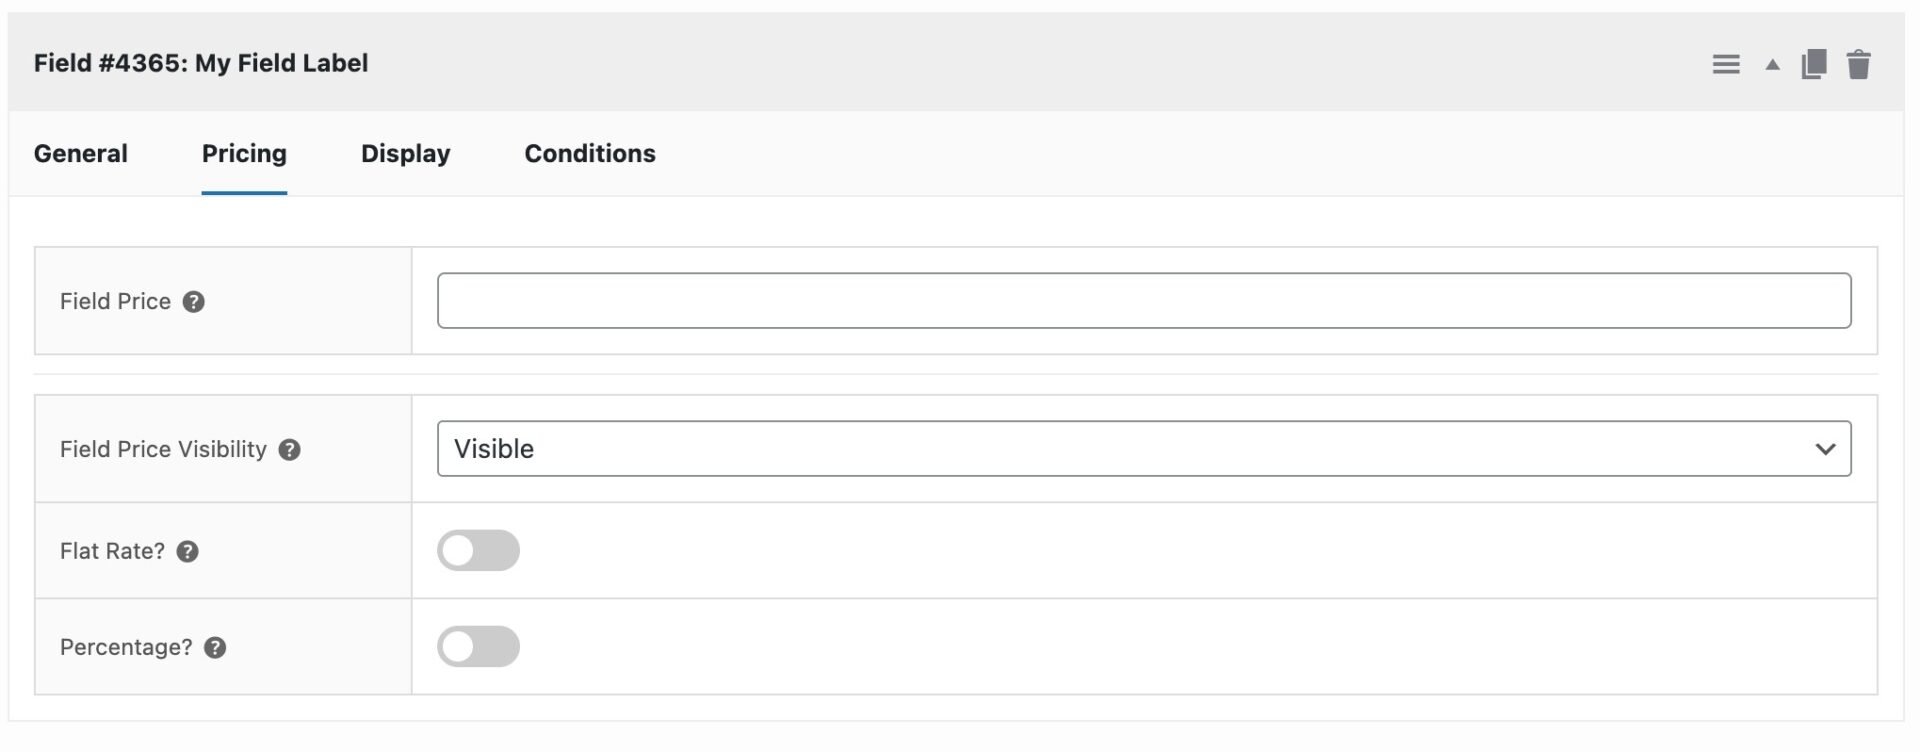
- Field Price – enter a price in this setting to apply to the field. This price will be added to the product price if the user enters something in the field so, for instance, if you add a price of ‘5’ to a checkbox field, then if your user selects the checkbox, the product price will increase by 5.
Note that by default, the field price will be added according to the quantity the user selects. If the user selects a quantity of 3, then the field price will be added 3 times. See the ‘Flat rate’ setting below for how to add the field price just once.
Other options on the Pricing tab include:
- Field Price Visibility – this setting gives you some options for how to show or hide the field price to the user. See this article for more details on displaying and hiding prices.
- Flat Rate – enable this option if you would like to apply the field price only once, whatever quantity of the product the customer chooses.
- Percentage – enable this option if you would like the field price to be a percentage of the product price. In this case, the value you enter in the Field Price setting will be a percentage of the product price
Options
The ‘Options’ tab only displays for certain field types, including radio groups, checkbox groups, swatches, select boxes and select fields. See the documents for those field types for specific information.

- To add an option, click on the ‘Options’ tab then click the ‘Add Option’ button to add a new option.
- Depending on the field type, you may have an image field where you can upload a thumbnail.
- Enter the option name or label in the first column – under the ‘Label’ heading. This is what will appear on the front end.
- If you want to associate a price with an option, just enter a value in the ‘Price’ field.
- To remove an option, click the ‘Trash’ icon next to the option.
- You can re-order the options just by clicking and dragging.
Display
Click on the ‘Display’ tab for options regarding the front end display of the field.
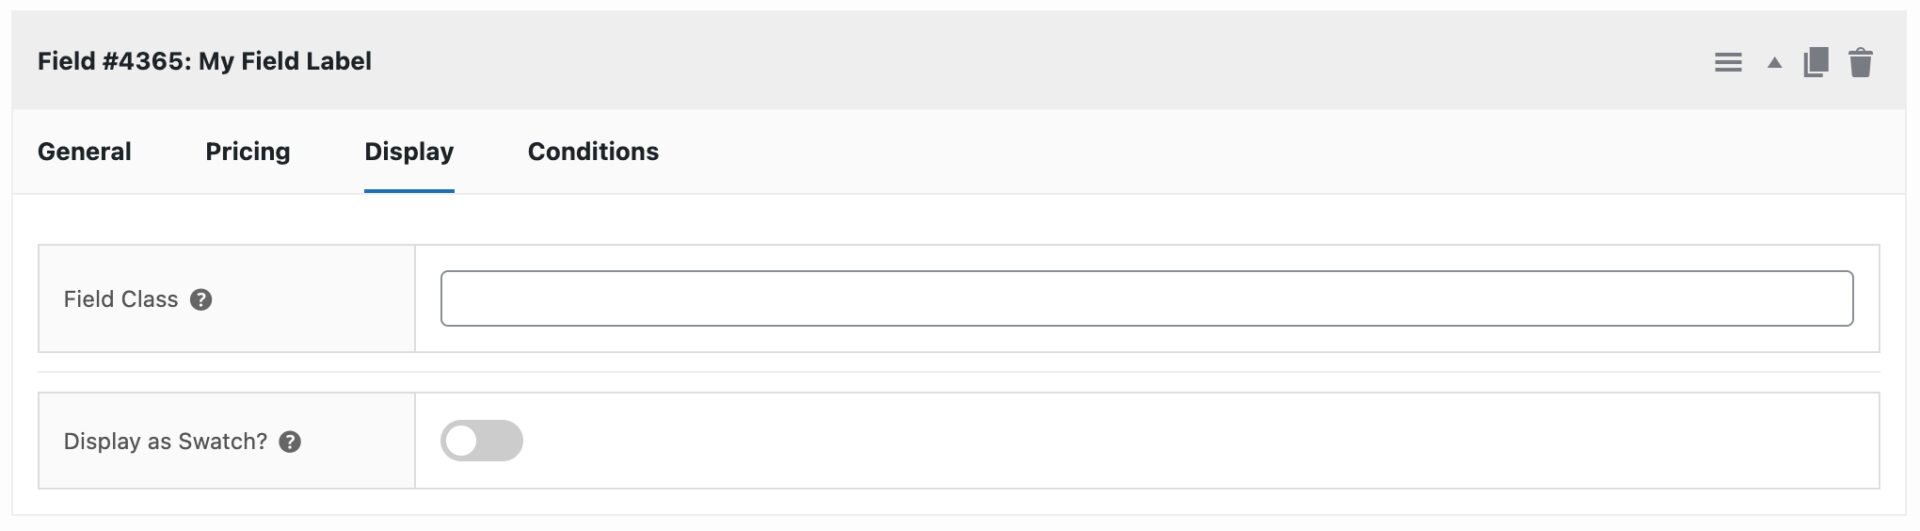
- Field Class – enter a class name here that will be applied to the field’s wrapper element on the front end. This allows you to easily apply custom styles to specific fields
Other options on the Display tab are covered by the document for individual field types. See this article for more information.
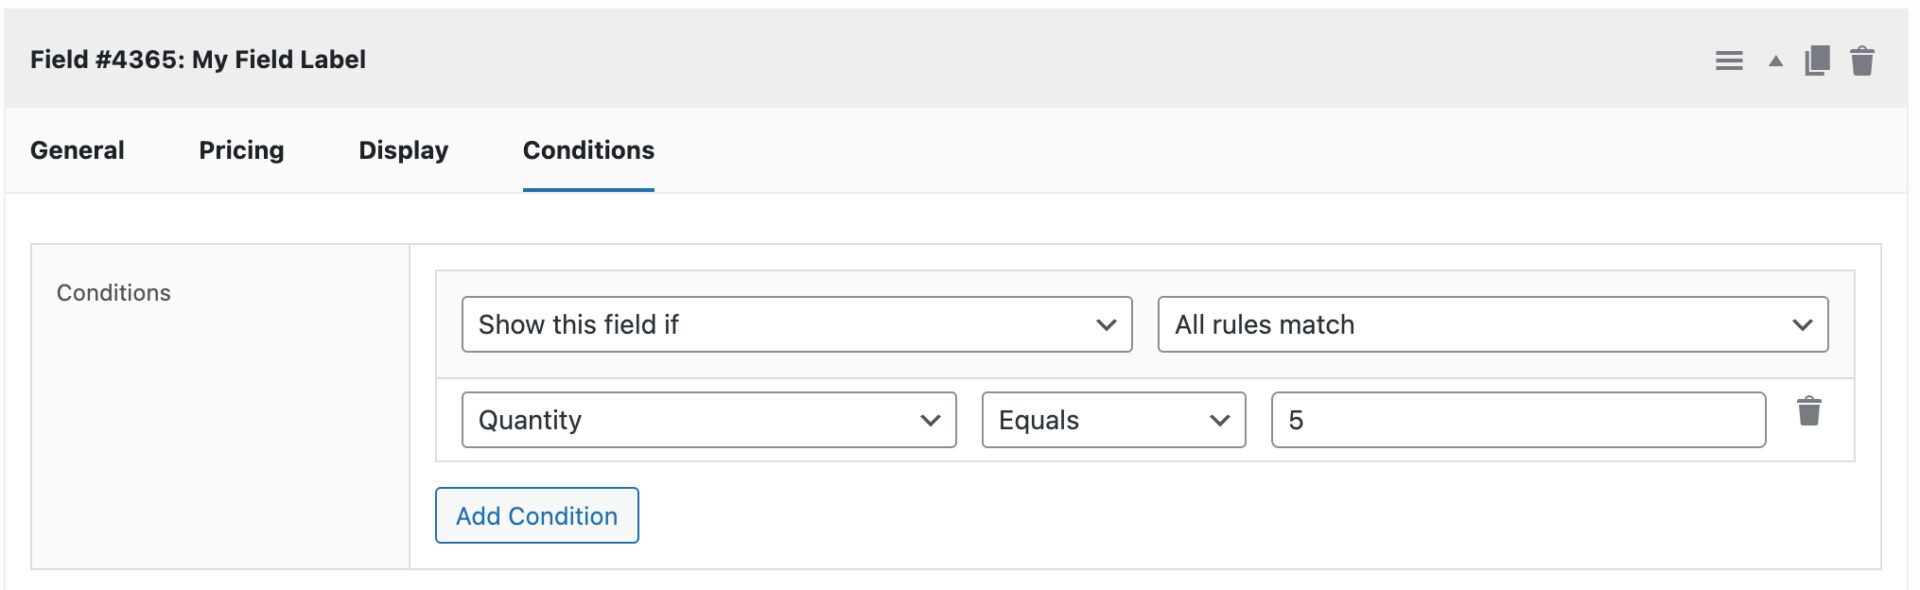
Conditions
WooCommerce Product Add Ons Ultimate allows you to show or hide fields based on conditions. For example, you might only wish to display a certain field if the user has selected a checkbox. See this article on conditions for more details.
Other settings tabs
Many field types have a specific settings tab. For example. text fields have a ‘Text’ tab, swatch fields have a ‘Swatches’ tab, and so on. Check out the docs for each field type for more information on those tabs.
Next steps
For more information about each field type, check out this introduction to field types.
For information on global add-ons, see this article.
Styling add-on fields
You can change the style of your add-on fields using the options described in this article.
Video
Here are a couple of videos on adding your first field. Note that these show an older version of the settings interface without a tabbed layout.
How to add a text field to WooCommerce:
How to add a checkbox to WooCommerce: