WooCommerce bookable products – accepting bookings on your store
If you are looking to take bookings on your WooCommerce site, you need to find out how to create a bookable product. In this article, I’ll walk through everything that’s involved in creating bookable products.
Creating WooCommerce bookable products
This post will walk through creating a bookable product in WooCommerce step by step. We’ll look at some of the types of products that need to be bookable, as well as the parameters we can set for them.
There are a couple of demo products that we’ll refer to during the article so that we can see working examples of bookable products in WooCommerce.
You can use the following menu to navigate the article.
WooCommerce bookings plugin
WooCommerce doesn’t have a bookable product type by default. So, we’ll need to install a plugin: Bookings for WooCommerce.
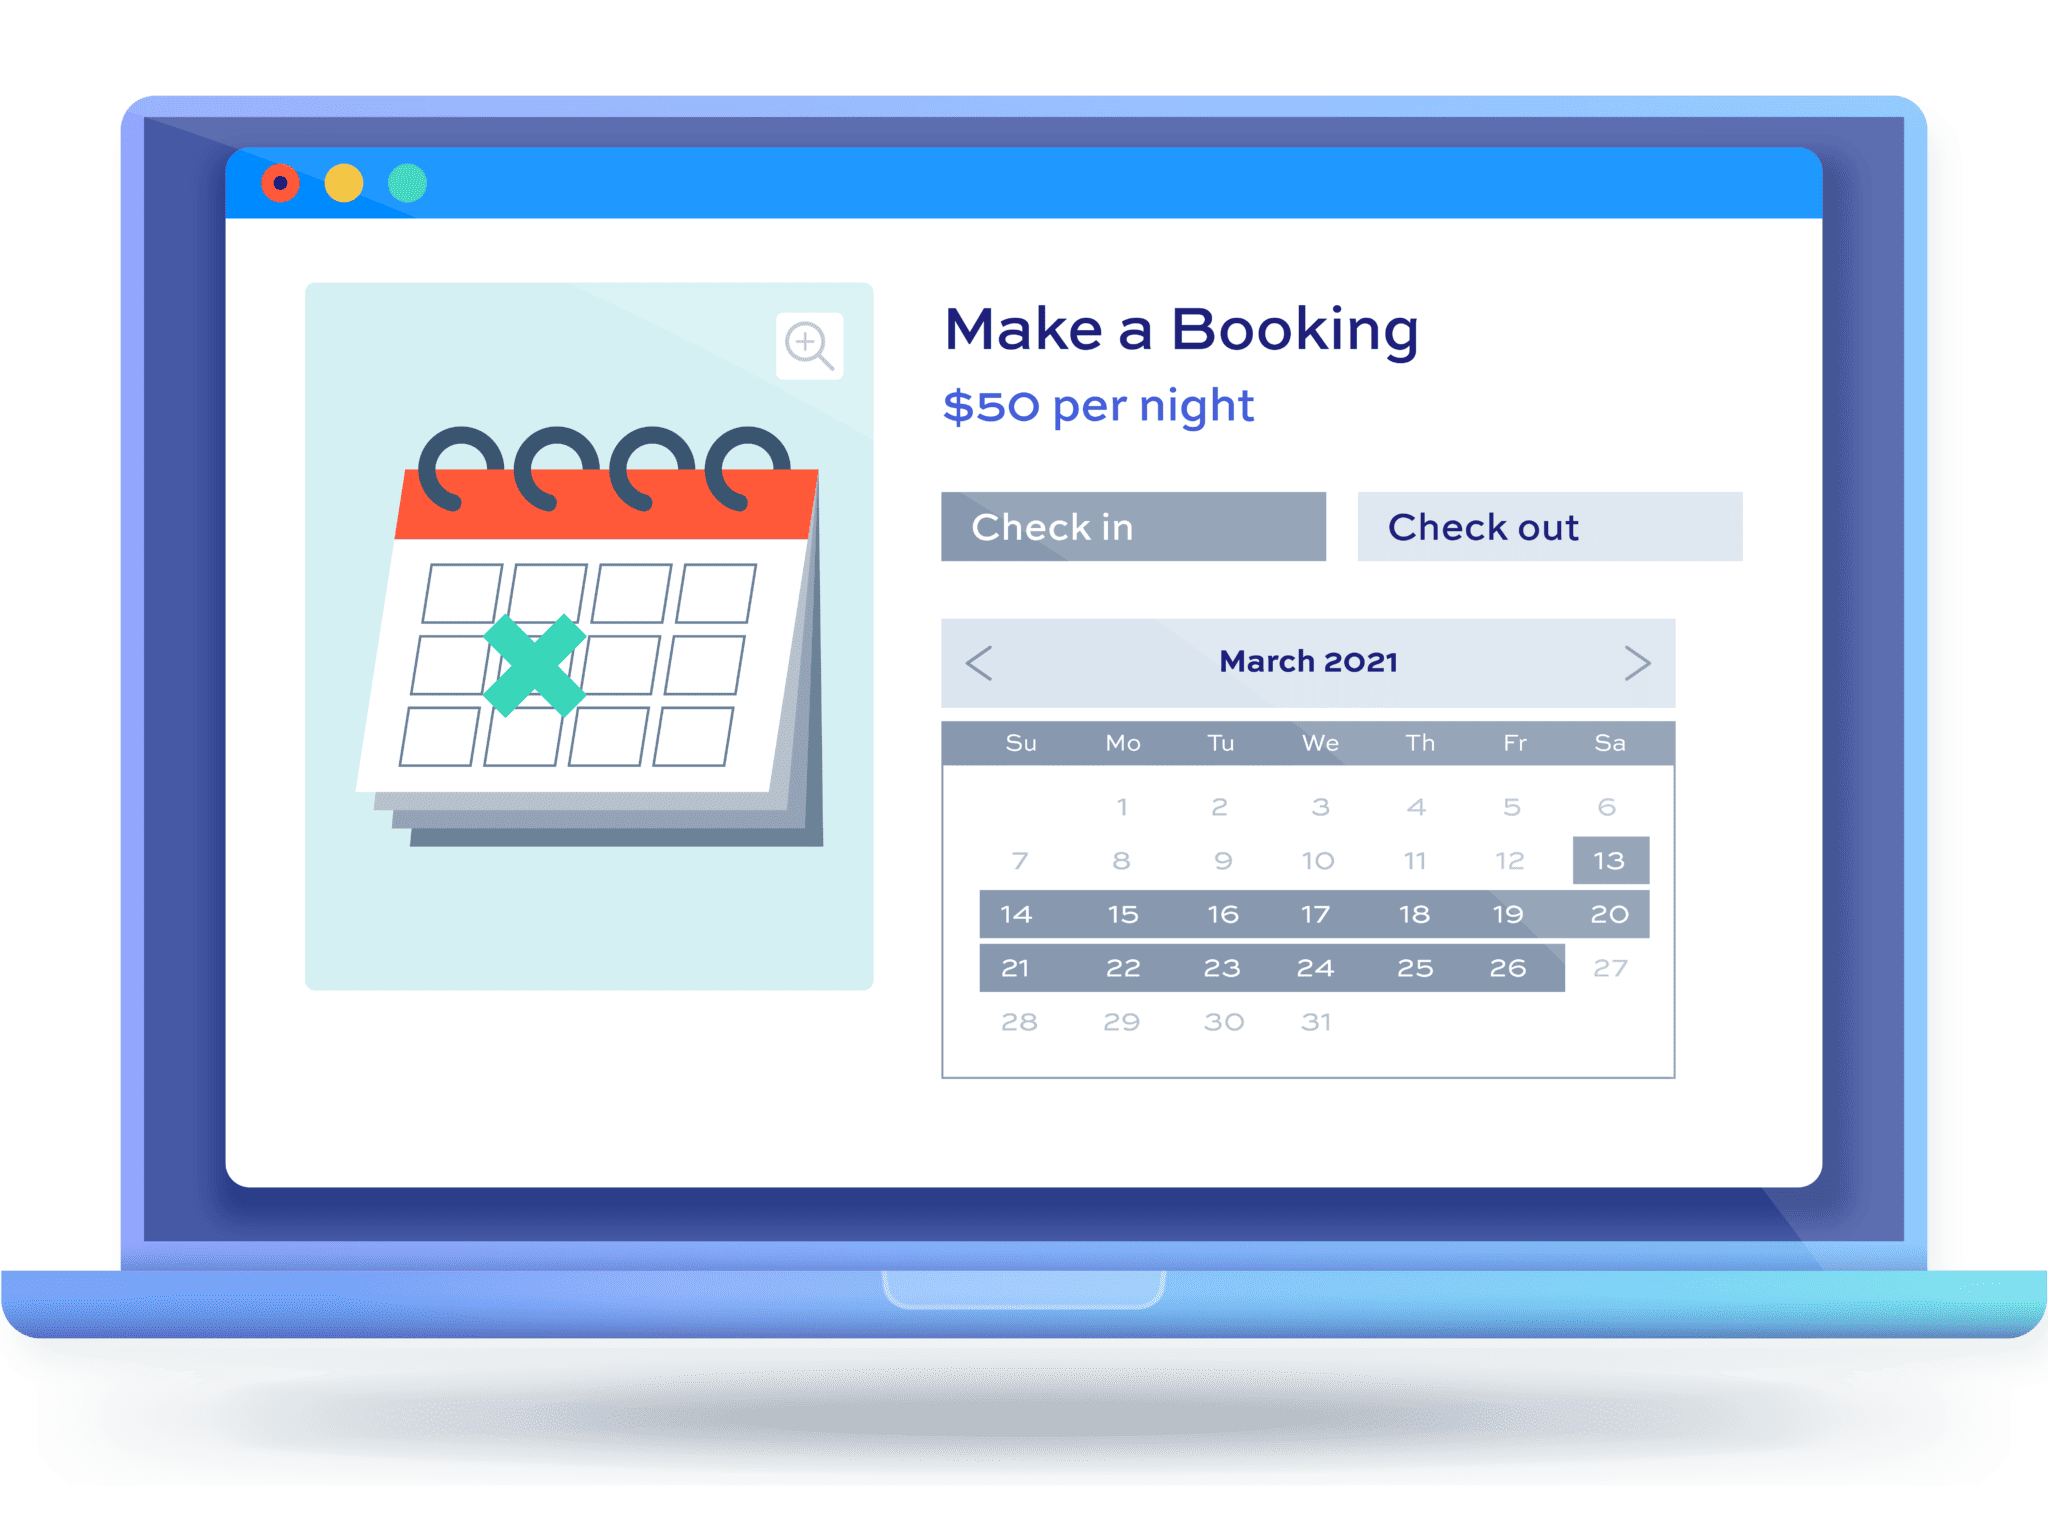
Bookings for WooCommerce
Accept bookings and rentals with the Bookings for WooCommerce plugin
As it’s name suggests, Bookings for WooCommerce will allow us to accept bookings on our WooCommerce site. It’s integrated with other key WooCommerce plugins (see below) and will work with any WooCommerce-compatible theme.
Read on to see how easy it is to create bookable products using this plugin.
How to create a WooCommerce bookable product
Once you’ve installed and activated Bookings for WooCommerce, you can follow these steps to create your first bookable product:
- Go to Products > Add New to create your new product
- Enter a title, content and any images you wish
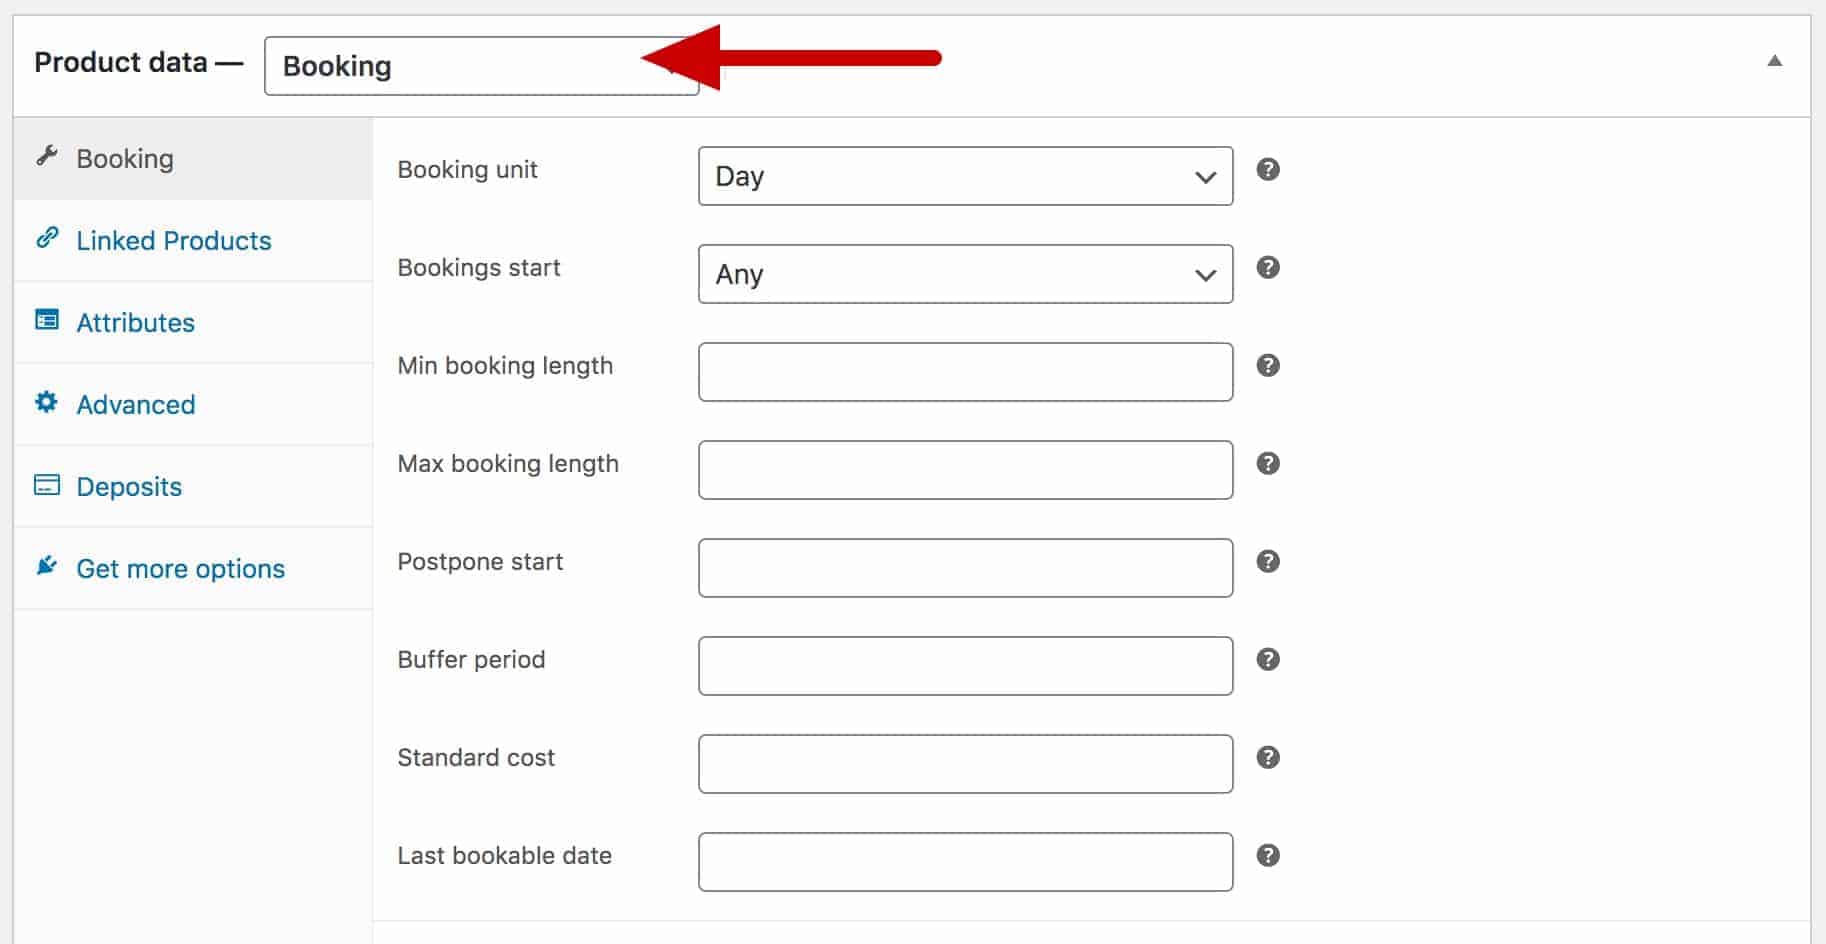
- In the ‘Product data’ section, select ‘Booking’ from the list of product types
You’ve now created your first bookable product.
WooCommerce bookable product parameters
Once you’ve created your product and assigned it the ‘Booking’ product type, you’ll want to set some parameters. These will depend on the type of product you’re booking out so let’s go through each parameter and take a look at a couple of examples.
You’ll notice that you’ve got a new ‘Booking’ tab in the ‘Product data’ section. All the parameters for bookable products can be accessed there.
Booking unit
The booking unit is how we measure the length of the booking. You can choose from:
- Day
- Night
- Week
If you choose ‘Day’, then bookings can start and end on the same day (though they can last longer as well if you like). Typical bookable products using ‘Day’ as the unit might include tool hire. Here’s an example of bookable product using ‘Day’ as the booking unit.
If you choose ‘Night’ then bookings will start and end on a different day (they run overnight). Typical bookable products using ‘Night’ as the unit might include hotels or accommodation. Here’s an example of a WooCommerce bookable product that uses ‘Night’ as the booking unit.

And if you choose ‘Week’ then bookings will be measured in weekly units. A typical example would be property or holiday rentals. Here’s an example product using ‘Week’ as the booking unit.
Bookings start
If you wish, you can specify a day of the week where a booking must start. You can just choose ‘Any’ here if it doesn’t matter what day of the week the booking starts.
This setting will work whatever unit you have specified.
This can be particularly useful if you are renting out a weekend cottage, for example, and you only want the bookable product to be available on Friday.
Or you might have an exhibition or gallery space which you are renting out on a weekly basis but you always want the handover day to be a Thursday.
Min booking length
This is an optional setting which allows you to specify a minimum period for the booking. The value you enter here will be measured in the booking unit.
So if you are renting out your weekend cottage on a nightly basis, you can specify ‘2’ as the minimum booking length to ensure that your customers can’t book for a single night.
Max booking length
Again, this is an optional setting that allows you to define a maximum period. The value you enter here will be measured in the booking unit.
So if you want to ensure that your customers can’t book your holiday property for longer than 3 weeks, just enter ‘3’ in the ‘Max booking length’ field and use ‘Week’ as the booking unit.
Postpone start
If you like, you can prevent anyone from starting their booking immediately. You can use this setting if you need a minimum notice period before your bookable product is available.
Let’s imagine you’re hiring out your yacht and you need a couple of days notice to get it ready before any booking starts. So you can set the ‘Postpone start’ field to ‘2’ to ensure you’ve got 2 days’ notice.
The ‘Postpone start’ setting is always measured in days, irrespective of the booking unit you’ve selected for your bookable product.
Buffer period
The buffer period allows you to block off time at the end of a booking. The buffer period is always measured in days but it’s most commonly used when the booking unit is in weeks.
As an example, imagine you’re renting out a holiday villa. Customers book the villa on a weekly basis but you’d like to ensure that you always have a day clear at the end of the booking to clean and prepare for the next guests.
You can achieve this by setting the ‘buffer period’ to ‘1’. This means that if the customer starts their booking on a Tuesday and books for one week, the booking will come to an end on the following Monday.
If you are also using the ‘Bookings start’ parameter to define what day of the week your bookable products are available from, then the buffer period means you have extra control and predictability over your bookings.
(By the way, if you are renting out holiday villas or similar, take a look at this article on how to accept deposits on bookings in WooCommerce.)
Standard cost
This is how you define the cost of your WooCommerce bookable product. The value that you enter here will be multiplied by the duration of the booking. So if your booking unit is ‘Day’, the standard cost is $50, and the customer books for 2 days – the total cost will be $100.
Last bookable date
If you would like to limit how far into the future your product can be booked, you can set the ‘Last bookable date’ parameter.
For example, if you are not accepting bookings on your holiday rental beyond the end of 31 December 2022, then enter the date here. You can update this setting at any time you like to adjust the last bookable date.
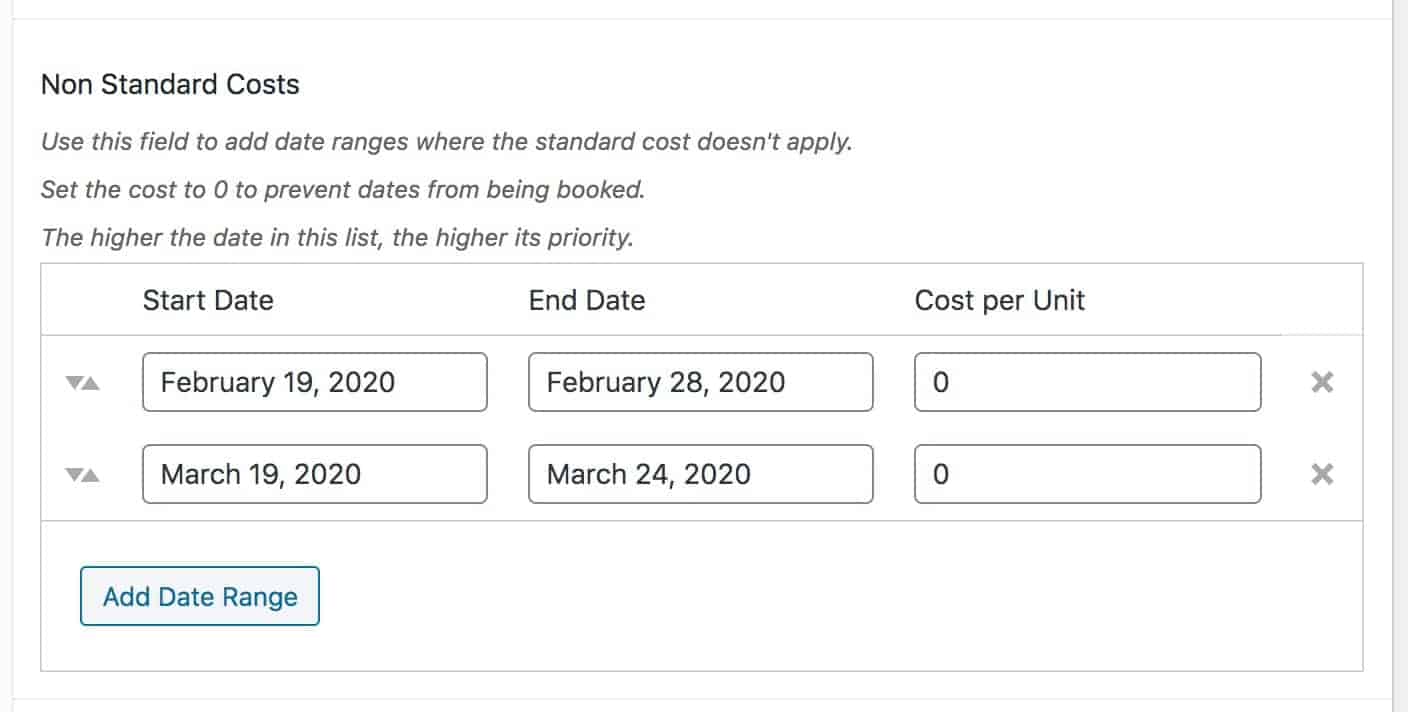
Blocking out dates for your bookable product
Let’s look at a couple of slightly more advanced parameters that you might need. Firstly, let’s look at how to block out specific date ranges so that your product can’t be booked.
Maybe you’d like to reserve some time to use your own holiday rental. To block out specific dates, click the ‘Add Date Range’ button in the ‘Non Standard Costs’ section.
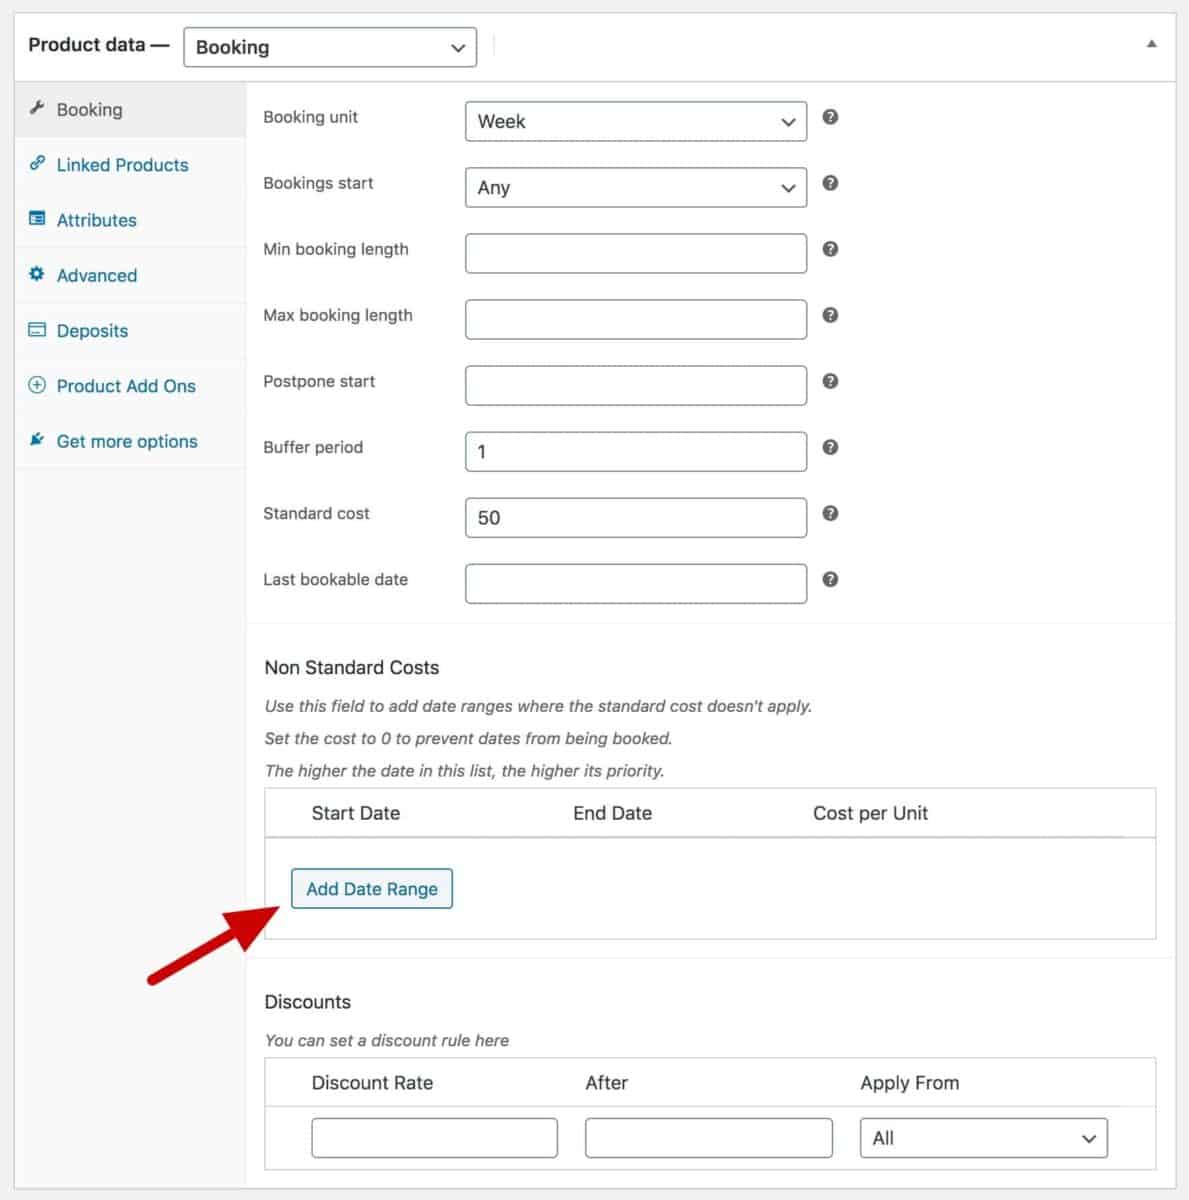
Set the start and end dates for the blocked period, then set the ‘Cost per Unit’ to 0. You can set as many dates as you wish.
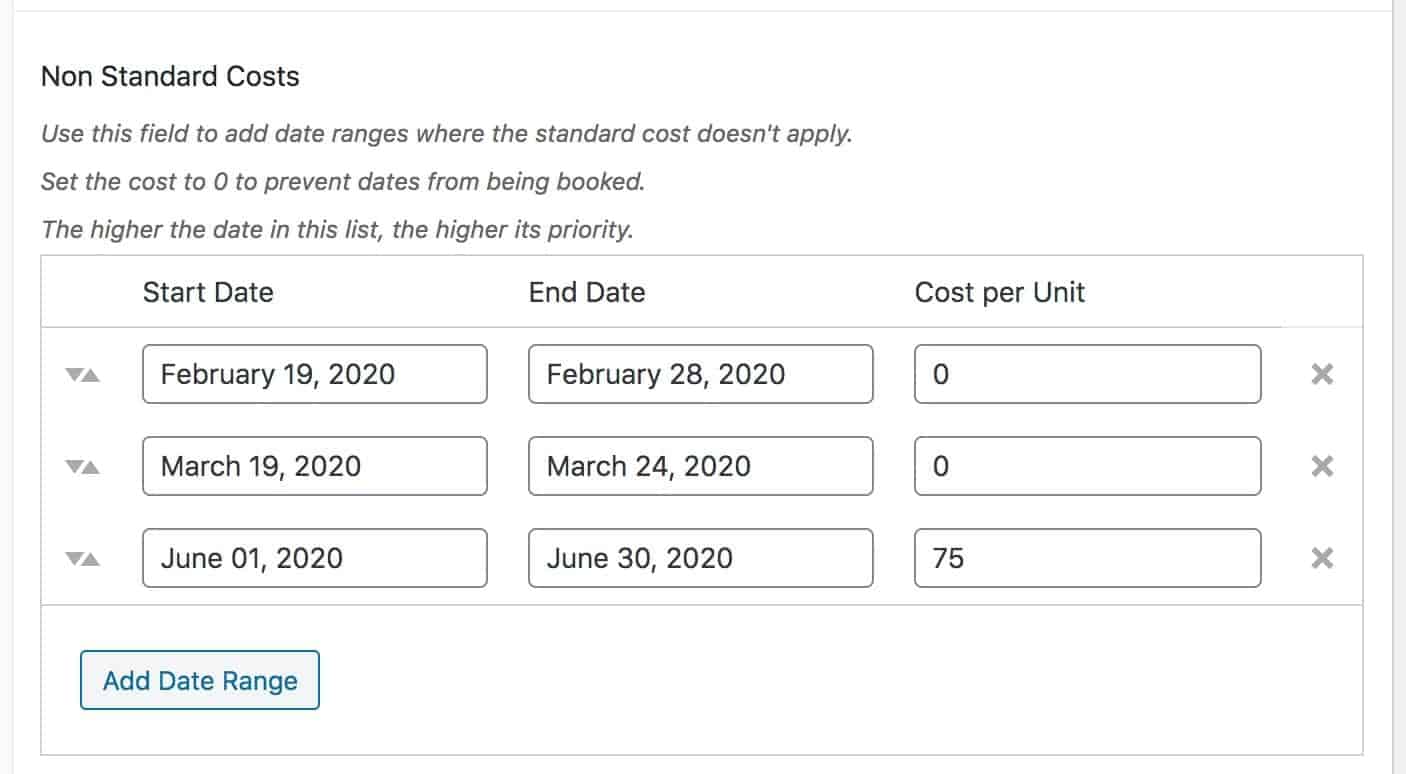
Setting peak or reduced prices in your WooCommerce bookable product
A common requirement with bookable products is to set prices according to season or demand. For instance, you might reduce the price of your rental property in the winter, or ask more for periods that include public or school holidays.
To adjust the standard booking cost during certain periods, add a date range in the ‘Non Standard Costs’ section as above. In the ‘Cost per Unit’ field, enter the price per booking unit for that period.
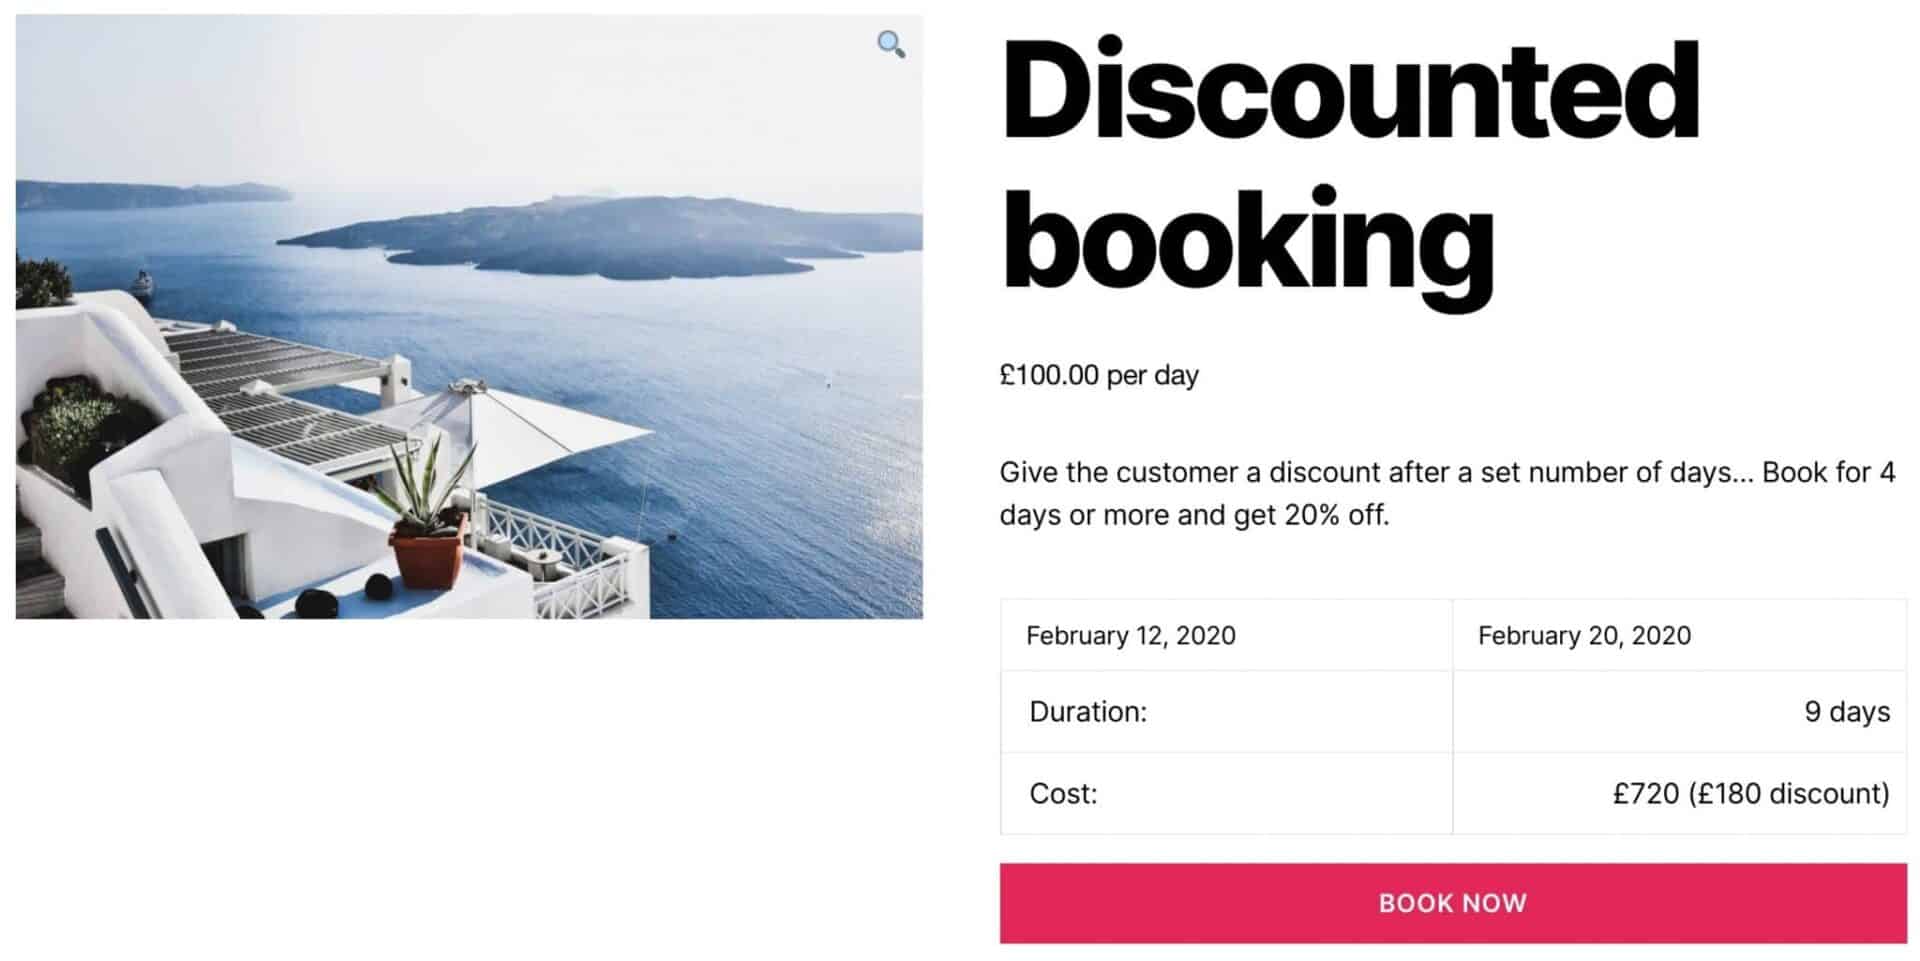
Enabling discounts on bookable products
Discounting is an effective marketing tool. You might want to offer a discount to users on your bookable products based on the duration of the booking.
For instance, you’re hiring out a bike and you’d like to offer a discount of 10% on bookings longer than 3 days. There’s two ways you can do this:
- Firstly, enable the discount on the whole booking
- Or, alternatively, enable the discount just on the period of the booking that goes past 3 days
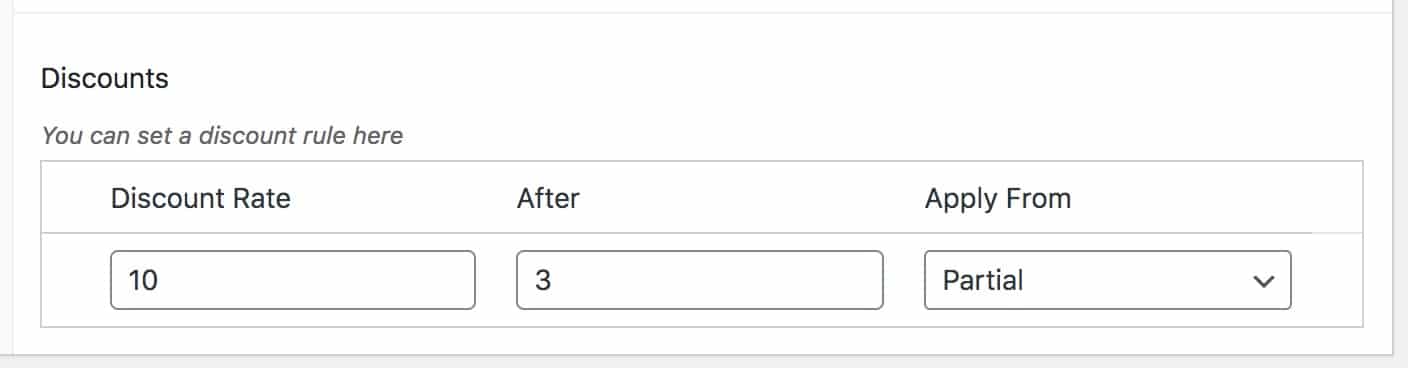
To create the discount:
- Enter the percentage value of the discount in the ‘Discount Rate’ field in the ‘Discounts’ section
- Enter the minimum duration required to qualify for the discount in the ‘After’ field. The unit here will be the same as the booking unit
- Then either choose ‘All’ if you want the discount to apply for the whole booking or ‘Partial’ if the discount will only apply to the period of the booking beyond the minimum duration
You can see an example of a bookable product with discount based on booking duration here.
(You should read this article for more information about WooCommerce discounts on non-bookable products.)
WooCommerce bookable products – recap
In this article we looked at how to quickly and easily set up a bookable product in WooCommerce. We looked at parameters to refine our bookable product and linked to several examples.
We also looked at some more advanced settings like how to block out dates or offer discounts on extended bookings.
All you need to get started is the Bookings for WooCommerce plugin.
Bookings for WooCommerce
Accept bookings and rentals with the Bookings for WooCommerce plugin