There are several reasons why you might want to enable an approve/review workflow without the user having to upload a file when they first purchase a product or service from you. For instance, you might wish to upload one of your own images to the workflow for the user to review.
Create a workflow using different field types
The first step in creating a workflow without requiring a file upload is to enable workflows for other field types. In this example, we’ll enable the creation of a workflow when the user selects a checkbox option. To do this, add the following snippet:
| <?php | |
| /* | |
| * Enable workflow for other field types | |
| */ | |
| function prefix_integrated_field_names( $fields ) { | |
| $fields[] = 'checkbox'; | |
| return $fields; | |
| } | |
| add_filter( 'rawc_pewc_integration_integrated_field_types', 'prefix_integrated_field_names' ); |
Here’s how to add this snippet.
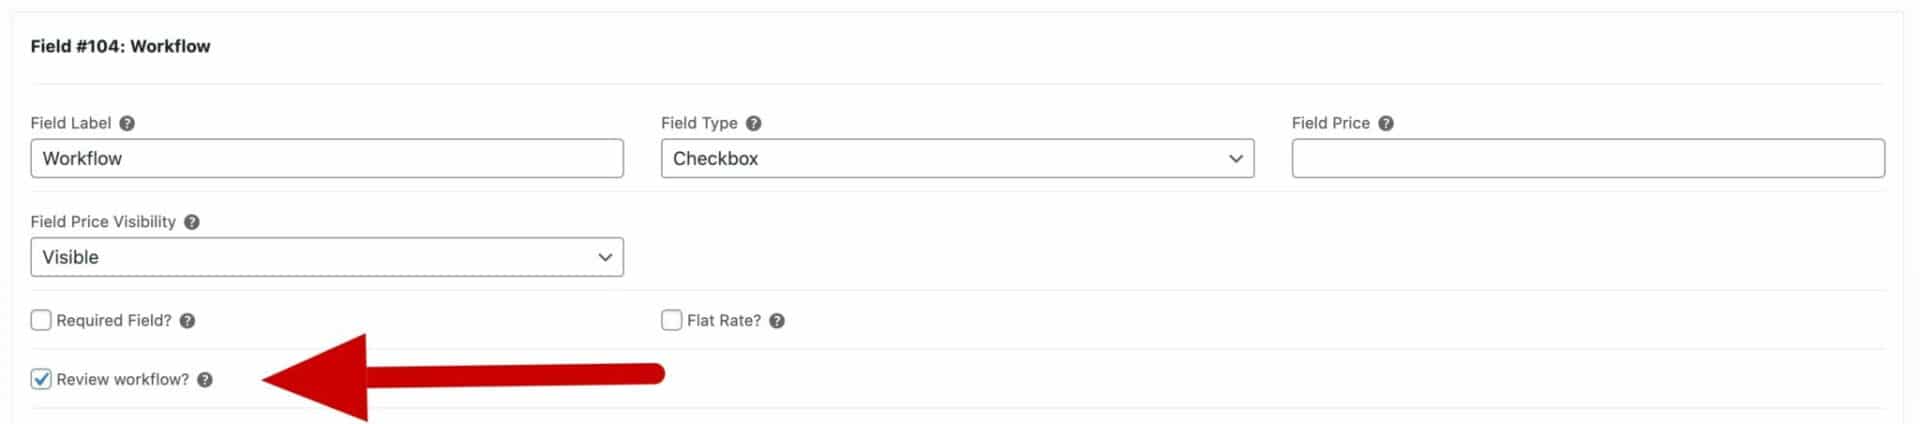
Now, when you add an extra field using Add-Ons Ultimate, you can select ‘Checkbox’ as the field type and you’ll see the option to enable a ‘Review workflow’. Enable this setting.
On the front end, the user will have an option to select this checkbox.
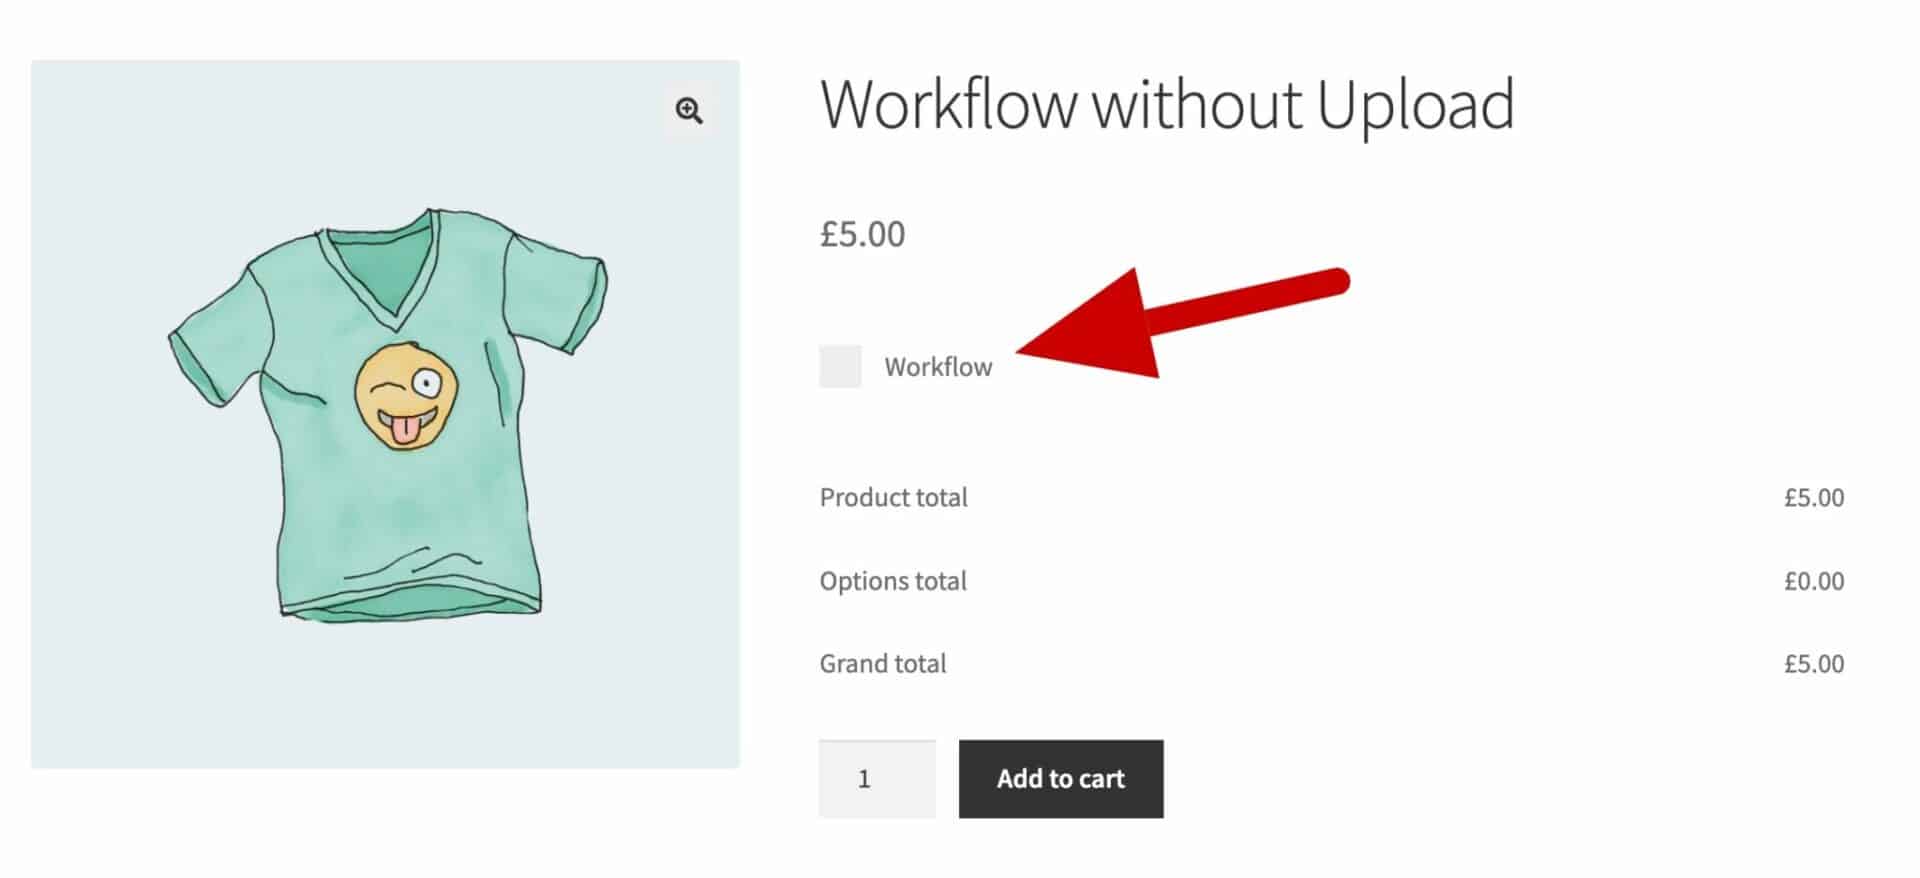
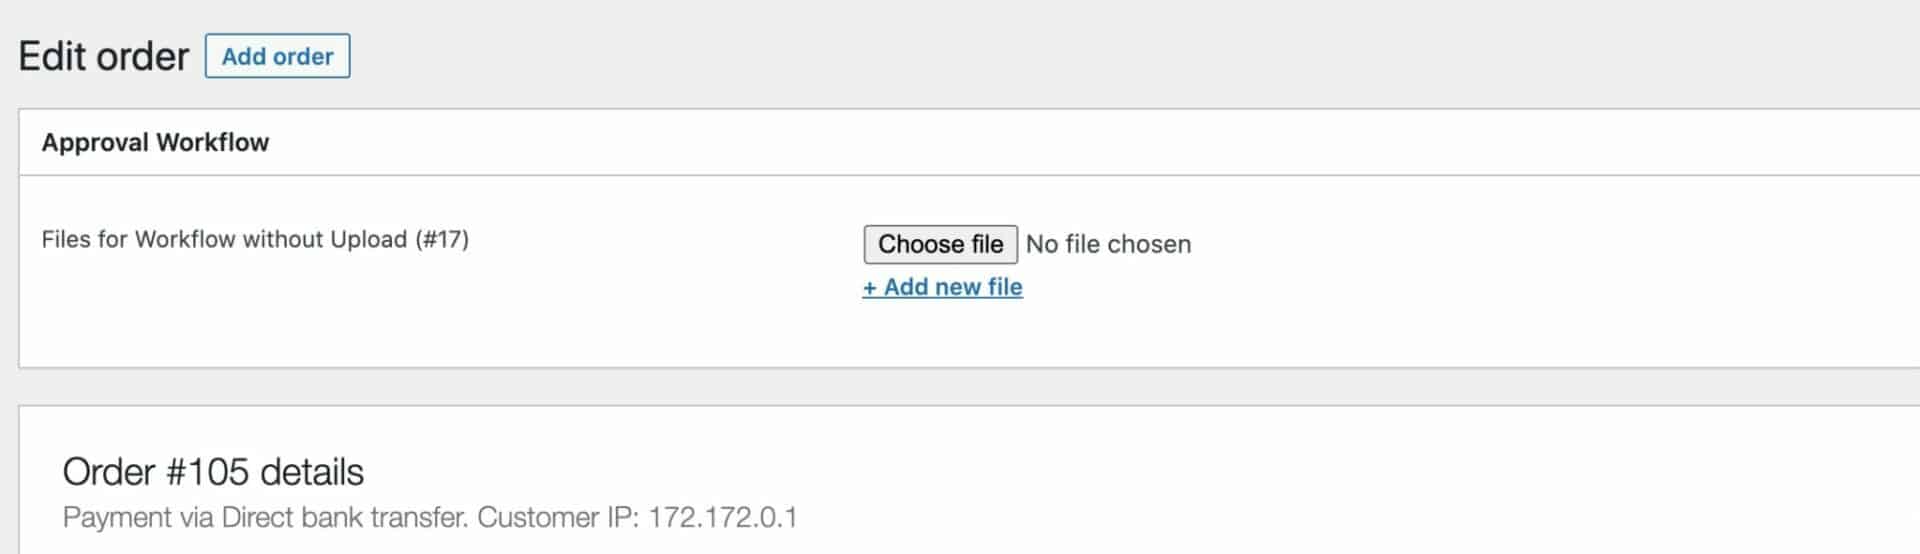
If they do so, a workflow will be enabled for their order. This will allow you to upload an image to their order for the user’s review and approval.
Automatically enabling a workflow
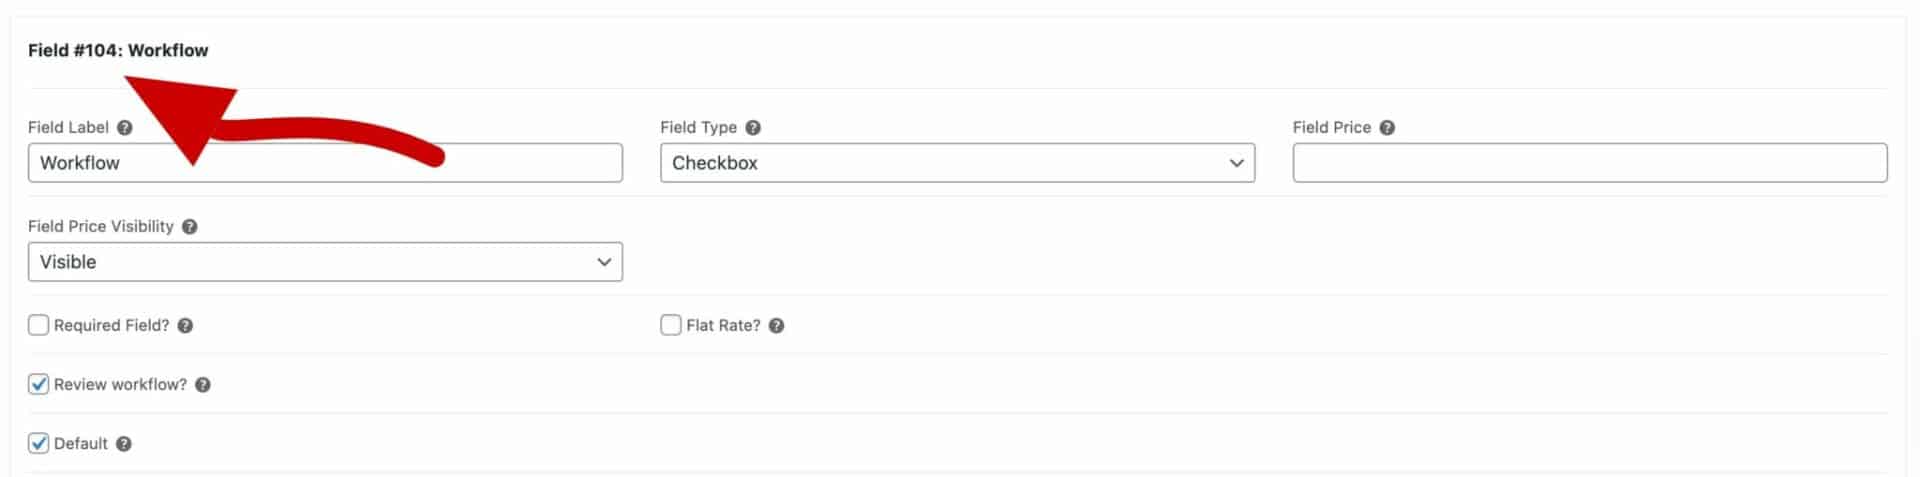
If you’d like to ensure that every order placed has a workflow enabled, you can use the method above but set the checkbox field to checked by default. Just select the ‘Default’ option as below:

This will mean that the option is automatically selected on the front end. If you’d like to prevent the user from deselecting this option, you can hide the checkbox on the front end so that the user can’t update it. To do so, just use some simple CSS.
First, get the ID of the field you want to hide. In the example below, the ID is 104.
Then, add some CSS like this, replacing the ID with your own field ID:
| .pewc-field-104 { | |
| display: none; | |
| } |
Here’s how to add the CSS.