How to add product input fields to WooCommerce

Would you like to add product input fields to WooCommerce – fields like text inputs, checkboxes, dropdown lists, etc? WooCommerce doesn’t allow you this functionality by default – so you’ll need an additional plugin.
WooCommerce Product Add-Ons Ultimate allows you to add over 20 different type of input field to your product pages. This means your customers can personalize products to the exact spec that they require. The input fields can even add extra to the product price.
Add WooCommerce product input fields
In this tutorial we’ll look at how to add product input fields to WooCommerce quickly and easily.
What is a product input field?
An input field is any kind of form field that requires the user to input a value or make a selection.
Types of WooCommerce input field
Input fields include any kind of form field, such as:
- Text fields
- Textarea
- Dropdown/select fields
- Radio buttons
- Checkboxes
- File uploads
- Date fields
- Number fields
- Swatches
These fields would be displayed on the front end product page above (or below) the Add to Cart button. You can require customers to enter values in the fields or just leave them optional.
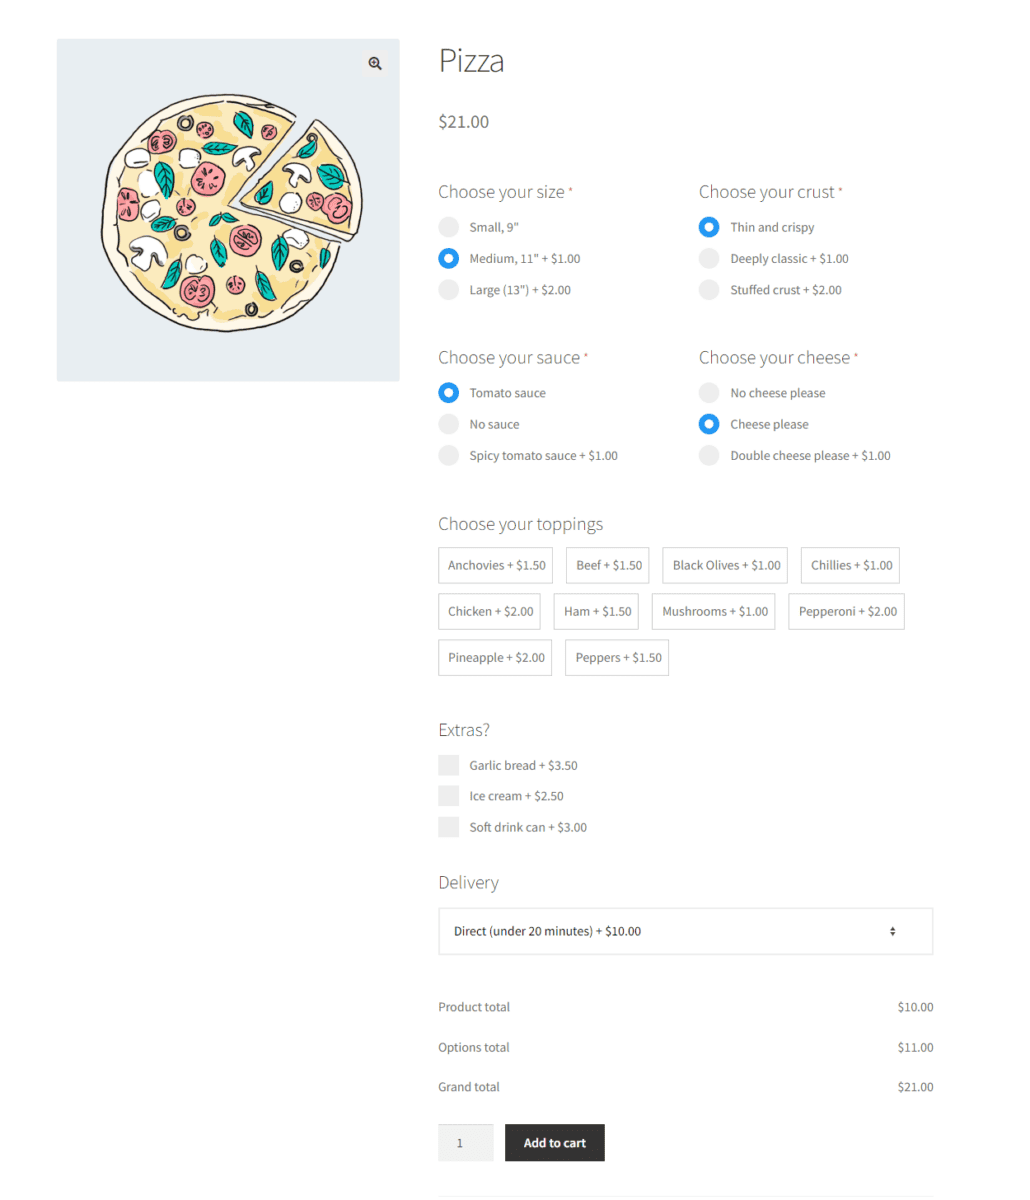
As an example, in the screenshot below the user can create their own pizza using radio buttons, text swatches, checkboxes and a select field.
Why do you need them?
Input fields are mainly used to allow customers to personalize products. So, whether you’re selling pizzas, prints or pajamas, your customers might need to specify additional information about your products.
The example below shows a WooCommerce product with a select field, a textarea field and an upload field.

How to add product input fields to WooCommerce – tutorial
To add custom add-on fields to WooCommerce products, you’ll need the WooCommerce Product Add Ons Ultimate plugin.
This plugin allows you to add all kinds of input field to product pages. You can add or subtract prices based on user selection, you can even use conditional logic if you like. You can also create input fields “globally” and assign them to multiple or all products in one hit; or just create input fields for individual products.
The plugin will also ensure that any values entered in the input fields are displayed in the cart, in notification emails, and in the order.

Step #1: Install and activate Product Add-Ons Ultimate
Once you’ve purchased a copy of Add-Ons Ultimate:
- Download the zip file by clicking on the link in the welcome email
- Go to Plugins > Add New in your WordPress dashboard
- Click on the ‘Upload Plugin’ button
- Drag and drop the downloaded zip file into the ‘Choose File’ area and click ‘Install Now’.
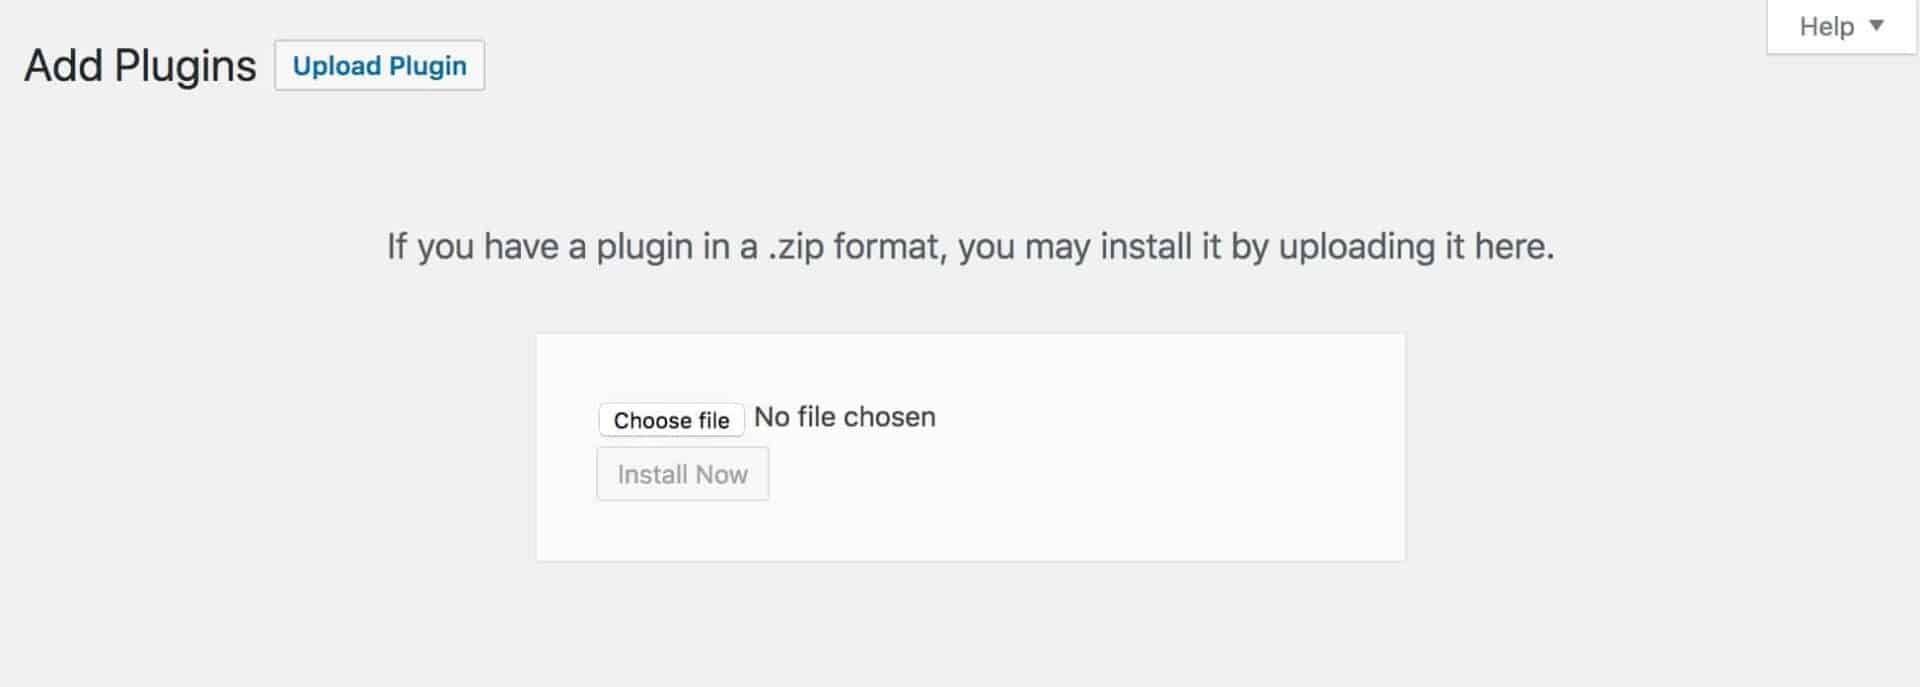
When the file has finished uploading, click the ‘Activate’ button. Product Add-Ons is now activated and ready to go.
Step #2: Create your first input field
To add an input field to an individual WooCommerce product:
- Edit the product where you want to add the input field
- Click on ‘Product Add-Ons’ in the ‘Product data’ section
- Click ‘Add Group’ then ‘Add Field’
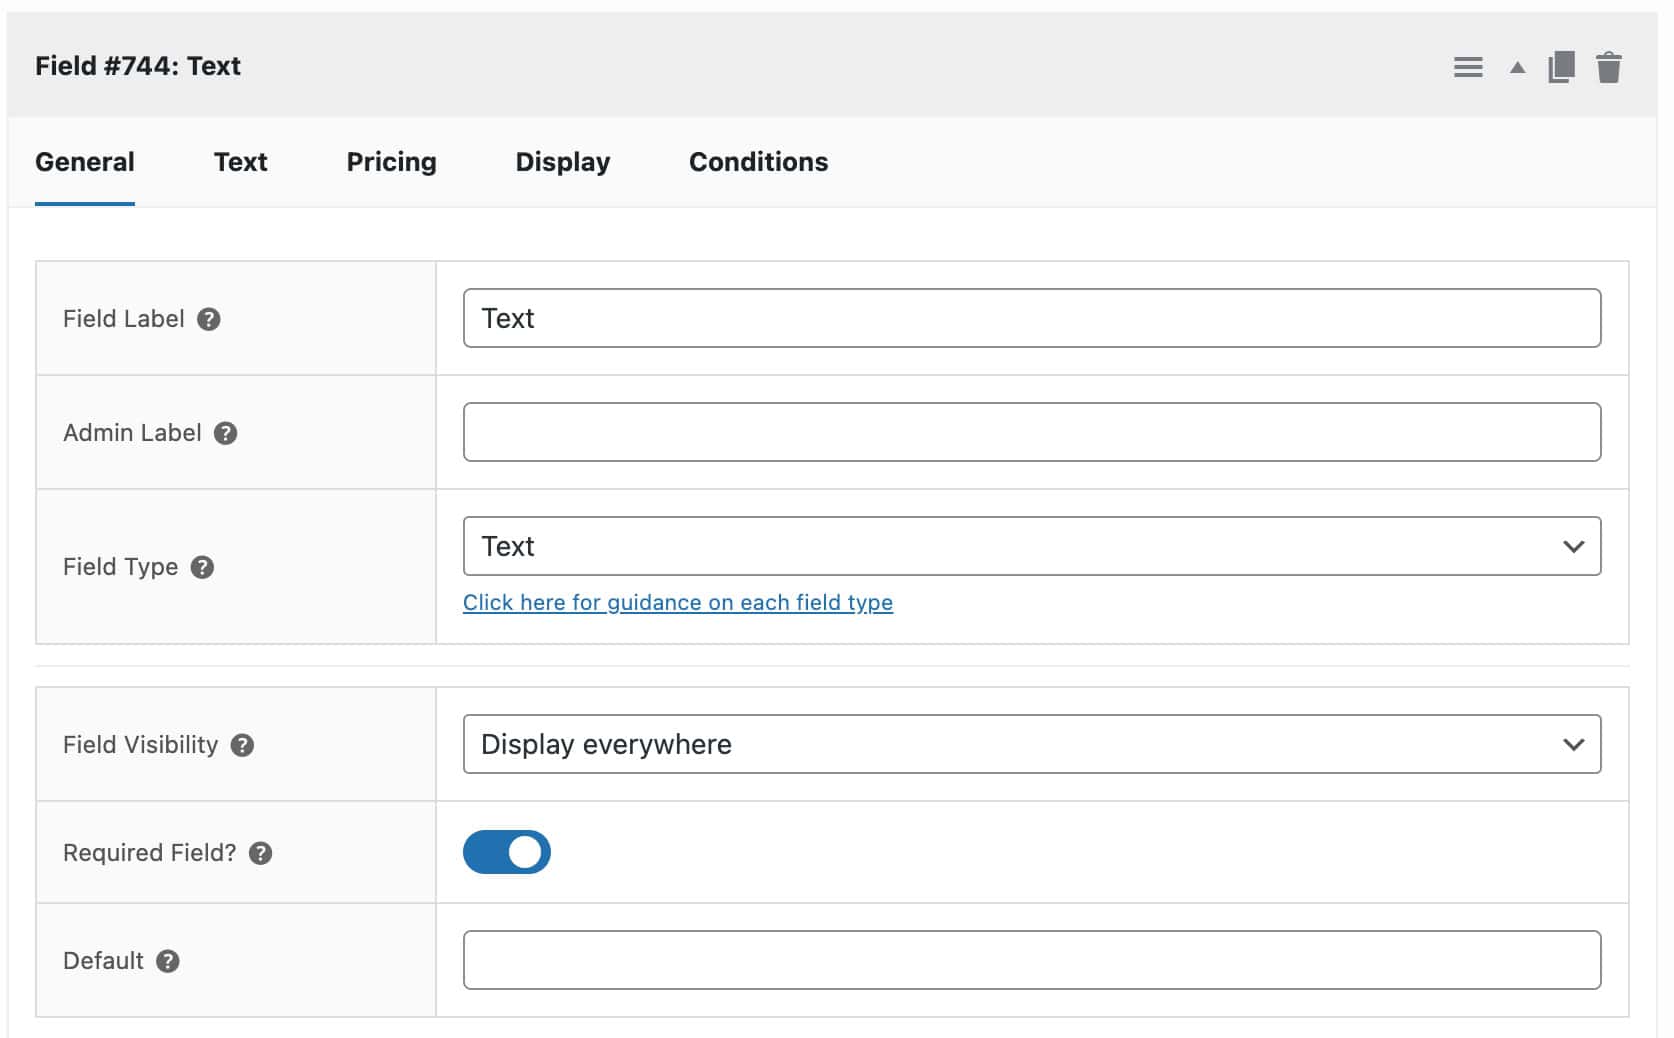
- Give your field a label
- Choose the field type – in this example, we’ll choose ‘Text’ in order to add a custom text field to the product page
- Specify whether the field is ‘Required’
- On the ‘Pricing’ tab add a price that will be applied if the user enters a value in the field
Input field parameters
As well as the basic parameters above, like the field label, you can specify other options for each input field:
- Field label: this is where you can create a label for your field
- Field price: want to charge your customers for entering information in this field? Just add the price here. This will get added to the product price automatically
- Required field: if you’d like to ensure the customer completes this field before adding the product to the cart, then check this option
- Flat rate: by default, if the field has a price, it’ll be multiplied by the quantity of product added to the cart. So if the field price is $5 and the user adds 2x the product to their cart, the field cost will be $10. If you only want to charge for this field once, irrespective of the quantity in the cart, check the ‘Flat rate’ option
- Percentage: check this field to make the ‘Field price’ field a percentage instead of a fixed value
- Min chars: this is the minimum number of characters the user can enter into this field. Leave it empty if there’s no minimum
- Max chars: the maximum number of characters the user can enter. Leave it empty if there’s no maximum
- Price per character: check this option if you’d like to multiply the field price by the number of characters entered into the field
- Default: enter a default value here if you’d like this to display to your customer
There’s a detailed tutorial on adding a text field to a WooCommerce product page here.
Step #3: View the field on the front end
Now, on the front end, the user can enter some custom text into the text input field.

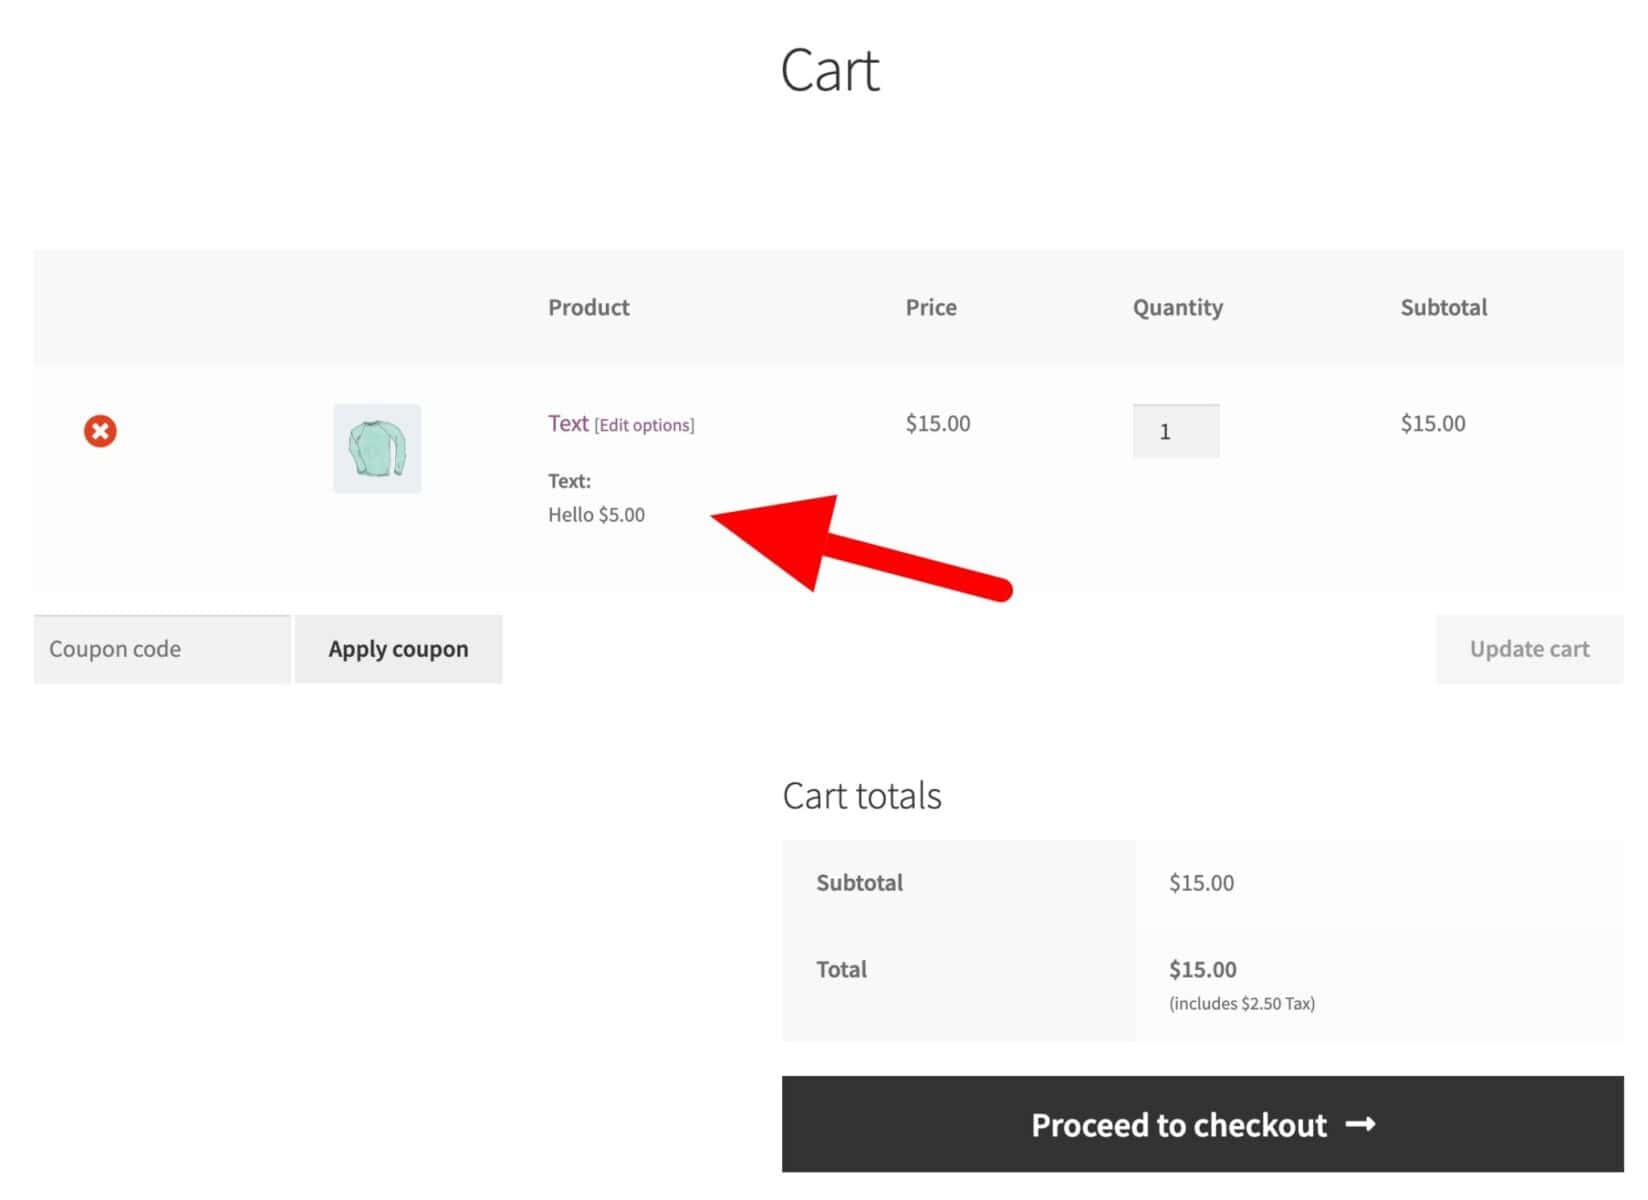
When the user adds this product to their cart, the value of the input field will be clearly displayed as part of the line item in the cart.
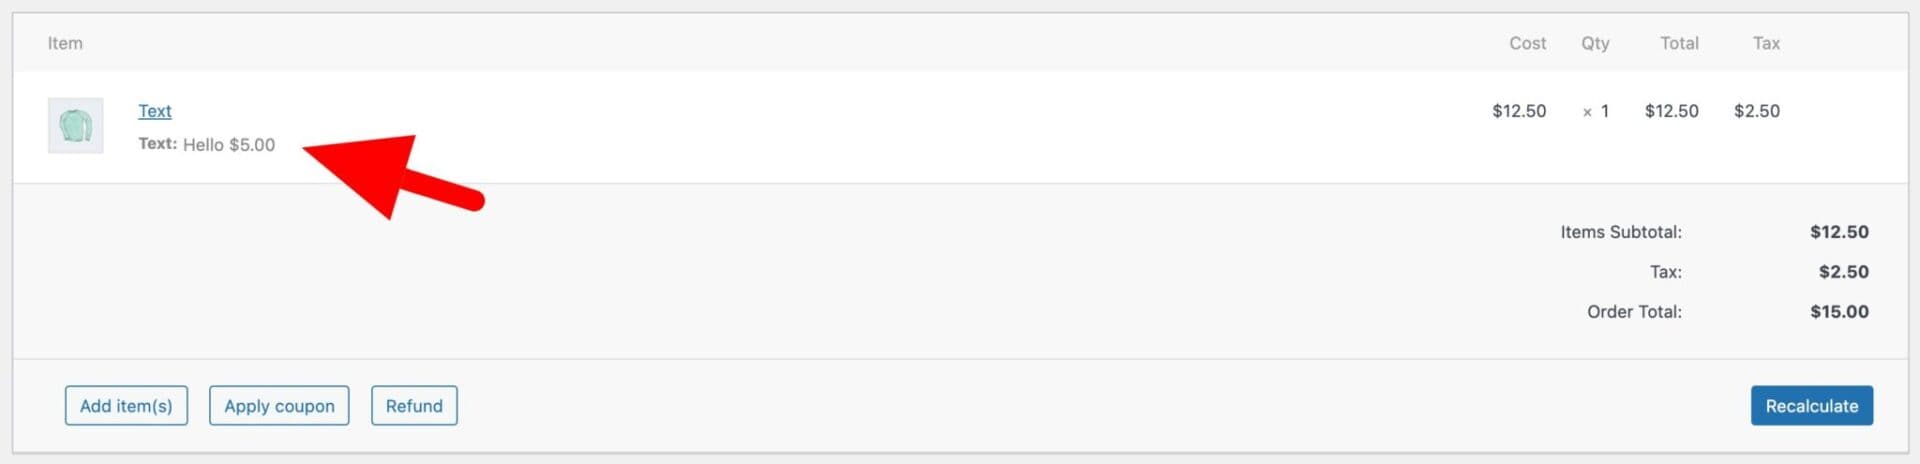
And when the user checks out and pays, the value will be carried through into the order. So admins will see this in the order screen and on transactional emails.
Recap: add WooCommerce product input fields
In this tutorial we’ve looked at how simple it is to add product input fields to WooCommerce. You can add around 20 different input field types using the WooCommerce Product Add Ons Ultimate plugin.