WooCommerce Order Bump lets you prompt customers with additional products at certain key times. The plugin displays a configurable modal pop-up window (a bump) to encourage users to add extra products to their cart. You can choose to display the pop-up on the product page after the user adds a product to their cart, or on the cart page, or on the checkout page.
In this article, we’ll look at how to get started with the plugin in only a few clicks.
Global rules
There are a couple of simple settings that will affect all order bumps that you create. Go to WooCommerce > Settings > Order Bump.
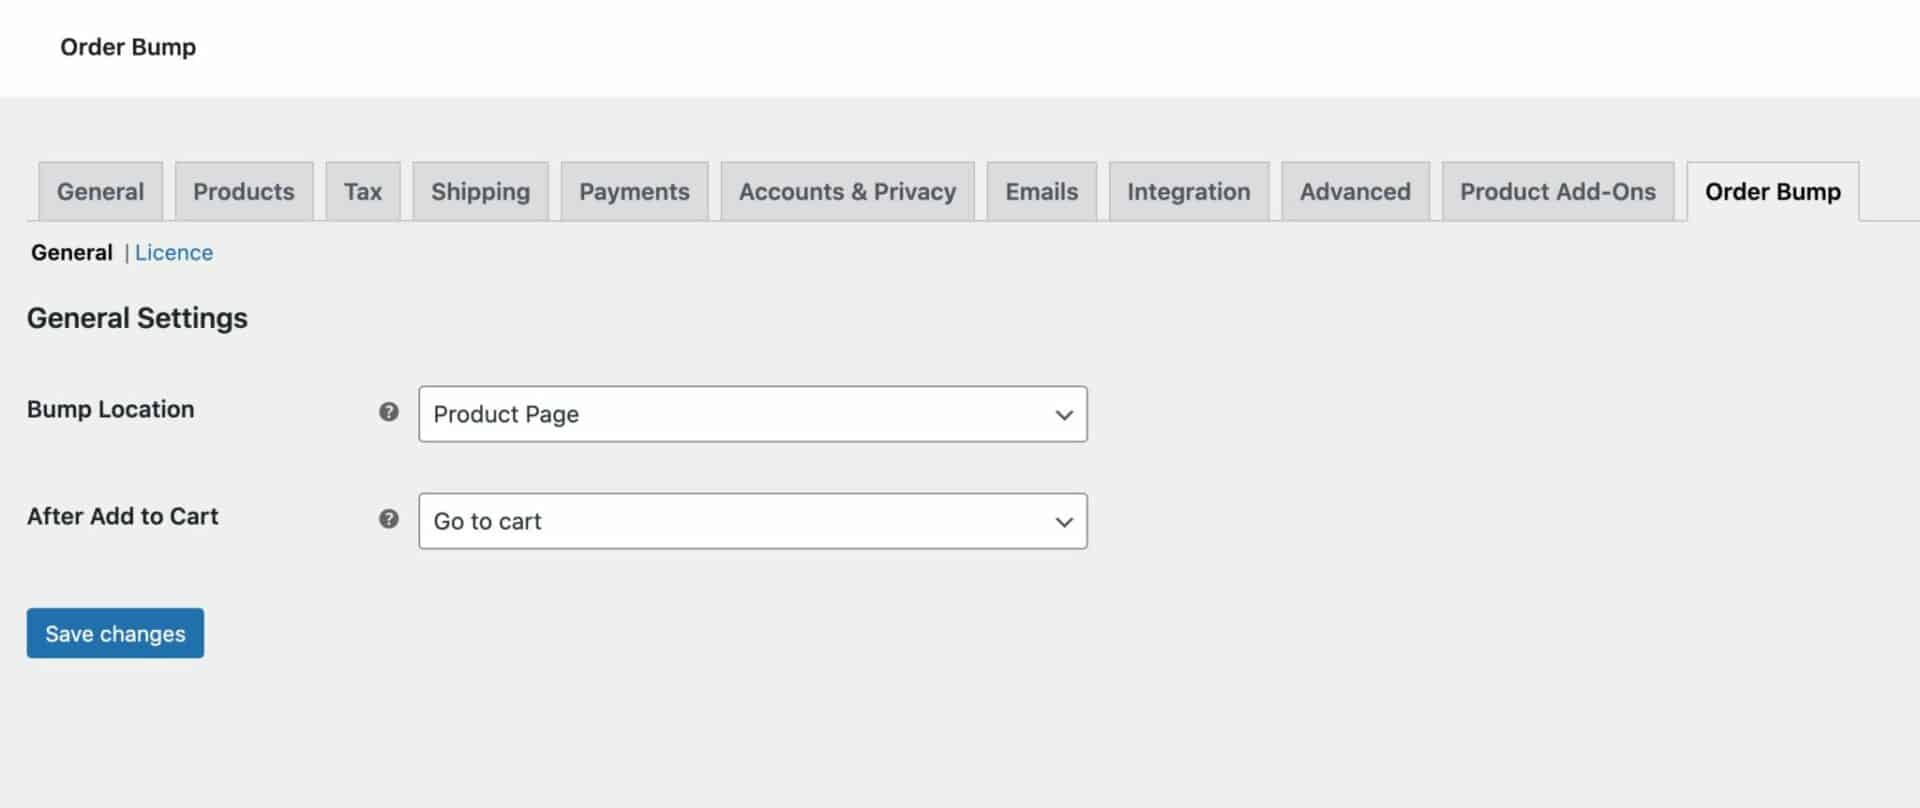
Bump location
Use this setting to define where to show the order bumps. Choose from:
- Product page: display the order bump on the product page when the user adds a product to their cart
- Cart page: display the order bump on the cart page. The bump will only display if there’s a relevant product in the cart (i.e. one that will trigger an order bump)
- Checkout page: display the order bump on the checkout page. The bump will only display if there’s a relevant product in the cart (i.e. one that will trigger an order bump)
After Add to Cart
This setting will only appear if you have chosen ‘Product page’ in the ‘Bump location’ setting above. It determines what happens after the user adds a product to the cart from the bump when displayed on a product page. Choose from:
- No change: the product will be added to the cart but the bump will not close
- Close modal: the bump will close after the product has been added to the cart
- Go to cart: the user will be directed to the cart page
- Go to checkout: the user will be directed to the checkout page
Order Bump settings
You can create as many order bumps as you wish. Each bump will display a modal window with different products depending on the rules you set. For example, you can display an order bump with certain products when a user adds a product to their cart from specific categories.
To create an order bump, go to WooCommerce > Order Bumps > Add New.
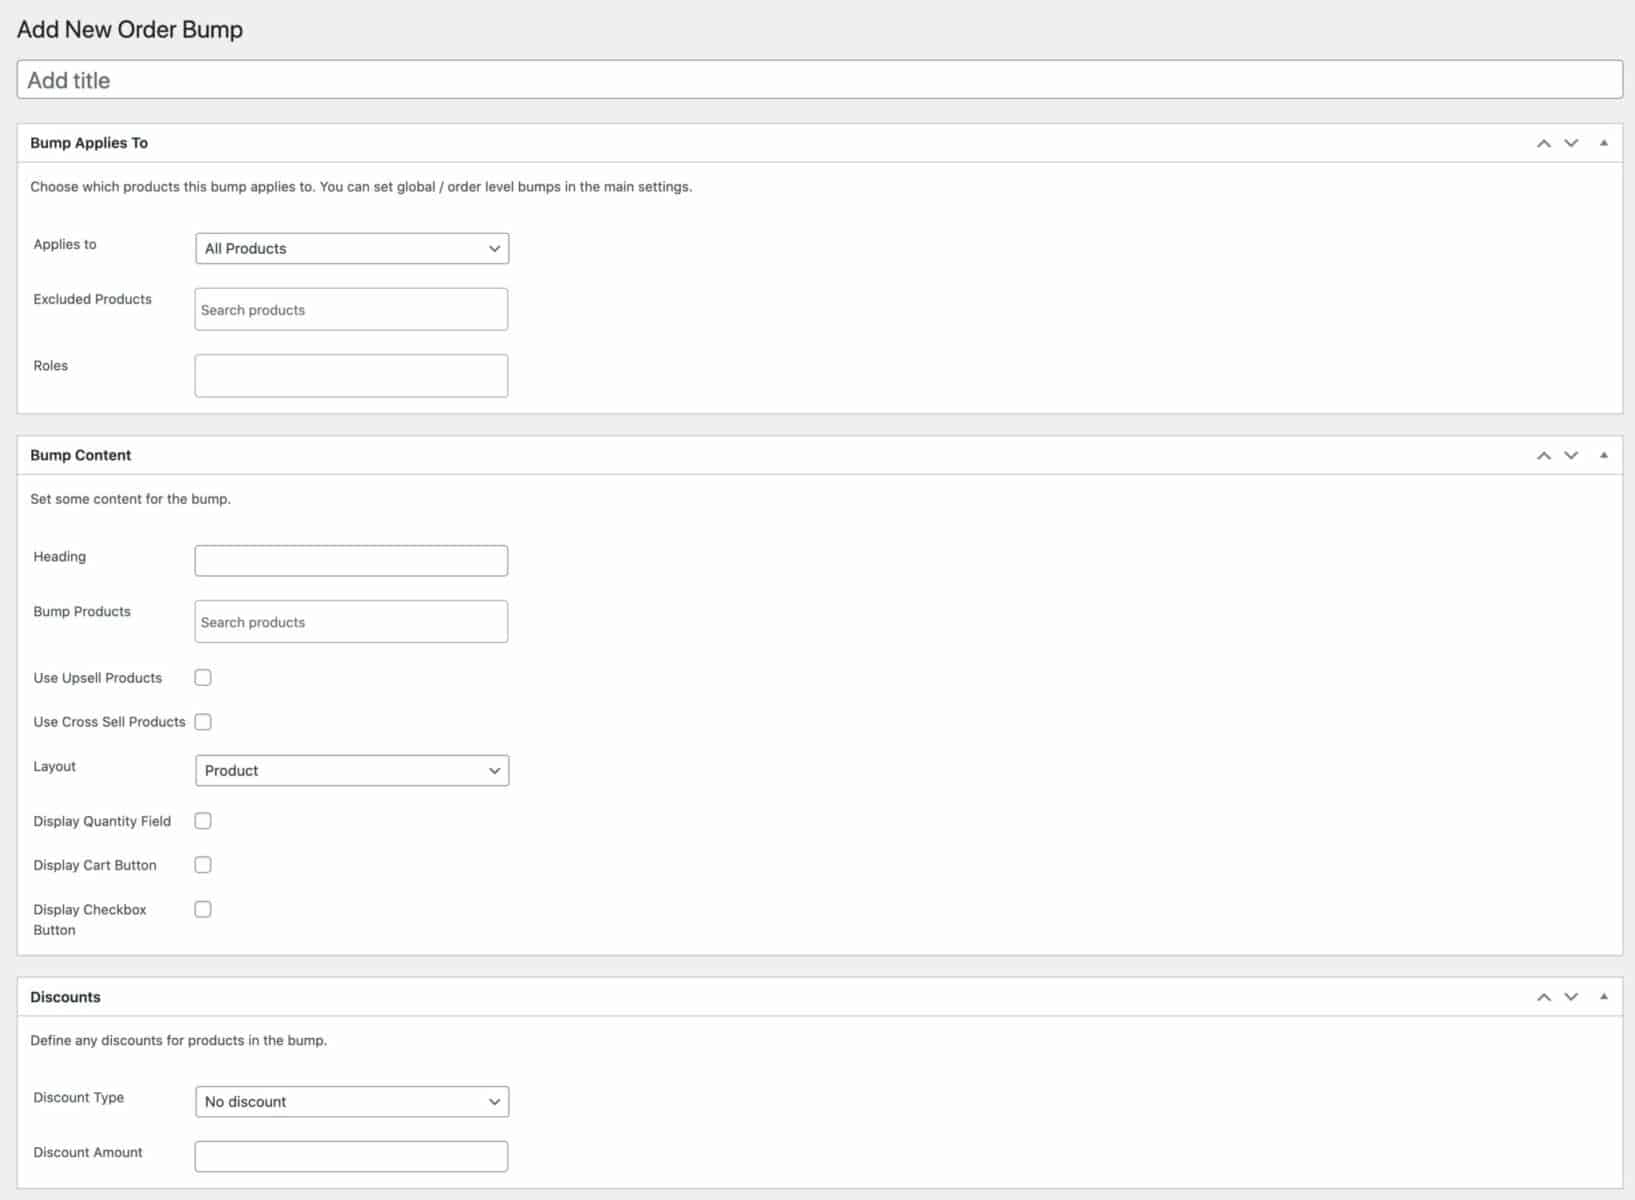
Bump applies to
In this section, you can define what products should trigger this bump.
Applies to
This setting will define what products will trigger the bump. Choose from:
- All Products
- Selected Attributes: the bump will be triggered by any products that have the specified attributes
- Selected Categories: the bump will be triggered by any products in the specified categories
- Selected Products: the bump will be triggered by any of the specified products
Attributes
This field will only appear if you’ve chosen ‘Selected Attributes’ above. Use it to specify which attributes a product should have in order to trigger this bump.
Categories
This field will only appear if you’ve chosen ‘Selected Categories’ above. Use it to specify which categories a product should belong to in order to trigger this bump.
Products
This field will only appear if you’ve chosen ‘Selected Products’ above. Use it to specify which products should trigger this bump.
Excluded Products
You can enter any products here that should be excluded from the rule.
Roles
Enter any roles that this bump should apply to.
Bump Content
Use the settings in this section to define the content of the bump.
Heading
Enter the heading or title for this bump.
Bump Products
You can define which products to display in this bump here.
Use Upsell Products
You can check this option to display the products defined as upsells for the product that triggers this bump.
Use Cross Sell Products
You can check this option to display the products defined as cross sells for the product that triggers this bump.
Layout
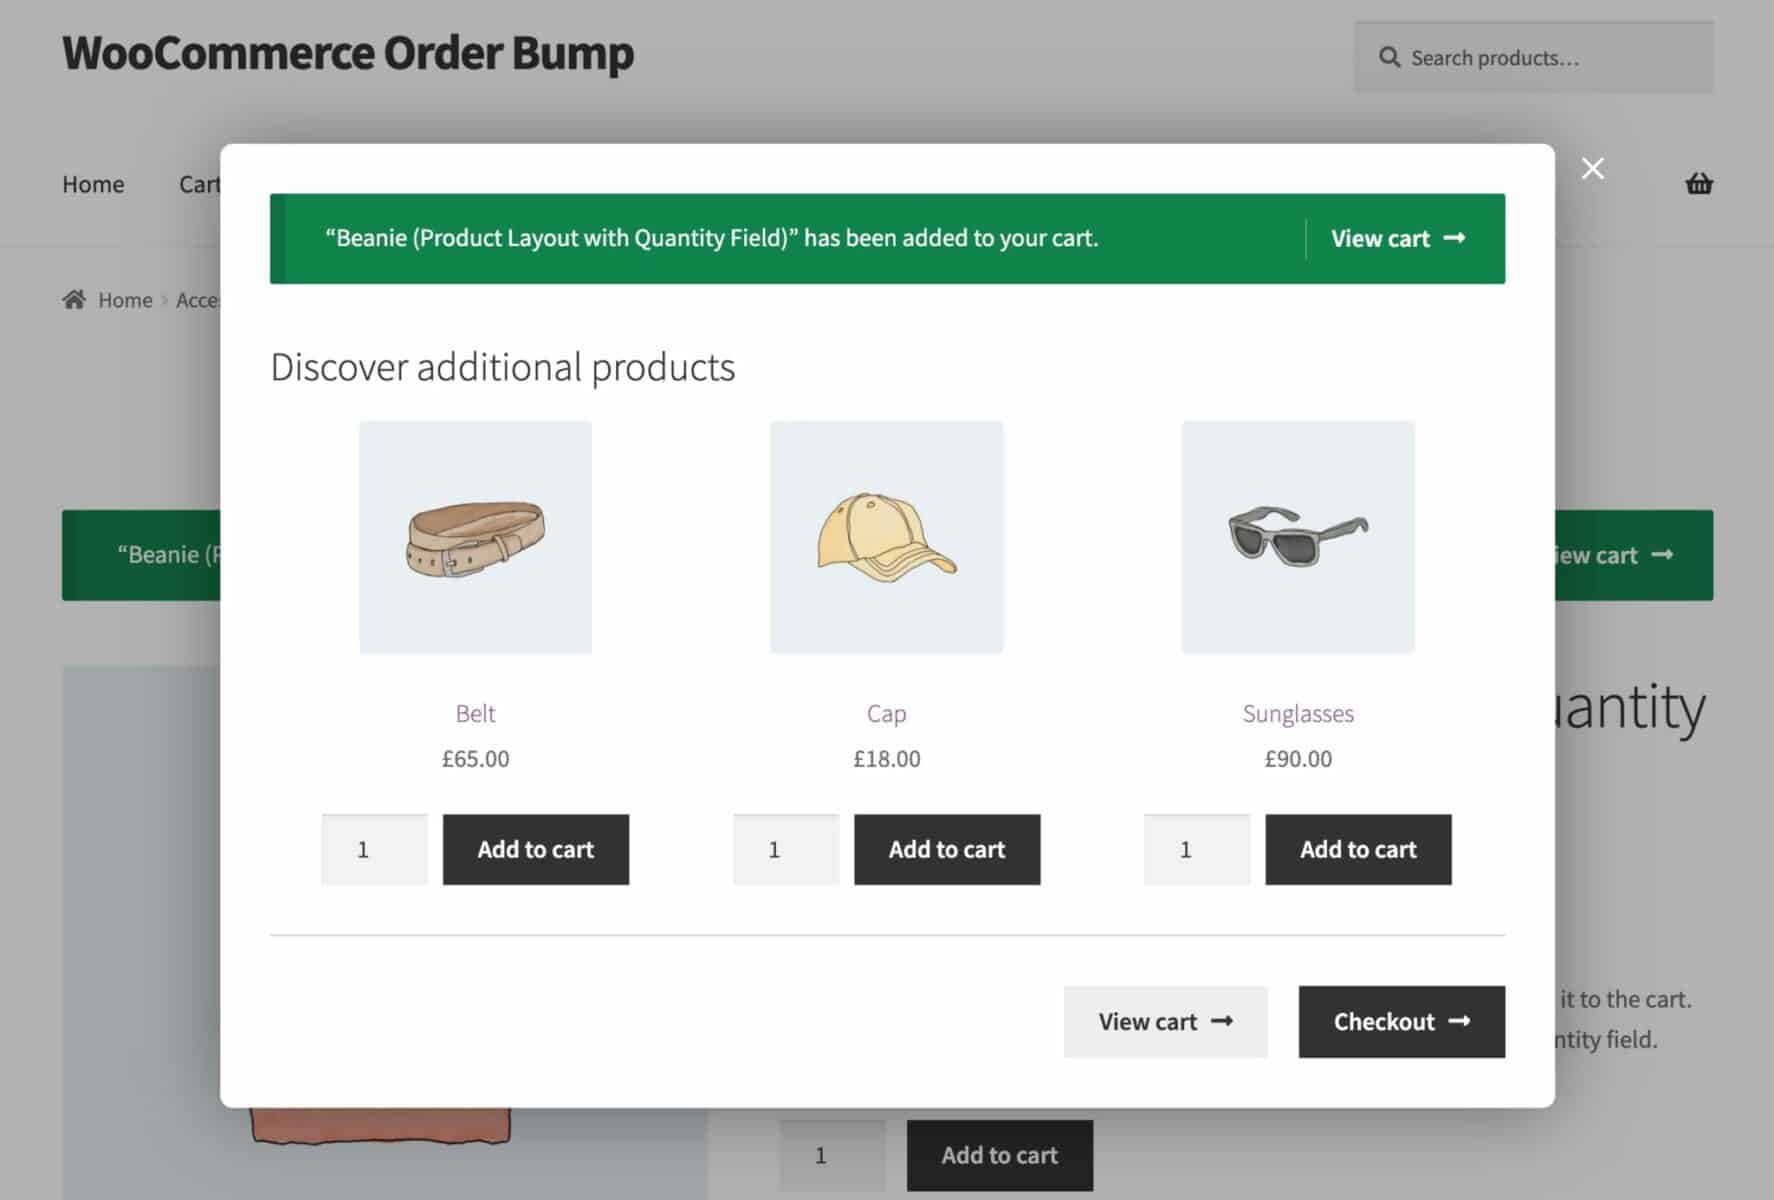
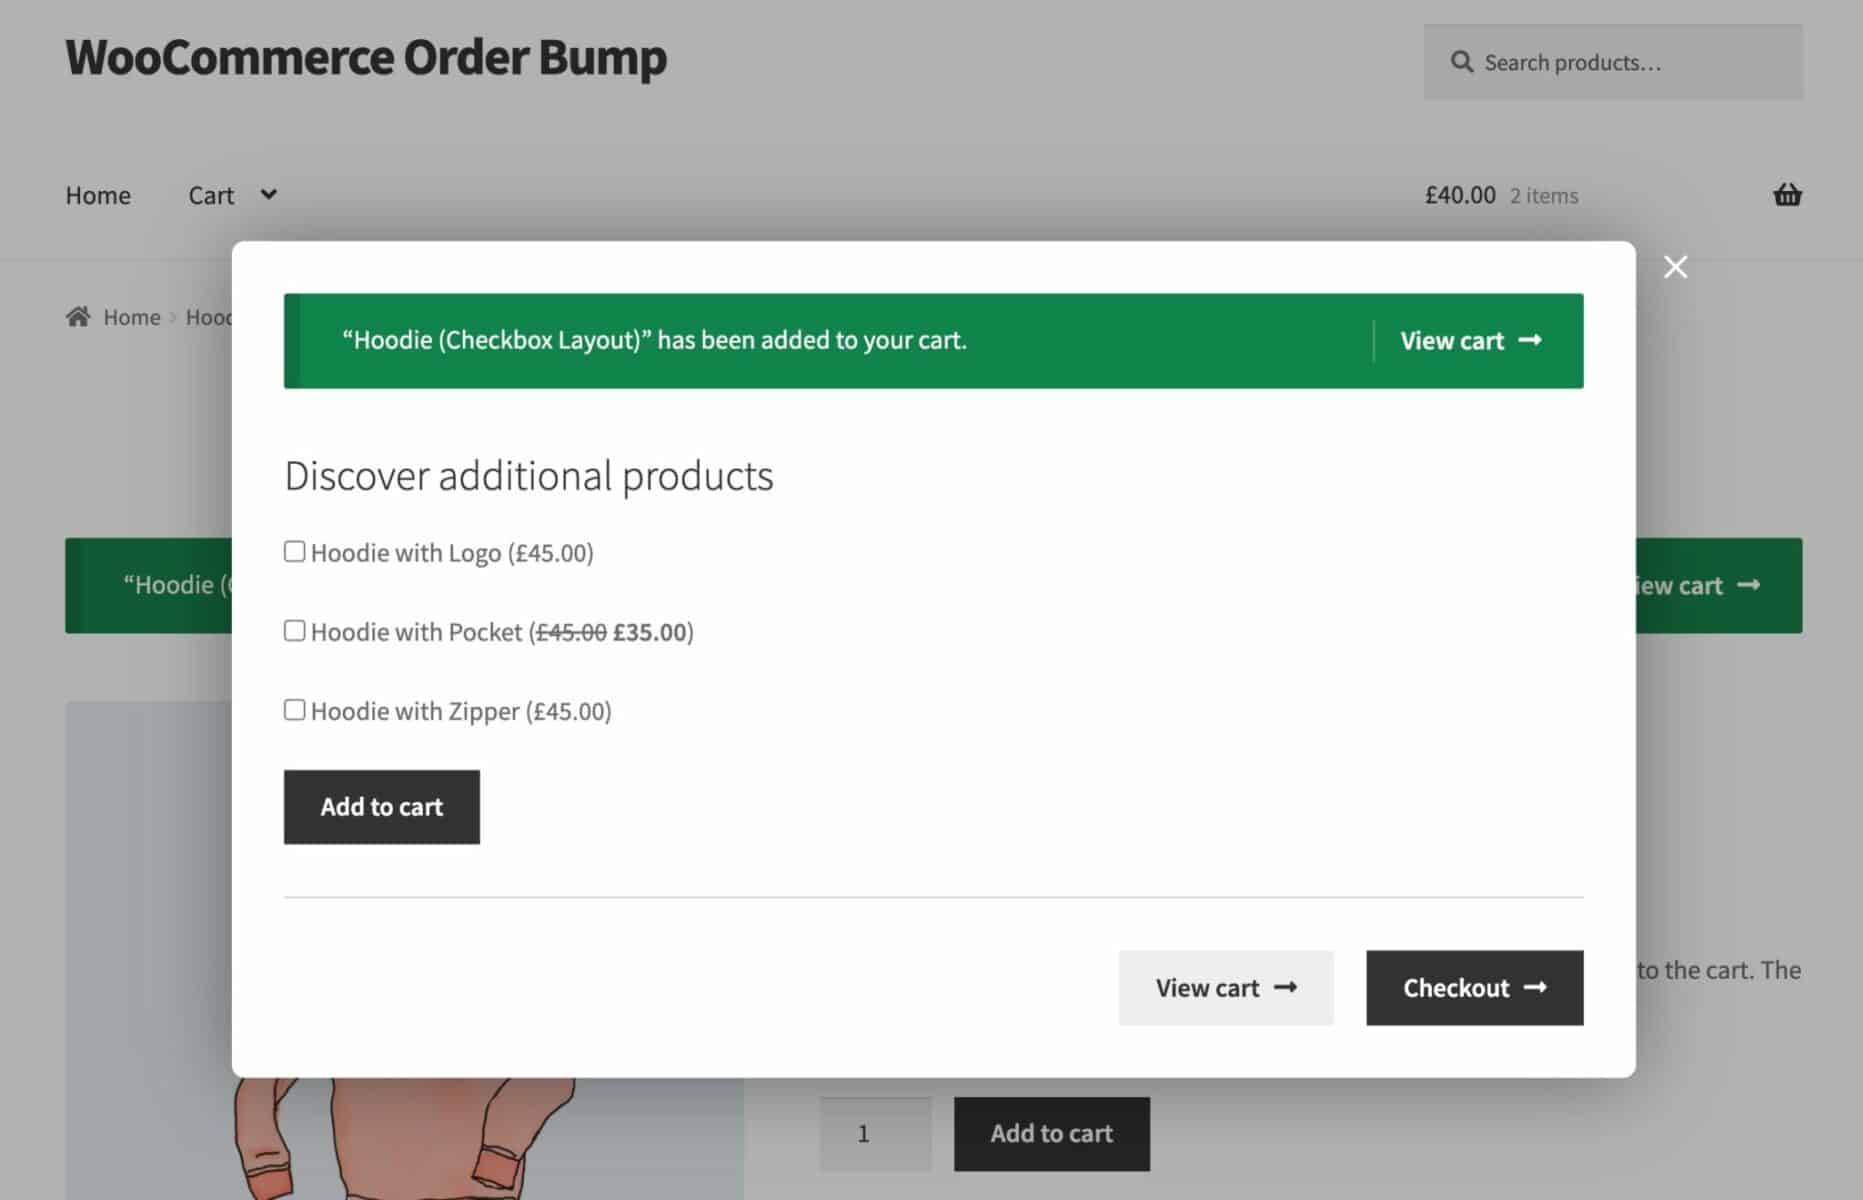
Choose from two different types of layout – ‘Product’ and ‘Checkbox’.
The ‘Product’ layout uses a typical archive style layout:
The ‘Checkbox’ layout allows the user to select multiple products using checkboxes:
Display Quantity Field
Check this option to display a quantity field on the ‘Products’ layout.
Display Cart Button
Enable this to display a ‘View Cart’ button at the bottom of the bump.
Display Checkout Button
Enable this to display a ‘View Checkout’ button at the bottom of the bump.
Discounts
In this section, you can define optional discounts for products appearing in the bump.
Discount Type
Choose between ‘Fixed’ or ‘Percentage’.
Discount Amount
Enter the value of the discount.