How to create a build your own bike product in WooCommerce
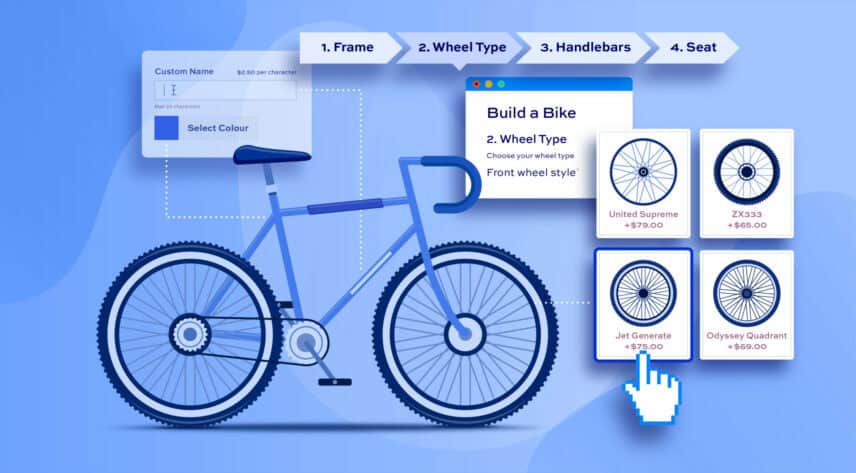
In this tutorial, we’ll look at how to create a product where users can configure their own bicycle. Users will be able to select different components like handlebars and frames and the layout will be organized into steps to help guide them through the process.
Out of the box, WooCommerce doesn’t allow you to create a product like this so you’ll need a plugin. The WooCommerce Product Add-Ons Ultimate allows you to create all kinds of configurable products.

How to make a build your own bike product in WooCommerce
Here’s a screenshot of our demo product.
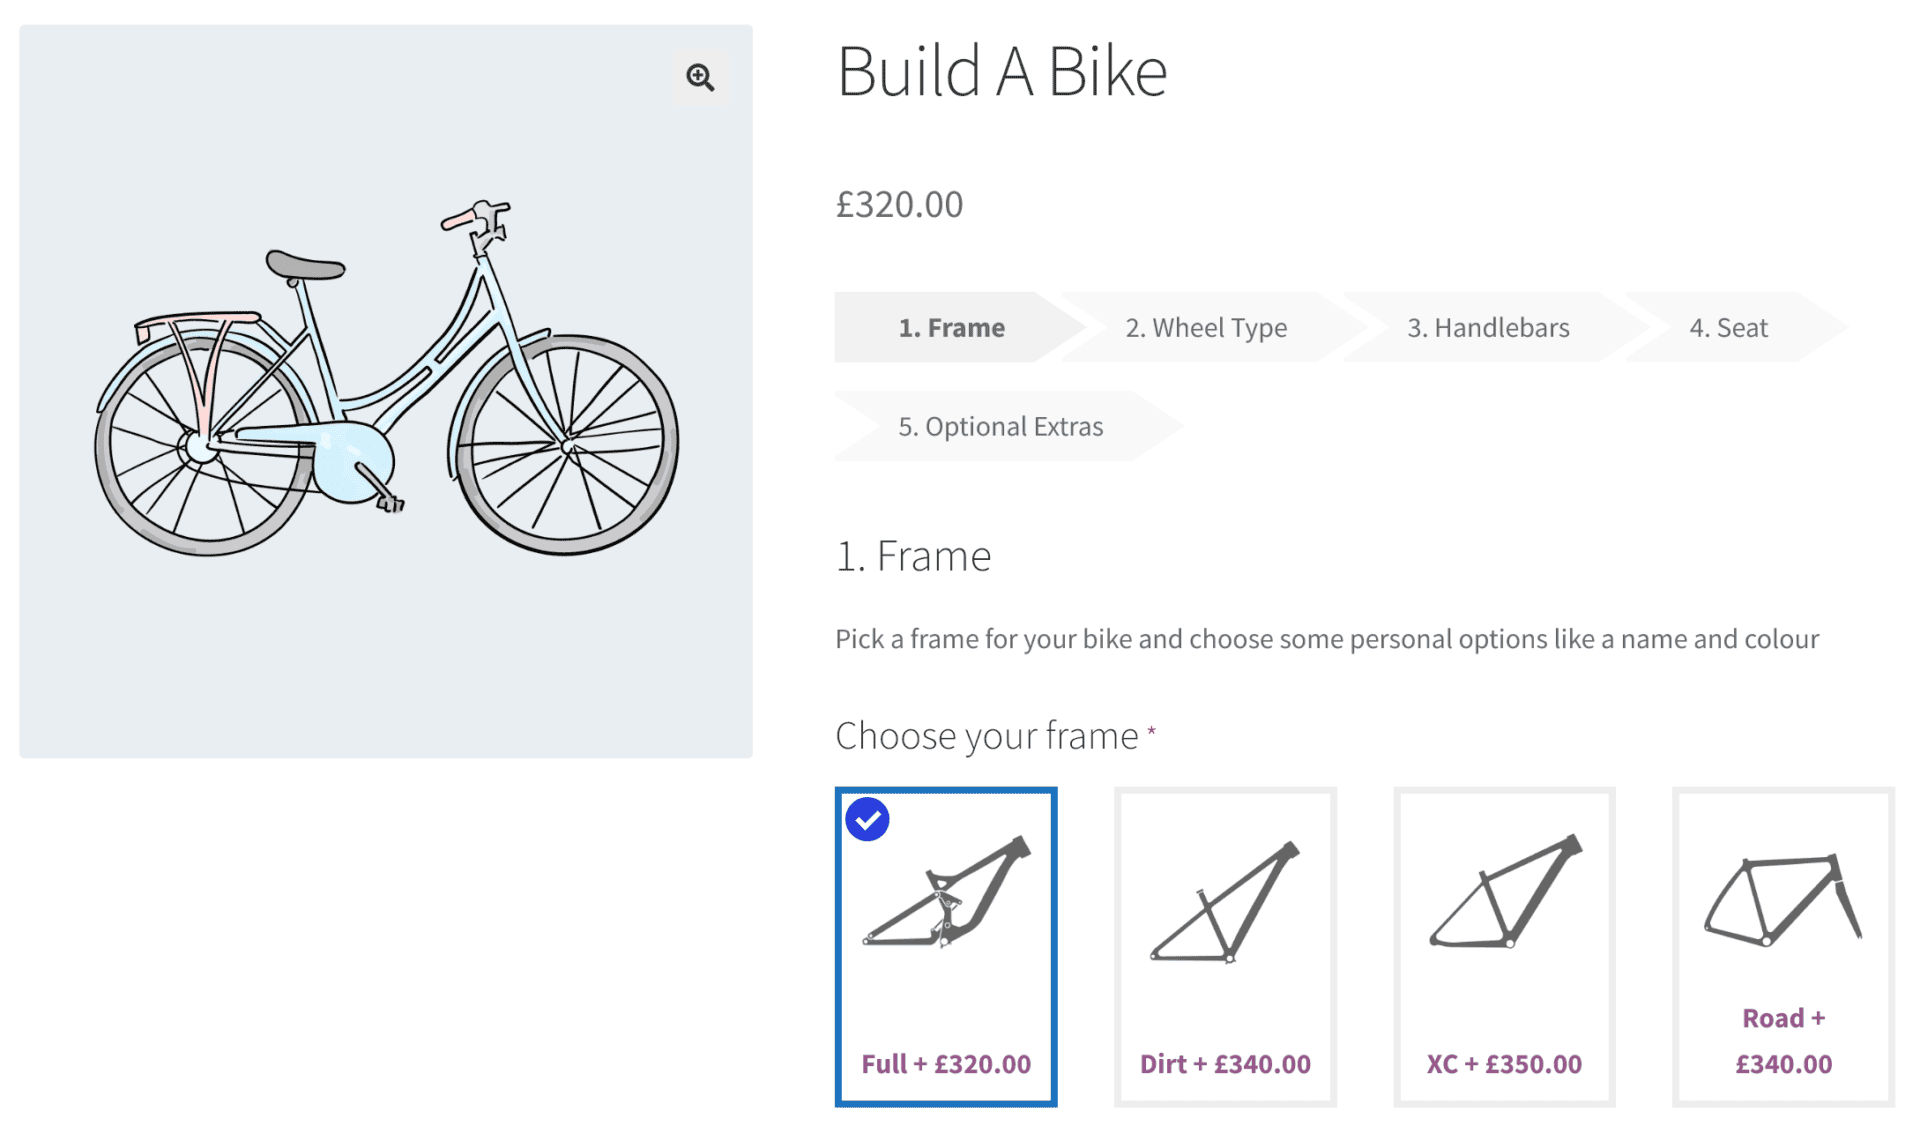
You can see the working demo product here.
Step 1: Install WooCommerce Product Add-Ons Ultimate
Install and activate Add-Ons Ultimate.
Step 2: Create each component as a product
In our example, the user can select different components for their bike including frame, handlebars, wheels. You can find other examples of building products from multiple components in this article on composite products in WooCommerce.
First, we create these components as standalone products. There’s a guide to adding products in WooCommerce here.
Step 3: Create the build a bike product
Now it’s time to make the main build a bike product. Create a new product and give it a title.
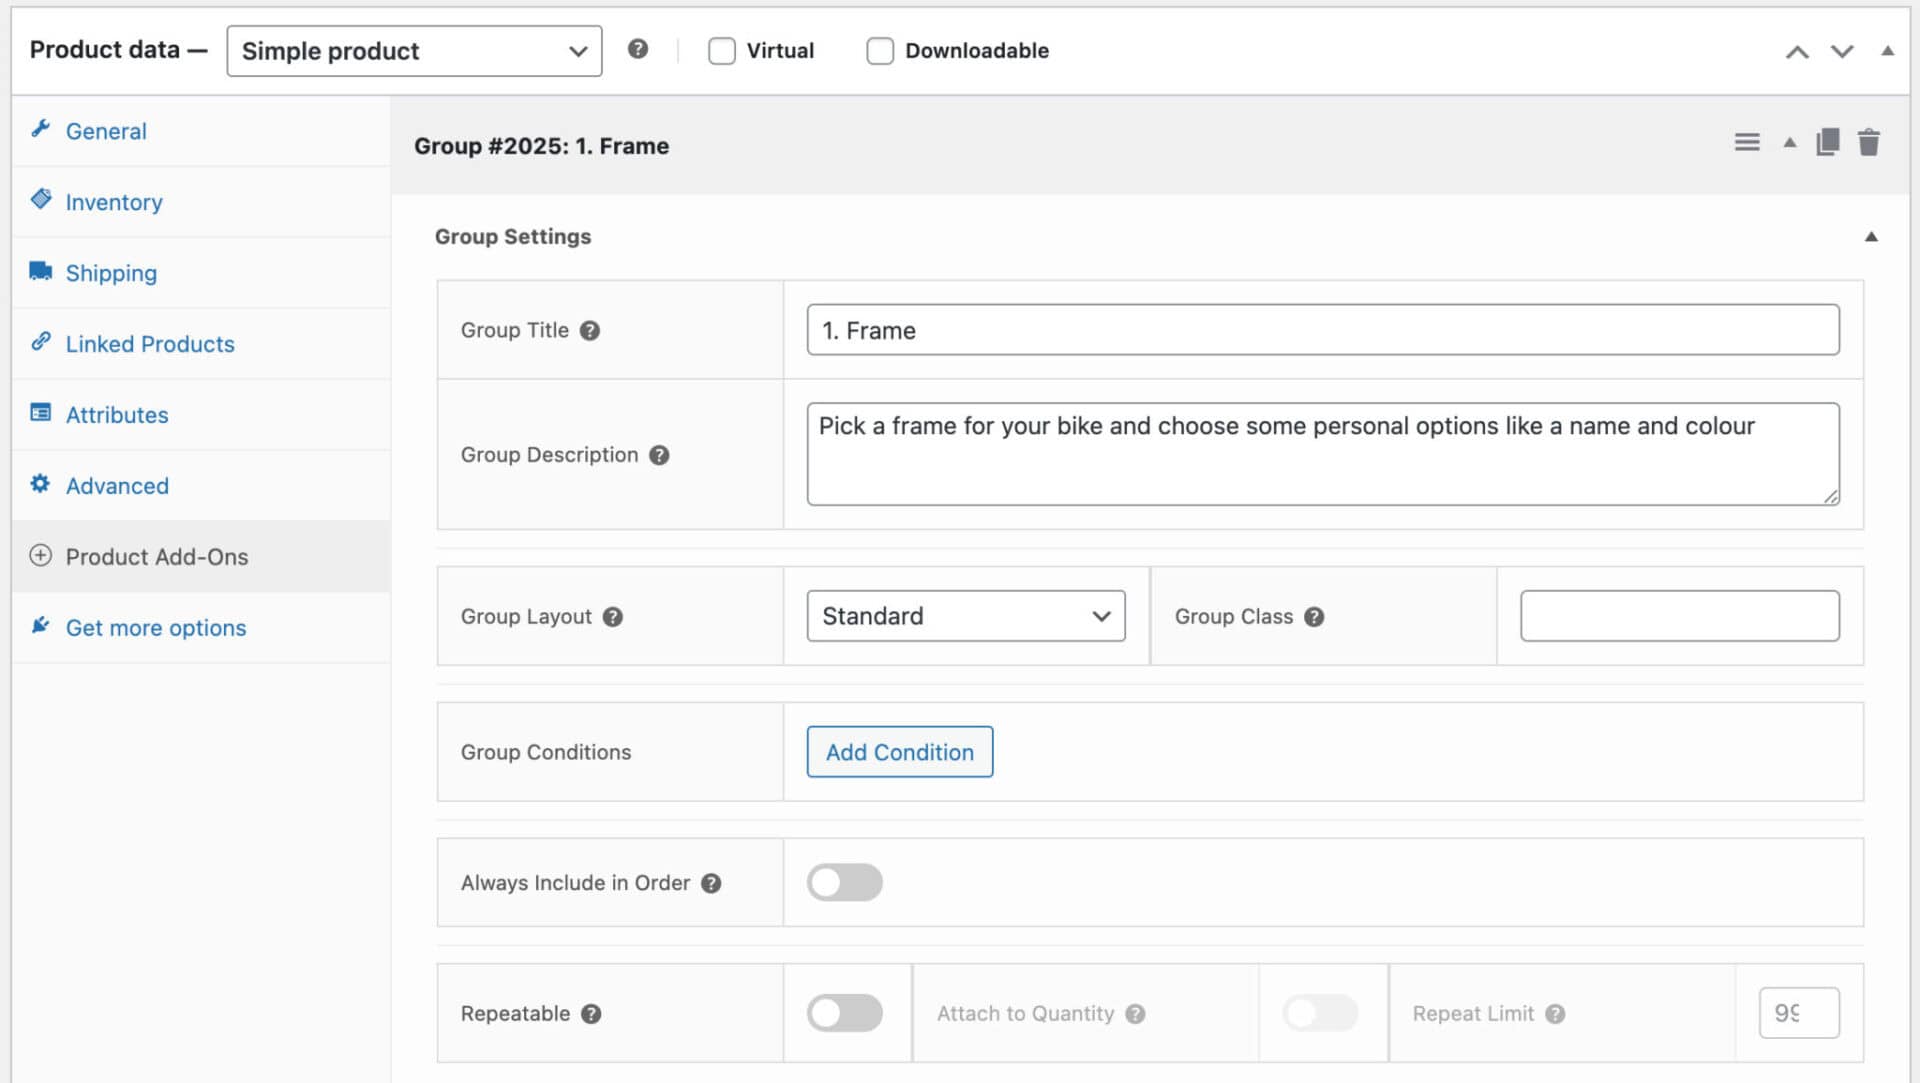
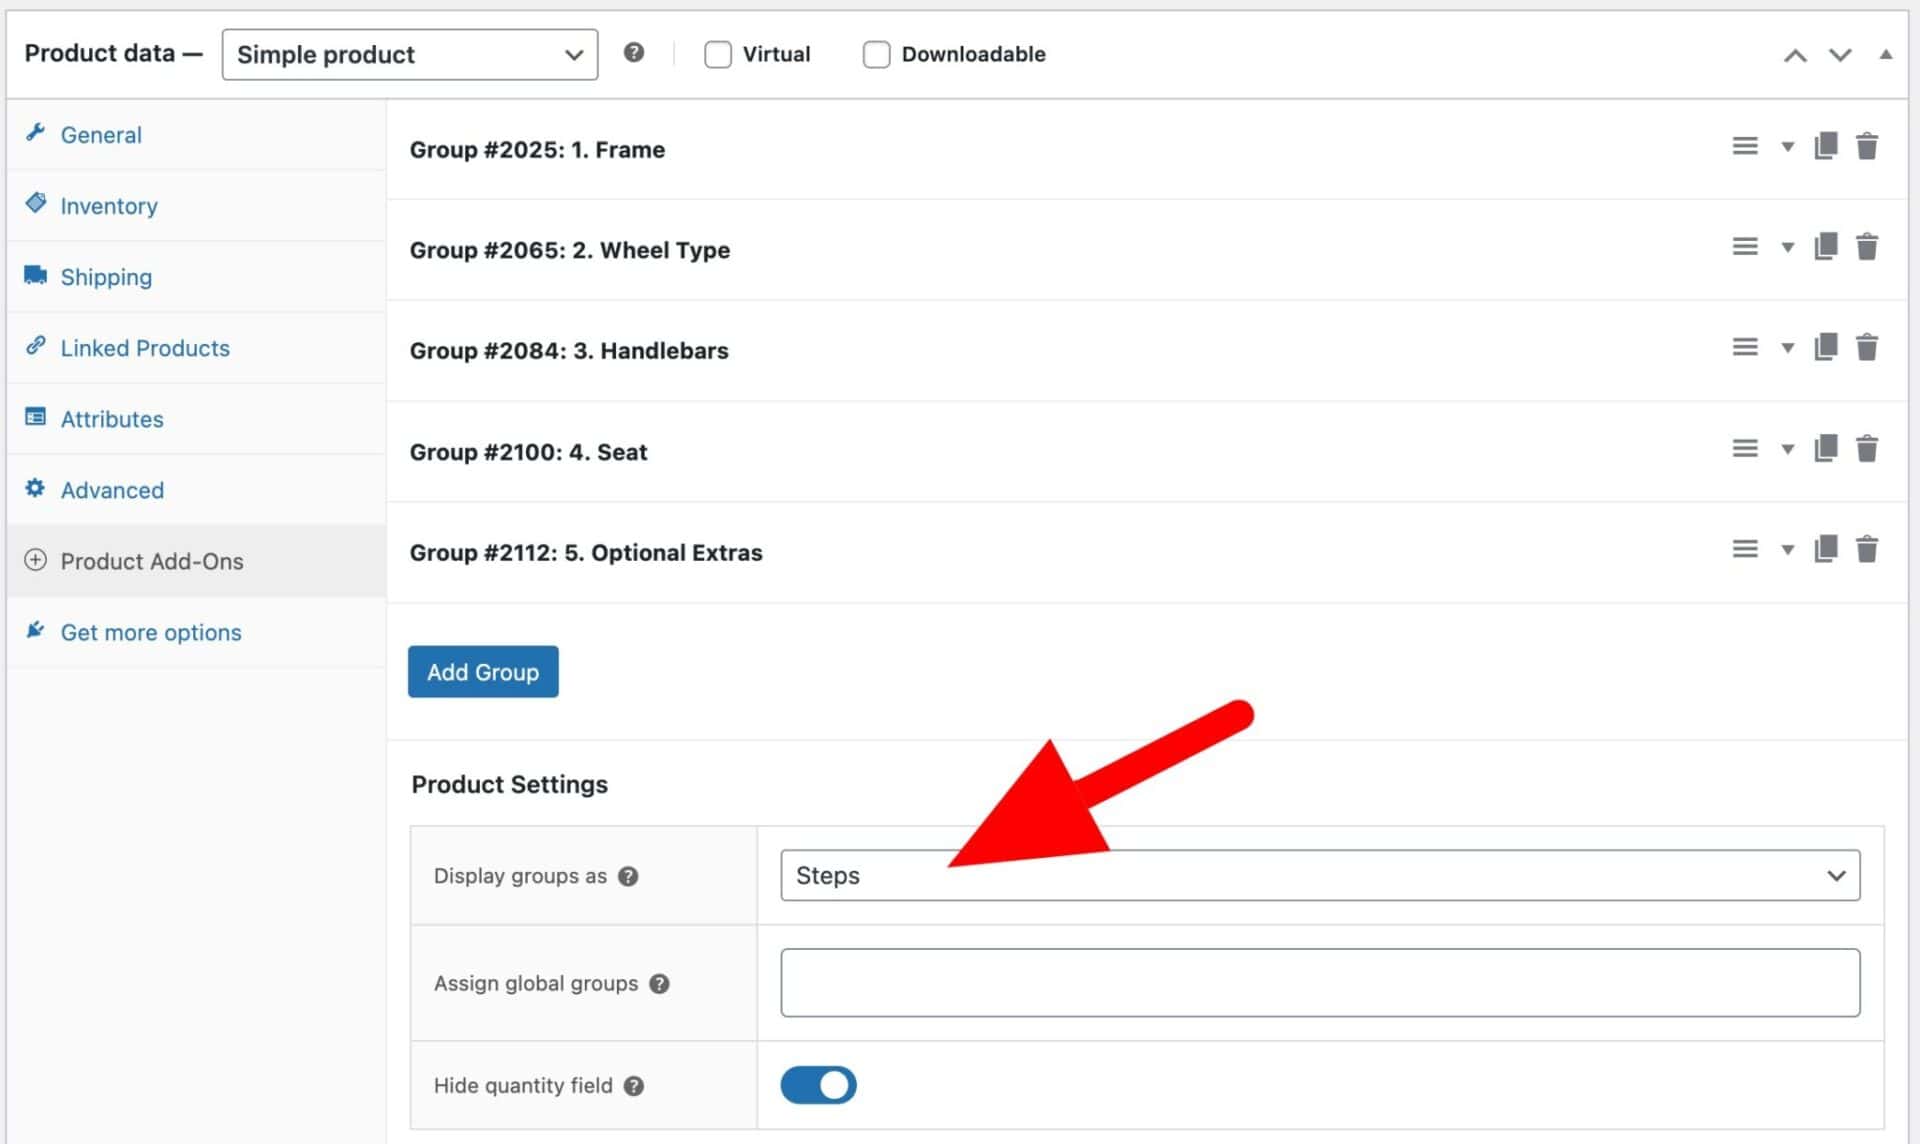
In the ‘Product Data’ section, click the ‘Product Add-Ons’ tab and create a new group. Each group will be a different step in the process of building a bike.
Give your group a name. In our example, this group will be for the user to make some selections for the bike frame. You can also add some description to help guide the user.
Now we can add some fields:
- Click ‘Add Field’
- Give your field a label, e.g. ‘Frame’
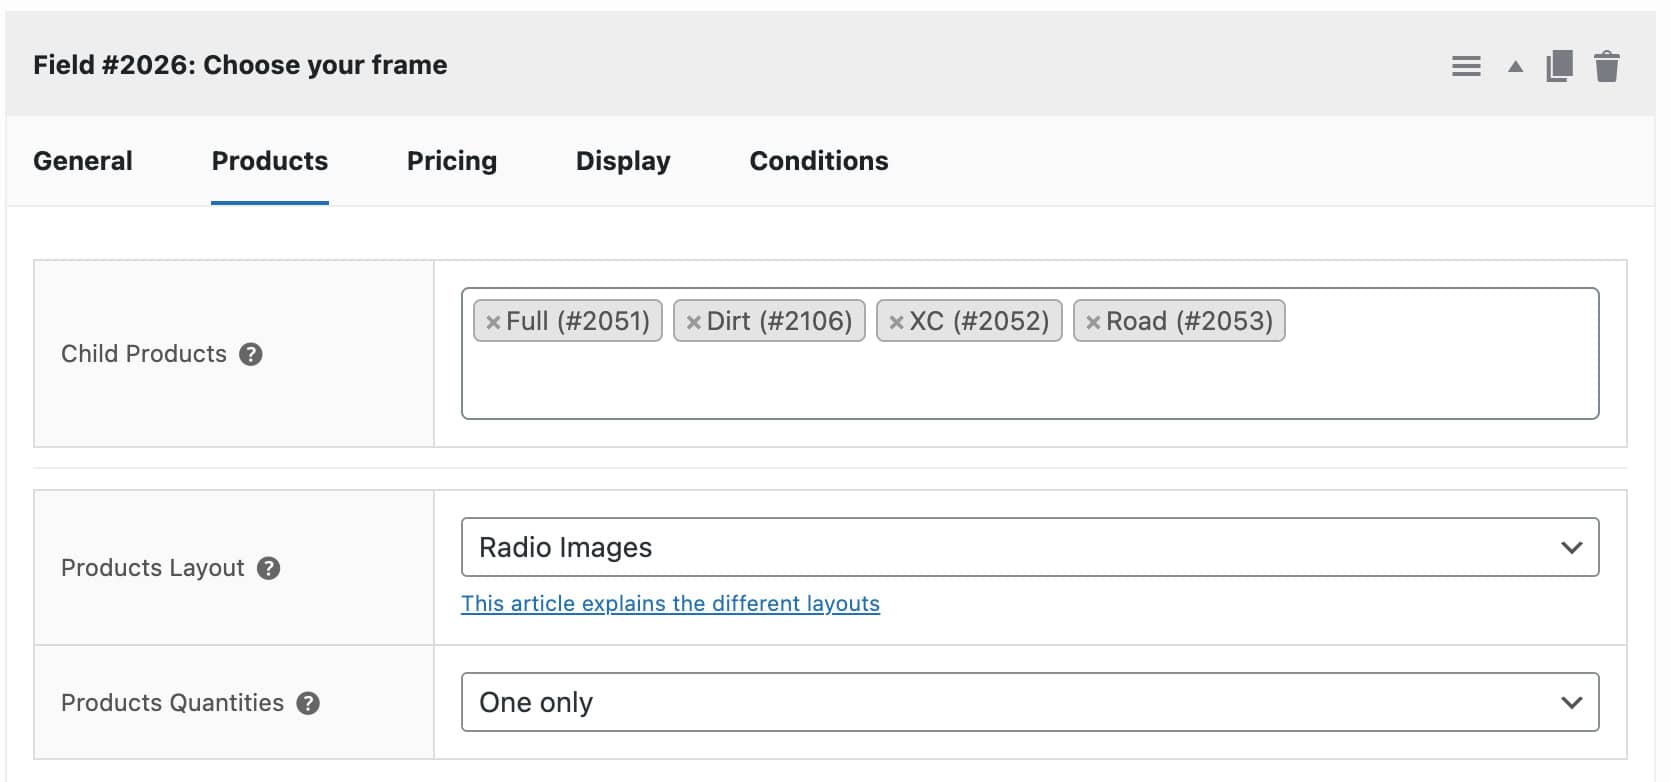
- Choose ‘Products’ as the field type then click the ‘Products’ tab
- Enter the products that you previously created in the ‘Child Products’ fields. In this case, you’d be entering the frame products
- Choose ‘Radio’ in ‘Products Layout’ – this means that the user will only be able to choose one of the frames, not multiple frames
- Choose ‘One Only’ in ‘Products Quantities’ – this means that the user will only be able to choose a single frame for their bike
Now you can create new groups for each step in the process. In the example product there are steps for Frame, Wheels, Handlebars, Seat and Extra Options.
Step 4: Choose your layout
We’re going for a stepped process in this example. So in the ‘Groups Layout’ field, choose ‘Steps’.
This will give us a layout on the front end like this:
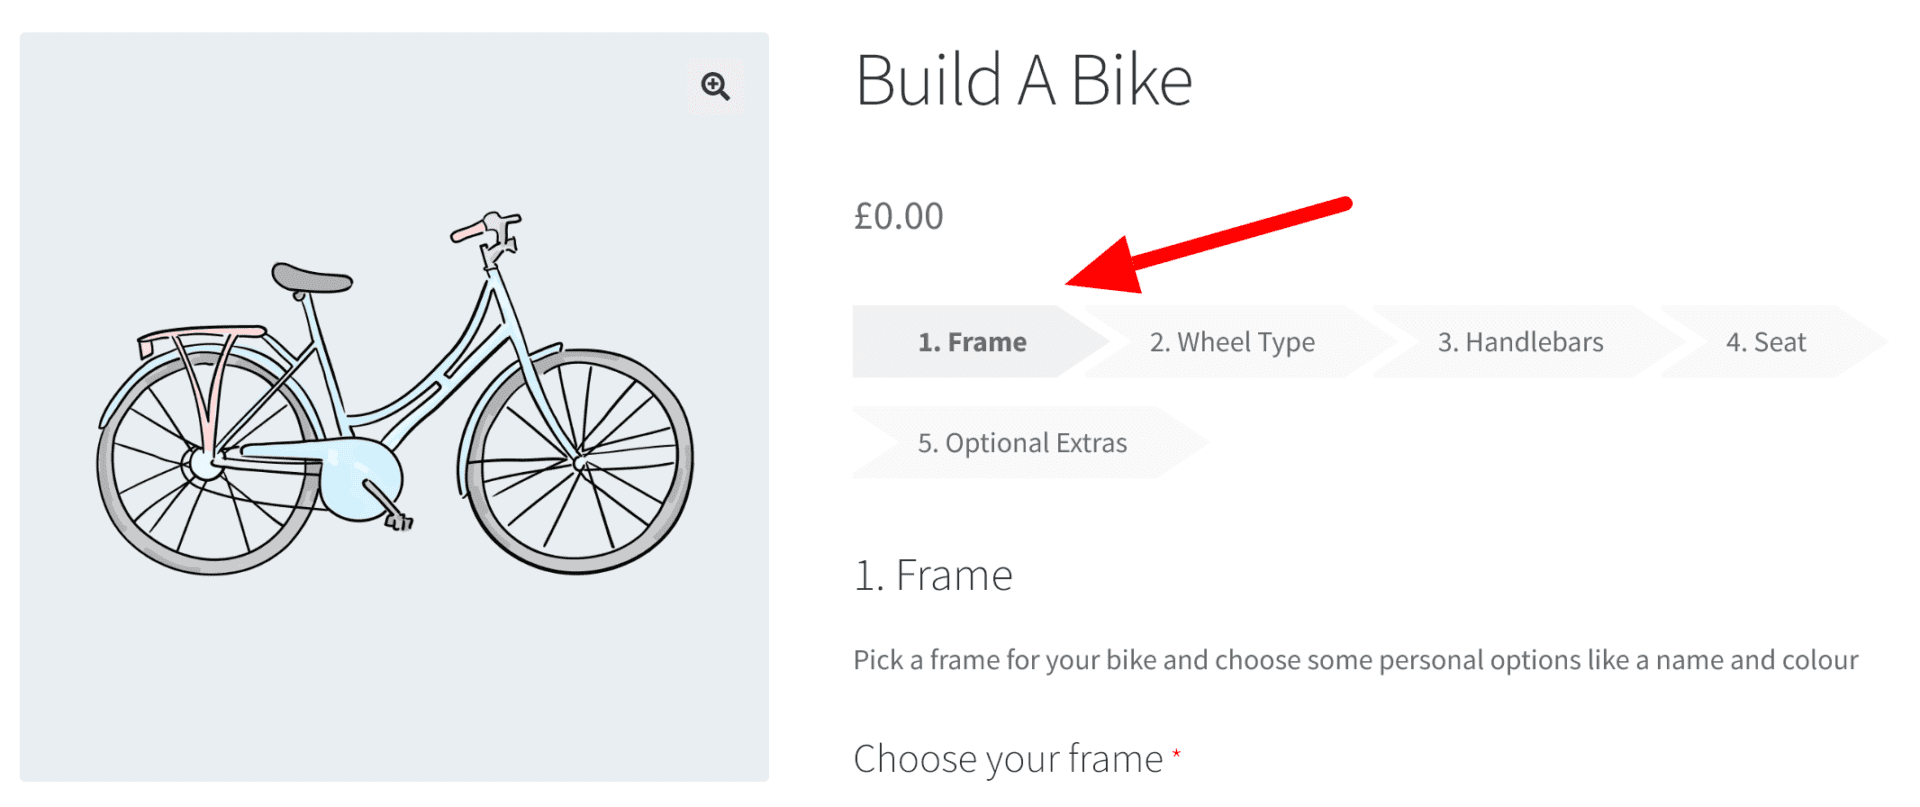
The user can click through the tabs at the top or use ‘Next’ and ‘Previous’ buttons.
Step 5: The finished build a bike product
When you’ve added all your groups and fields, you’ll end up with a finished product like this:
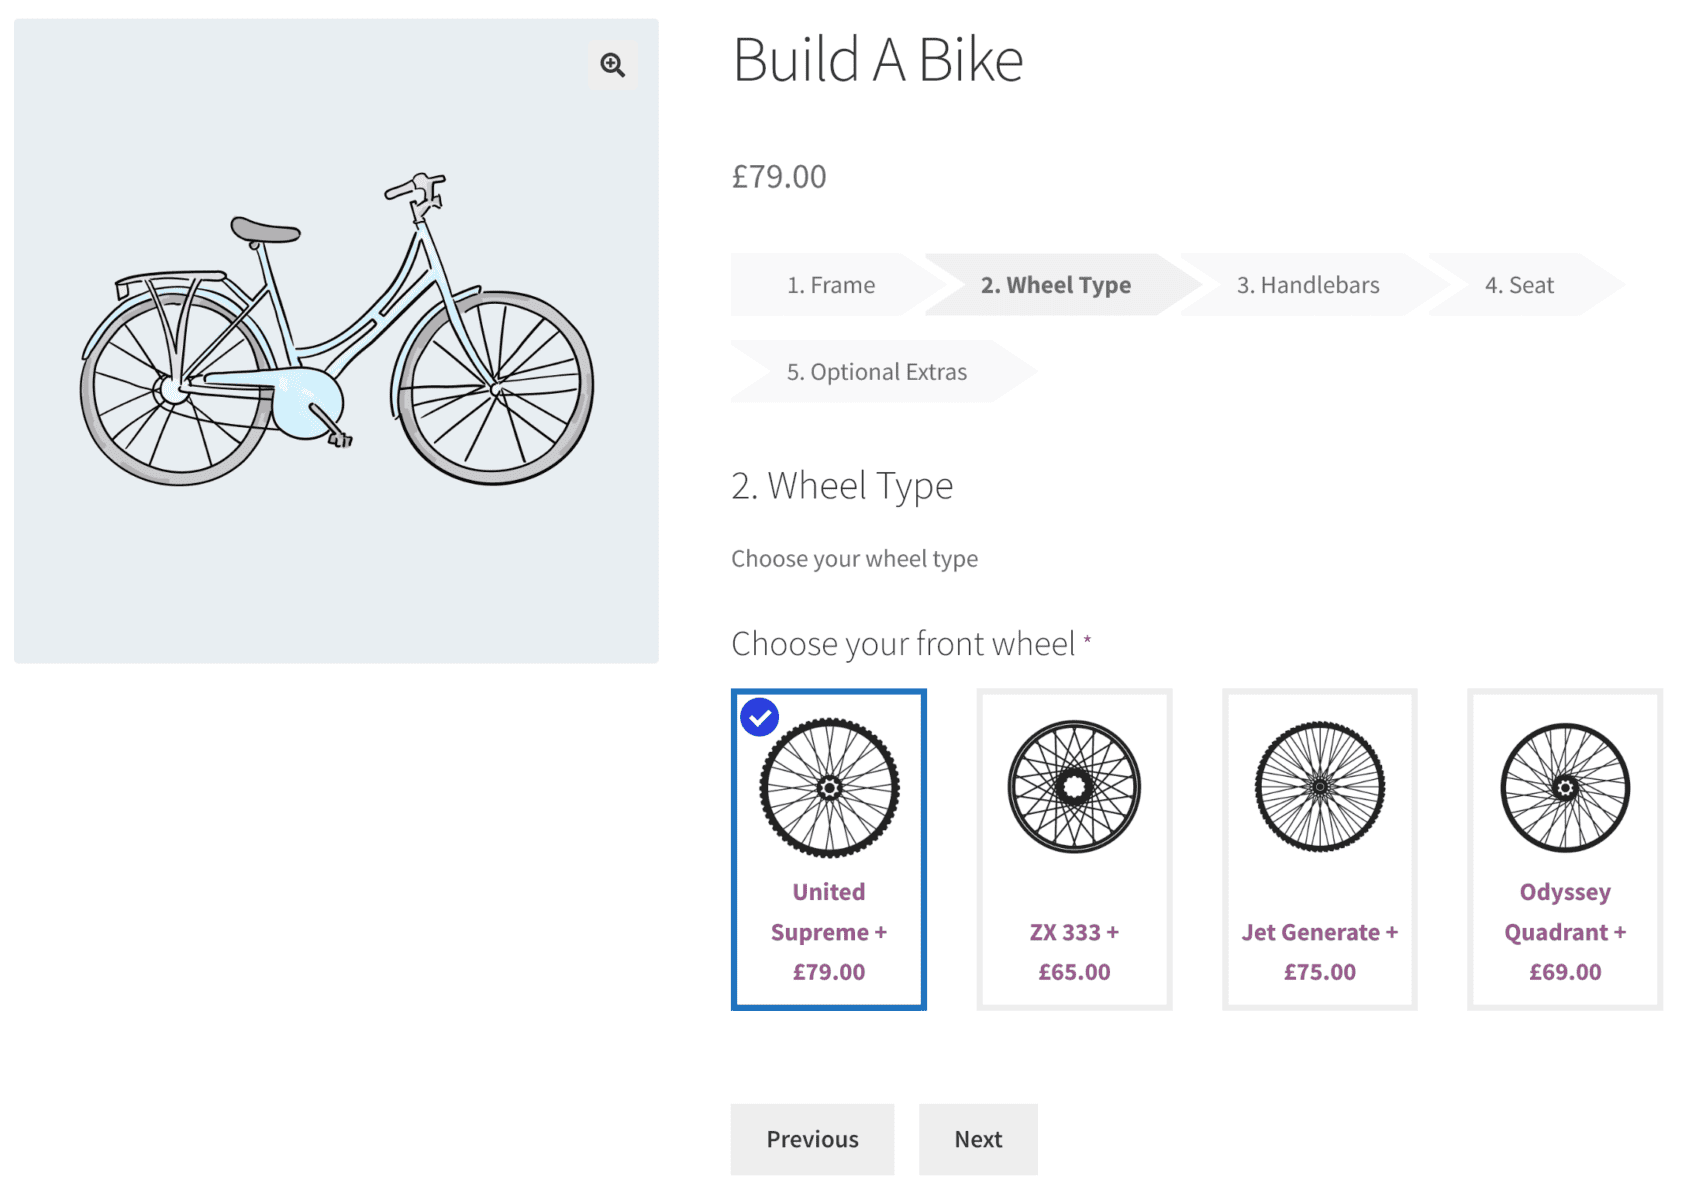
You can check the demo product out here.
Creating a build your own bike product in WooCommerce – recap
That was a very quick tutorial on creating a configurable bicycle product in WooCommerce. You just need the WooCommerce Product Add-Ons Ultimate plugin.