The WooCommerce Product Table Ultimate plugin only has a few settings, but these allow you to achieve a lot.
To access the plugin’s settings, go to WooCommerce > Settings > Product Table. Remember that all these settings can be overridden on individual tables.
To display the product table, see this article.
General settings
On WooCommerce > Settings > Product Table > General, you’ll see the following settings:
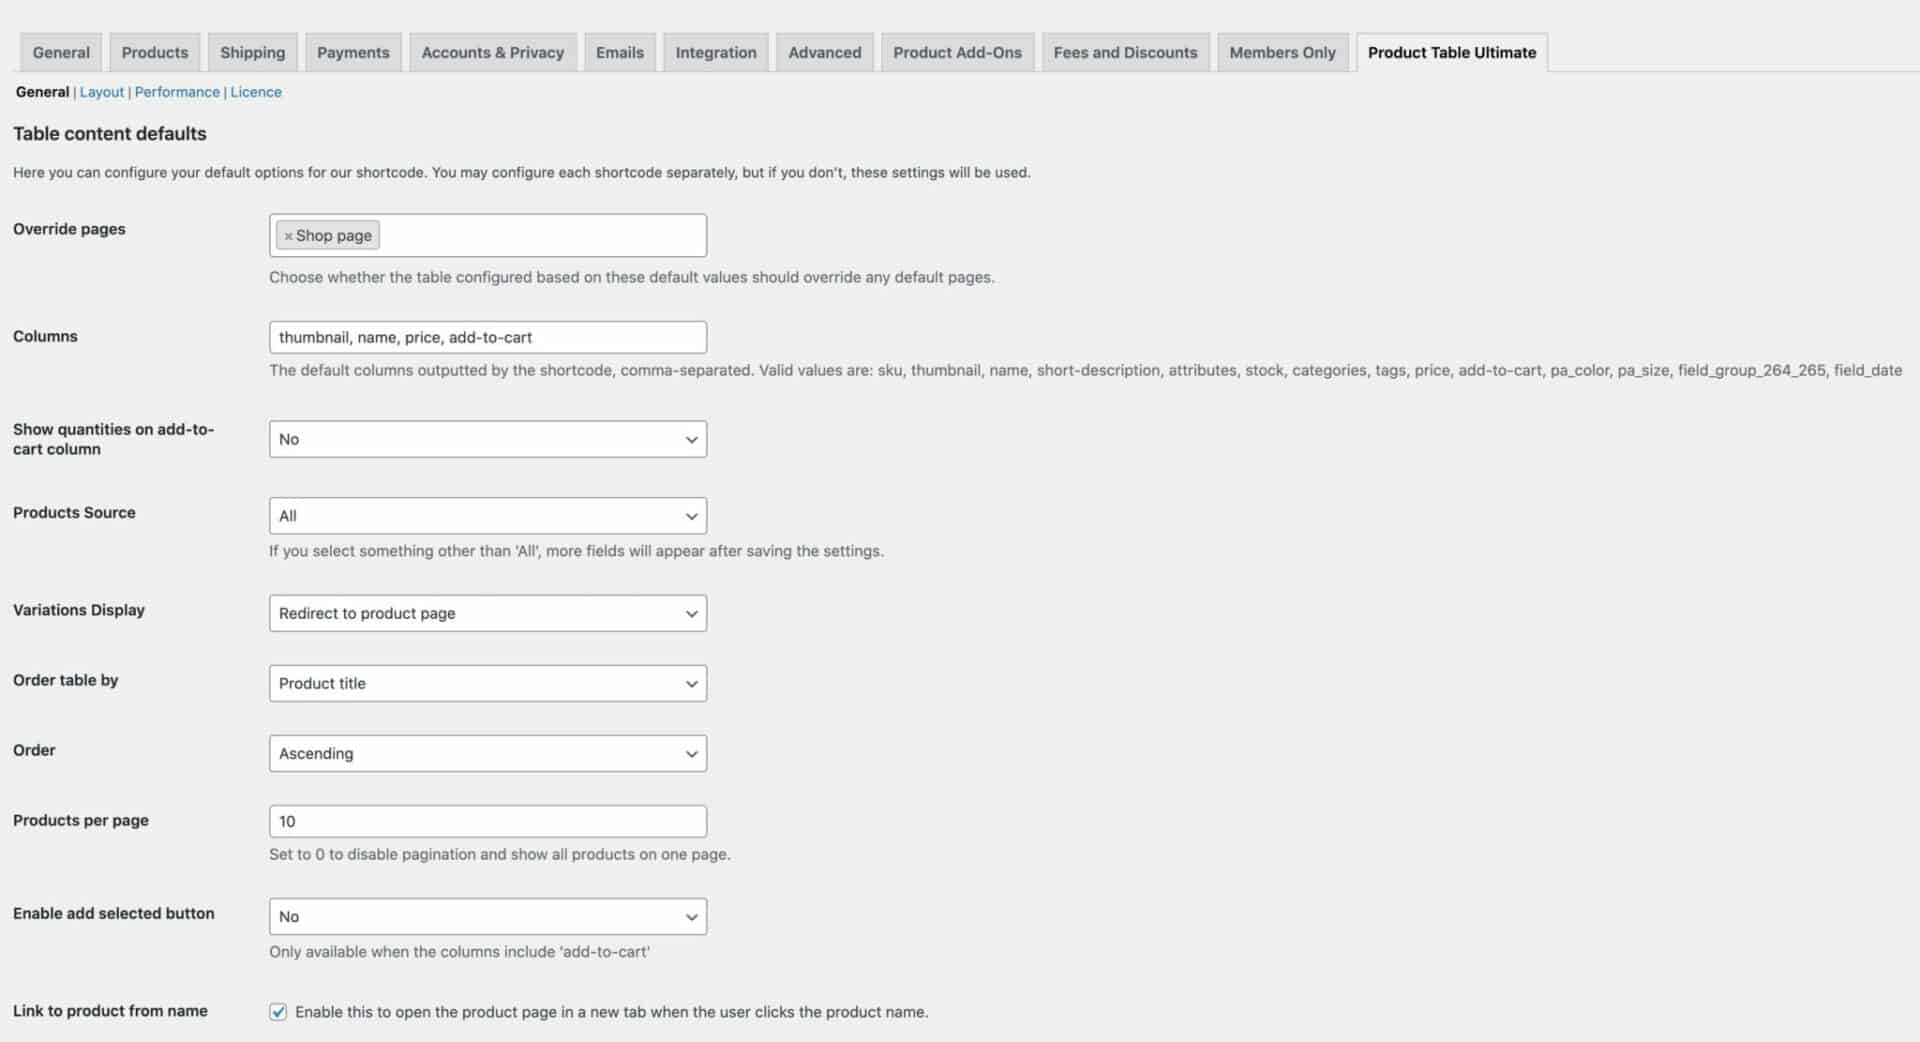
Override pages
You can choose to display a table layout instead of the default WooCommerce product grid on shop and archive pages. Just enter the pages where you’d like to display a table layout in this setting. You can choose from:
- Shop
- Category
- Tags
- Other taxonomy pages
Columns
In this field, you can define what columns you want to display in your product table.
Choose from the following columns:
- sku
- thumbnail
- name
- short-description
- long-description
- stock
- field_date
- attributes
- categories
- tags
- last-modified-date
- reviews
- weight
- length
- width
- height
- author
- price
- add-to-cart
So, if you would like to display the thumbnail, product name, price and add-to-cart for each product in your table, you’d enter thumbnail, name, price, add-to-cart into the field. Separate each item with a comma.
See this article for more information about adding date fields.
Show quantities on add-to-cart column
To show a quantity field next to the add to cart button, choose ‘Yes’ in this field.
Products Source
Use this setting to decide which products to display. You can choose from the following:
- All: display all products
- Callback: specify the name of a custom query to display products
- Categories: limit the table to displaying products from specific categories
- Tags: limit the table to displaying products from specific tags
Callback
If you choose ‘Callback’ in the ‘Products Source’ setting above, you’ll see the ‘Callback’ field. Enter the name of your custom query.
Categories
If you choose ‘Categories’ above, you can select which categories your product table will use.
Tags
If you choose ‘Tags’ above, you can select which tags your product table will use.
Variations Display
If you have variable products in your store, you can decide how to display them in your table. Your options are:
- Redirect to product page: when the user selects a variable product from the table, they will be directed to the product page itself to view the possible variations
- As separate rows: if you would like to display each variation on its own row in the table, choose this option
- As dropdowns in parent row: if you choose this option, the user will see the variations in an expandable section within the parent product row in the table
- As dropdowns in separate column: this will display the attribute dropdown(s) along with the add to cart button, without needing to view an expandable section
Order Table By
Choose which parameter to order the table by. You can select from:
- Product ID
- Title
- Price
- Date
- Popularity
- Rating
- Menu Order
Order
Choose from ‘Ascending’ or ‘Descending’.
Products Per Page
Use this setting to define how many products to display per page. Pagination will automatically be added, allowing the user to navigate through multiple pages of products.
Enable Add Selected Button
If you want to allow users to select multiple products at the same time, set this field to ‘Yes’. This will display checkboxes on each row and a button at the bottom of the table to add all selected products to the cart.
Enable Select All Button
Enable this option to add a checkbox in the product table header. The user can toggle all product checkboxes on and off using this checkbox, meaning that they can choose all products in the table with one click.
Enable thumbnail lightbox
Enable this option to allow the user to open the product thumbnail images in a lightbox.
Link to product from name
Select this option to enable a link on the product names in your tables to the original product page. New pages will launch in a separate tab.
Product Add-Ons Ultimate
If you have the Product Add-Ons Ultimate plugin active, you’ll see some integration options here.
Enable integration
Select ‘Yes’ here to display add-on fields in the product table
Enable quickview
Check this option to display your add-on fields in a lightbox when the user selects a product.
Layout settings
On WooCommerce > Settings > Product Table > Layout, you’ll see the following settings:
Sortable columns
You can make certain columns sortable, thereby allowing the user to click the column heading and sort the rows. Just enter the columns here that you’d like to make sortable.
Filterable columns
Certain columns can be filterable – meaning that your users can select a term and only view items in the table that contain that term. Enter the columns you’d like to make filterable here. Choose from:
- Categories
- Tags
- Attributes
Filter methods
If you’ve enabled filterable columns above, you can choose which methods the user can use to filter terms. Choose from:
- Clickable terms – the filterable terms will be hyperlinked so that the user can just click a term to activate the filter
- Dropdown fields – the user can select terms from dropdown fields above/below the table
Select filters locations
If you’ve chosen dropdown fields in the filter methods above, choose where to display the fields – top, bottom, or both.
Performance settings
Under the Performance sub-tab, you’ll see the following settings:
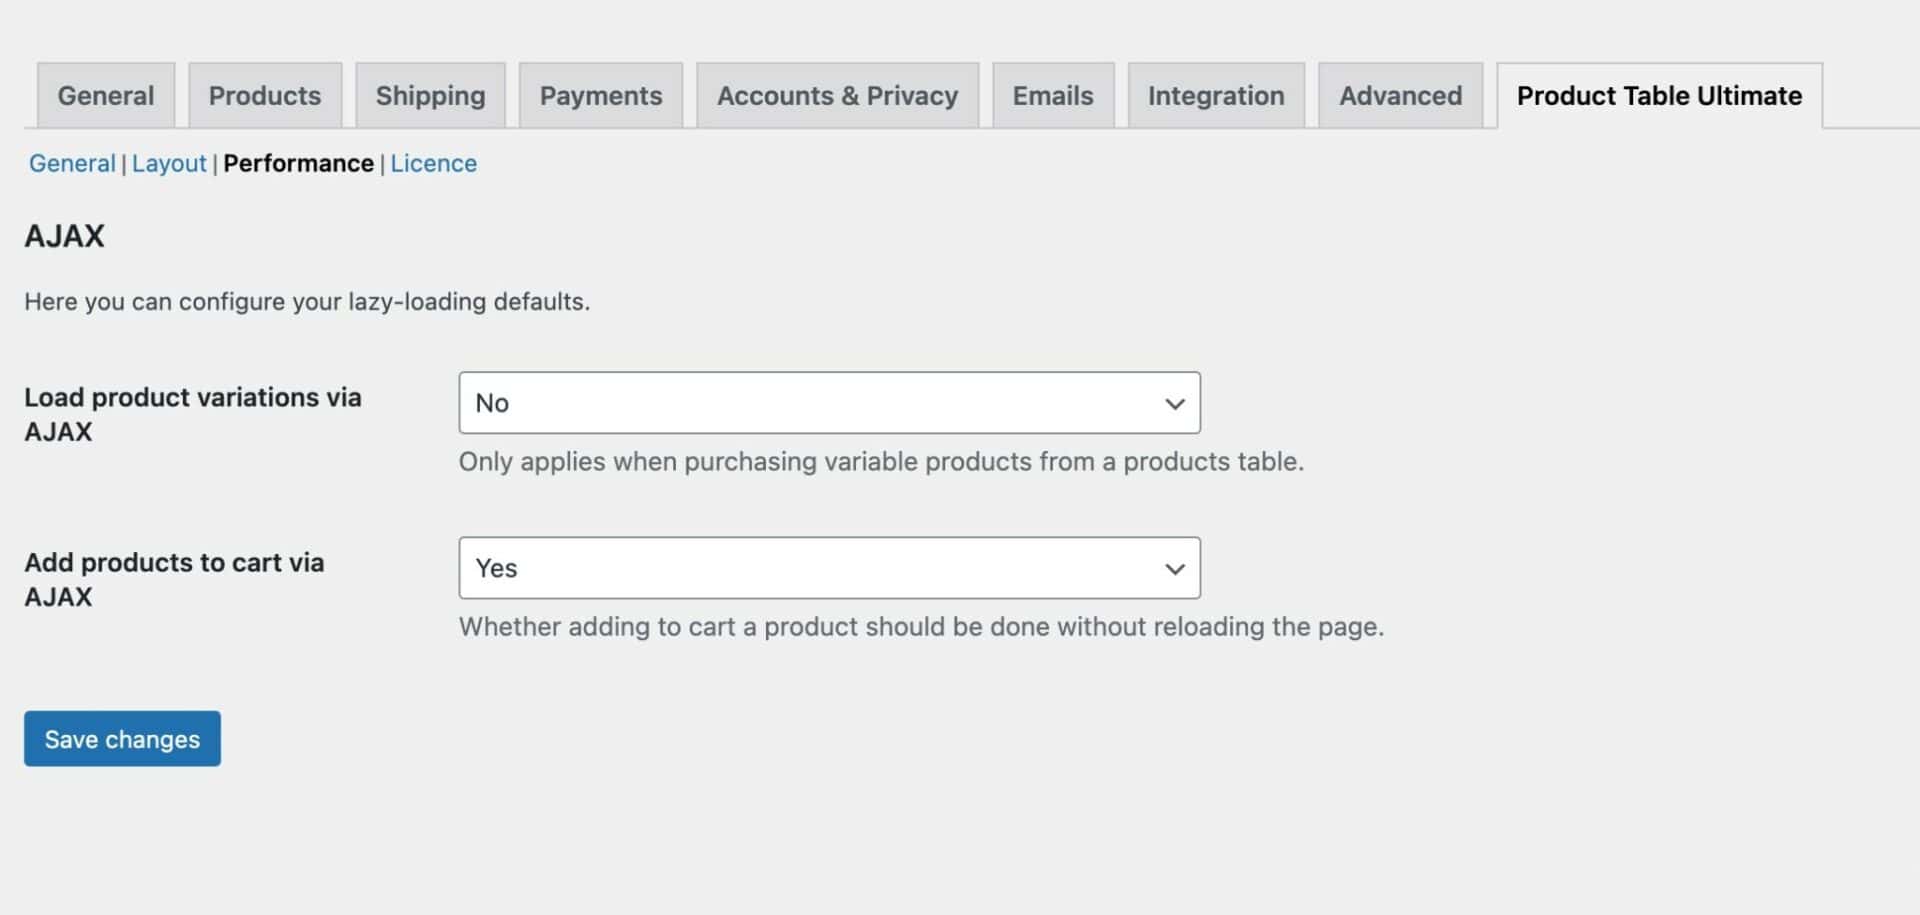
Load product variations via AJAX
Select ‘Yes’ in this option to load product variations via AJAX.
Add products to cart via AJAX
Select ‘Yes’ in this option to use AJAX when products are added to the cart from the product table.